|
||
|
|||||||||||||||
|
#1
|
|||
|
|||
|
interested in having a tinker with doing some custom paint jobs for myself but having never done any before other than spraying my first shell one solid colour a bit back I don't have a clue how to/where to start in terms of the basics as well as learning how to lines and other designs into the equation.
Anyone know a decent place to learn some skills please 
|
|
#2
|
||||
|
||||
|
I've painted 1 shell in my life, so that makes me an expert
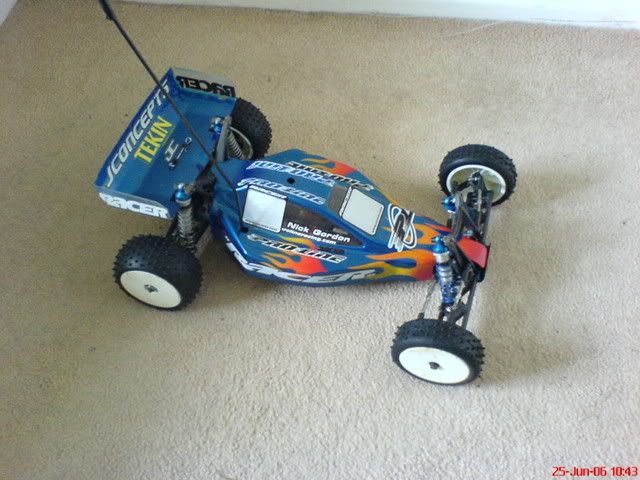
 Clean shell first - very important! Apply liquid mask. With a sharp knife cut your pattern. Firm, but not hard pressure. Remove masked sections that require paint. Paint! Remember - some paints will change colour slightly depending which colour is applied on top of it. Here is my one and only shell painted using Tamiya rattle cans:  Flames are paint, the rest is stickers
__________________
|
|
#3
|
||||
|
||||
|
Here's how I do it
Pick out my colours and sick a new no 11 blade on my scalpel.  Clean shell ready to apply about 4 coats of liquid mask  4 coats on, then wait for it to dry.  What I do when the mask is dry and I'm ready to put down my design is draw a centre line up the shell then I draw the design on one side.  Then I trace out the design from the first half onto some tracing paper the put the paper inside then trace it onto the shell. You don't really need to do this step you can just eye it up and make it match up.  Design complete now cut all the lines out with the scalpel, not too hard or you might go through the shell just hard enough to cut through the liquid mask.  Start your paint job off with the darkest colour first  I then painted the mirror chrome areas next because it needs backed with black  Put all your colours down from darkest to lightest and you are almost done (black, chrome with black backing, purple with silver backing, orange, yellow, white)  Put some decals on it and go race  Oople is a great place to get tips and tricks on painting and has a load of guys much better than myself, I'm sure they will give you good advice. I would start off with a cheap airbrush and cheap oil free compressor I get my paint and other bits and bobs from Jon at RCS http://www.rcsgraphicworx.co.uk/index.php Last edited by D20MCK; 21-10-2014 at 09:53 PM. |
|
#4
|
||||
|
||||
|
Great walk through guide to painting a shell. I've never tried Liquimask before as I haven't known too much about it. But will probably now give it a try.

__________________
DEX210 RTR DEX210 KIT SUPASTOX SPEEDPASSION REVENTON PRO SP GT2.0 PRO AUDI S3 OEM Sat in the garage/semi-retirement.  TOYOTA AVENSIS -WORKHORSE CHEVROLET SPARK - KIDS TAXI
|
|
#5
|
|||
|
|||
|
cheers chaps, couple of nice jobs there
 thing I ain't sure about it is when you peel off the liquid mask from the darkest colours and you start going to brighter colours how do you make sure that you don't end up spraying the light colours back onto the finished colours (if that makes sense), do you have to cover the finished colours over with something? Last edited by whites75; 22-10-2014 at 07:13 AM. |
|
#6
|
||||
|
||||
|
Normally putting the light colours on top of the dark colours won't matter just make sure the area you have just finished is properly dry before removing the liquid mask and moving onto the next colour.
|
|
#7
|
||||
|
||||
|
Basic tutorial here http://www.rcsgraphicworx.co.uk/tutorials.php
Also a Q&A here http://www.rcsdigitalprinting.co.uk/...e&article_id=2 |
|
#8
|
|||
|
|||
|
Quote:

|
|
#9
|
||||
|
||||
|
most welcome buddy

|
 |
| Thread Tools | |
| Display Modes | |
|
|