Go Back   oOple.com Forums > Car Talk > Ansmann Racing

Reply
 
Thread Tools Display Modes
  #1  
Old 19-03-2012
Mindauxx Mindauxx is offline
Member
 
Join Date: Oct 2011
Location: Kaunas, Lithuania
Posts: 32
Send a message via Skype™ to Mindauxx
Thumbs up Ansmann XT Pro Stadium Truck KIT Build

Hello,

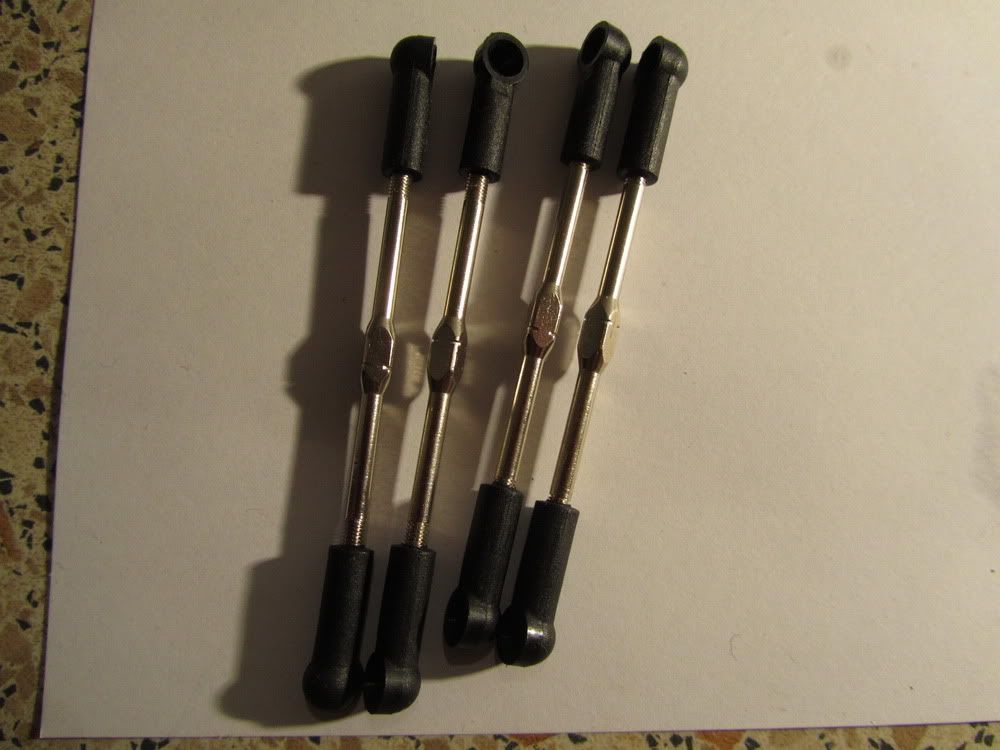
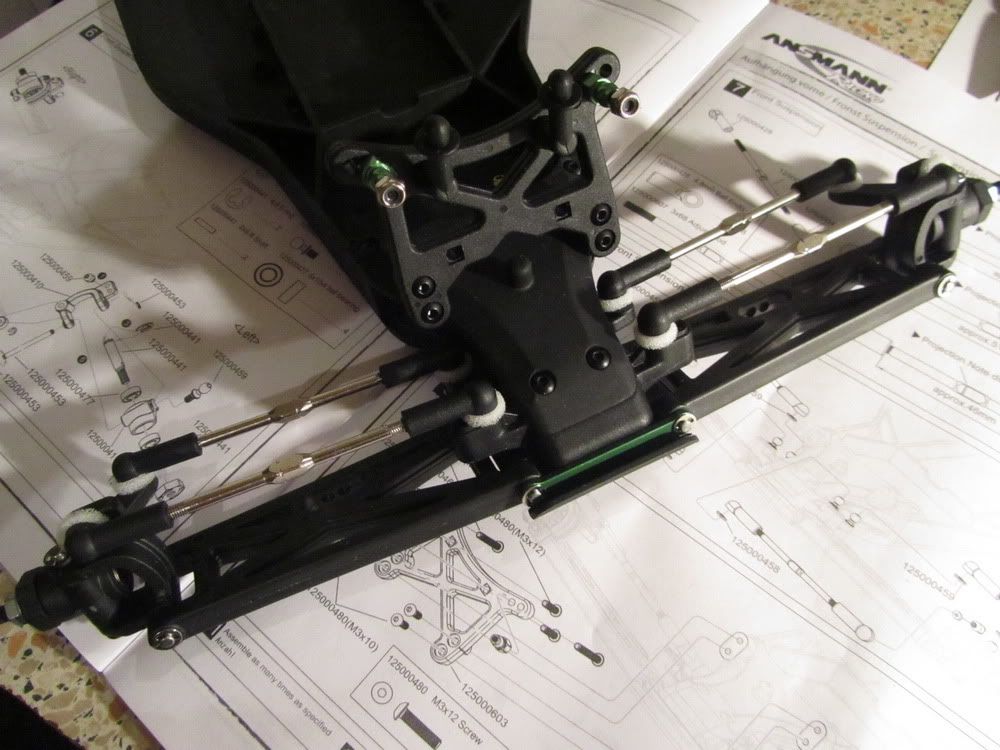
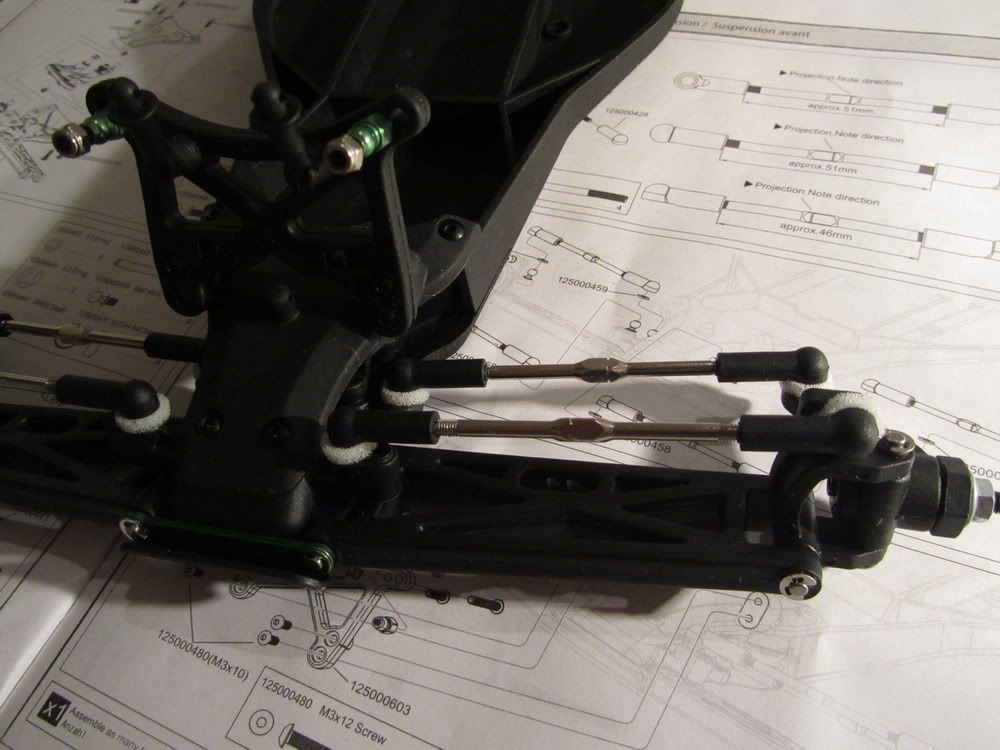
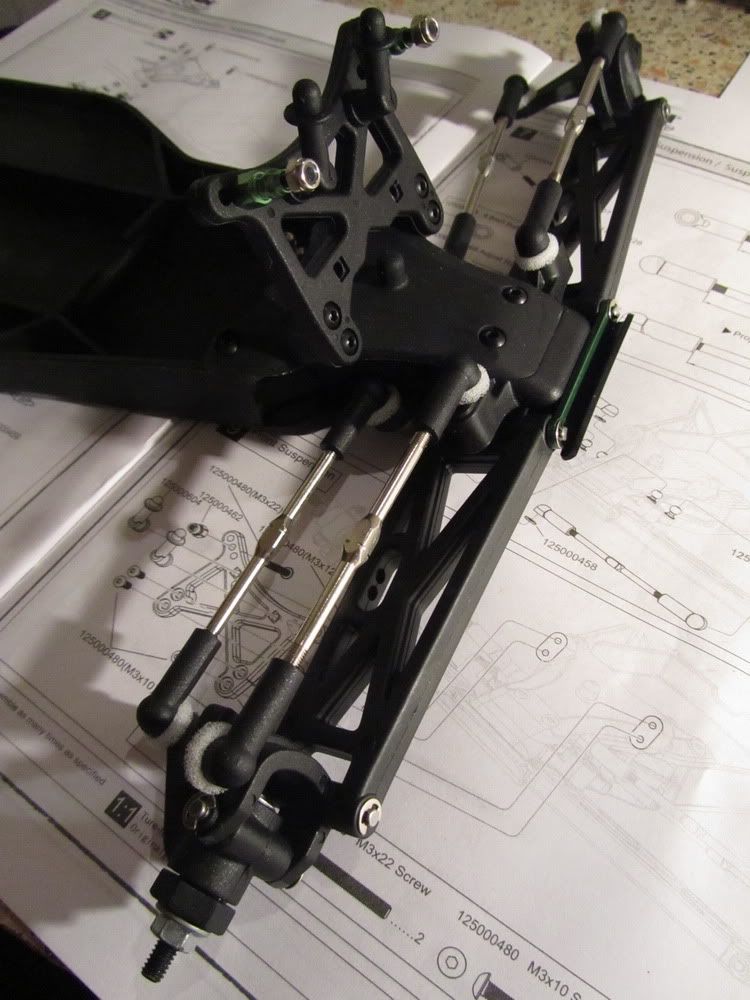
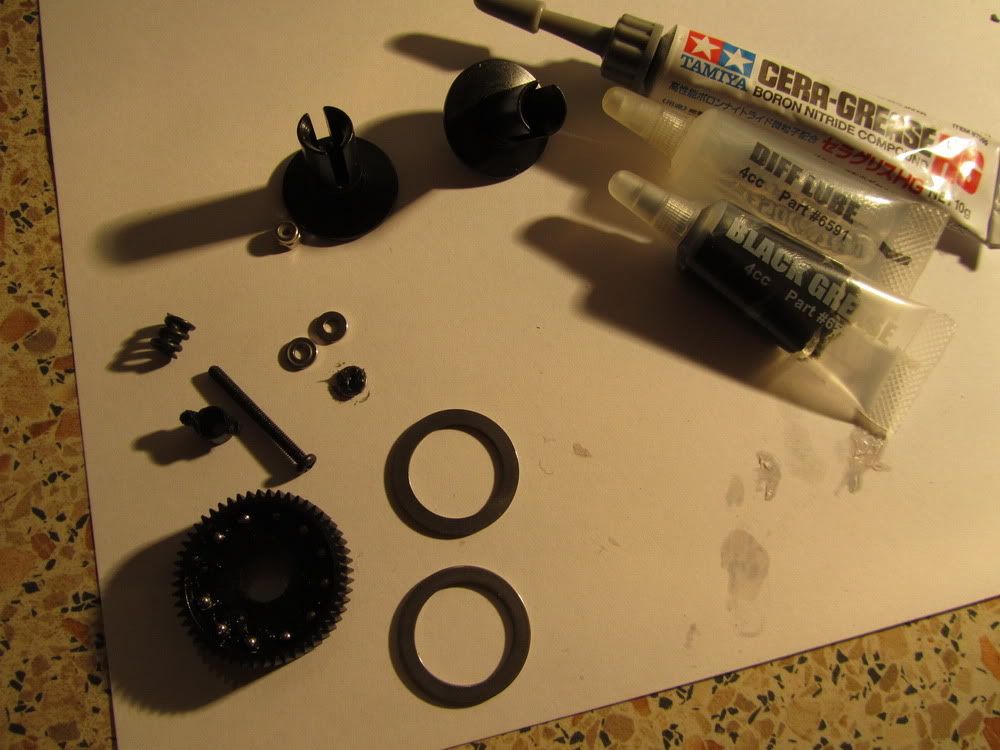
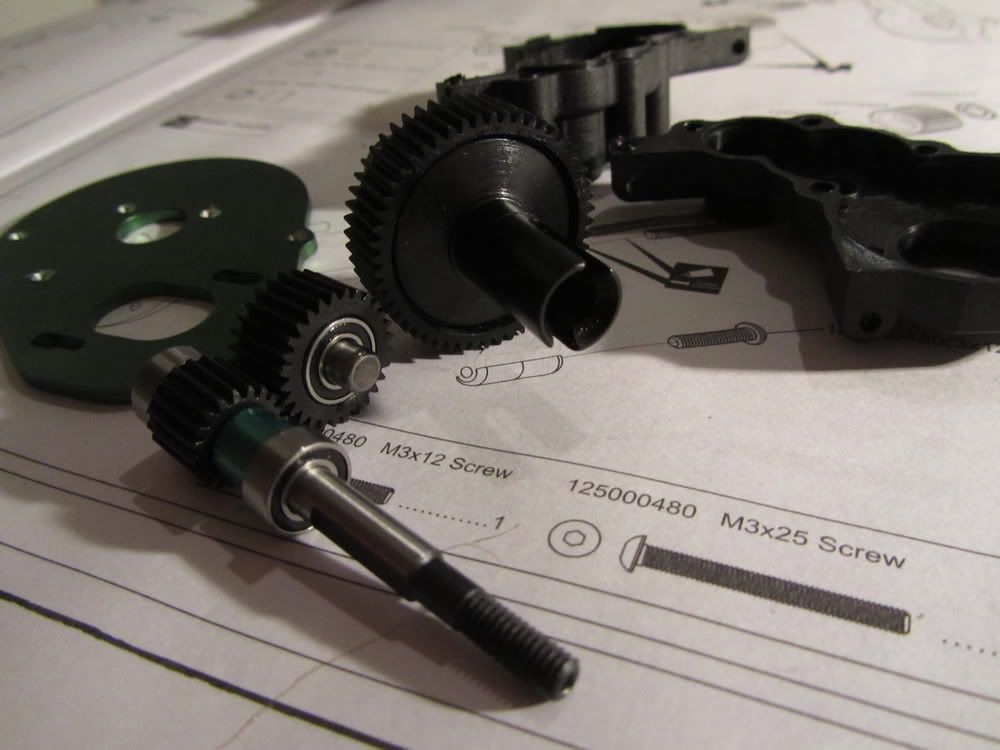
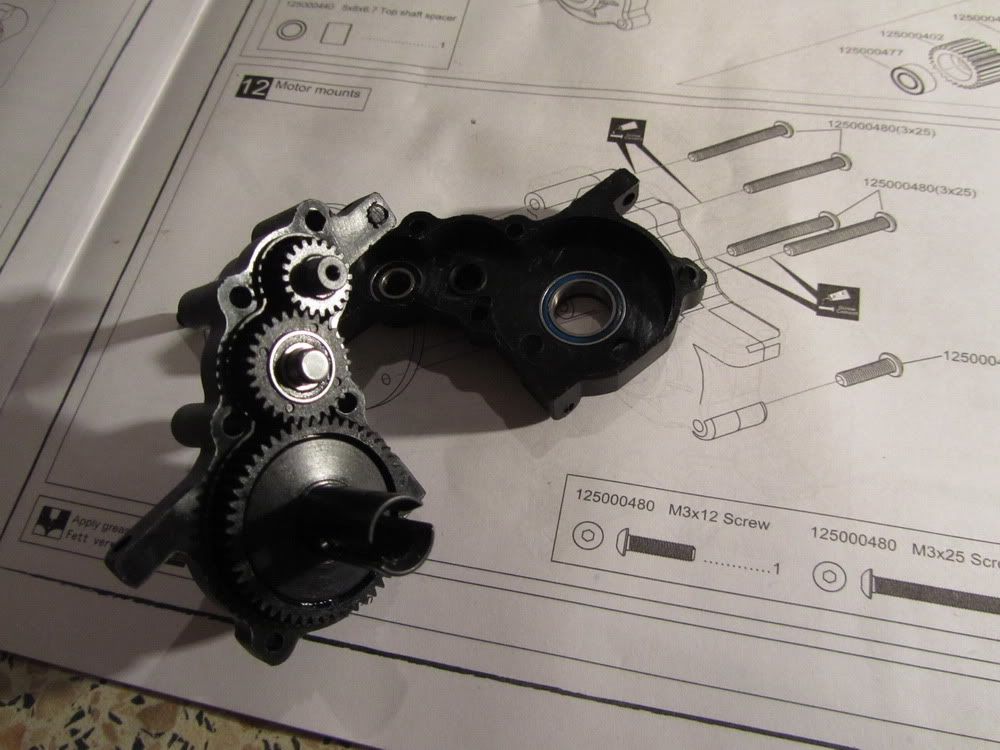
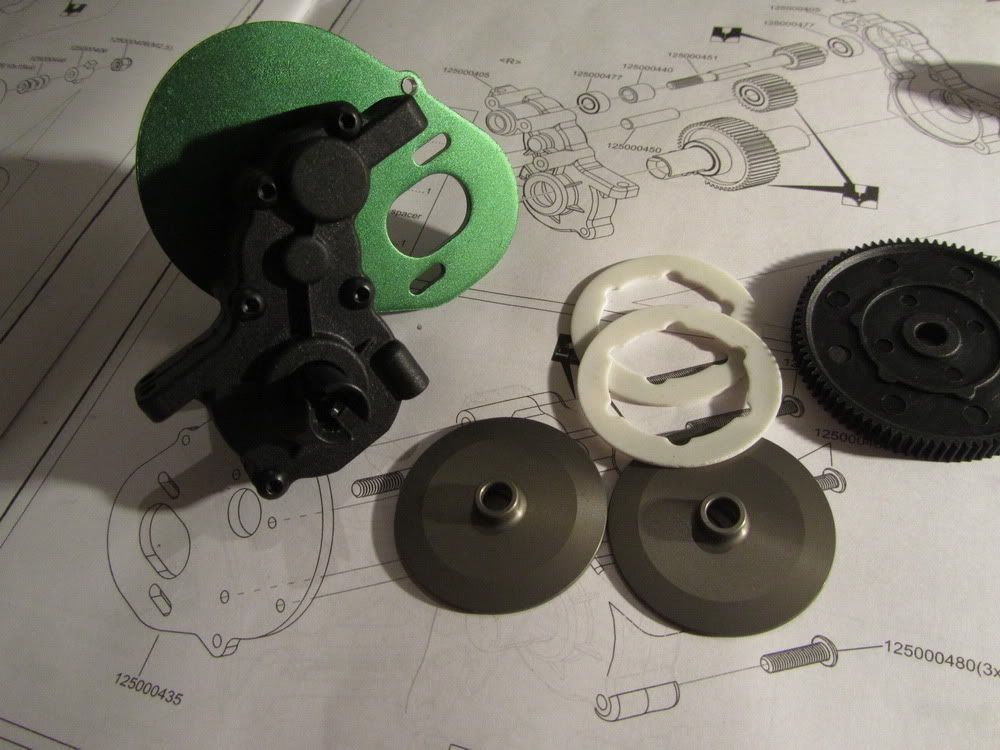
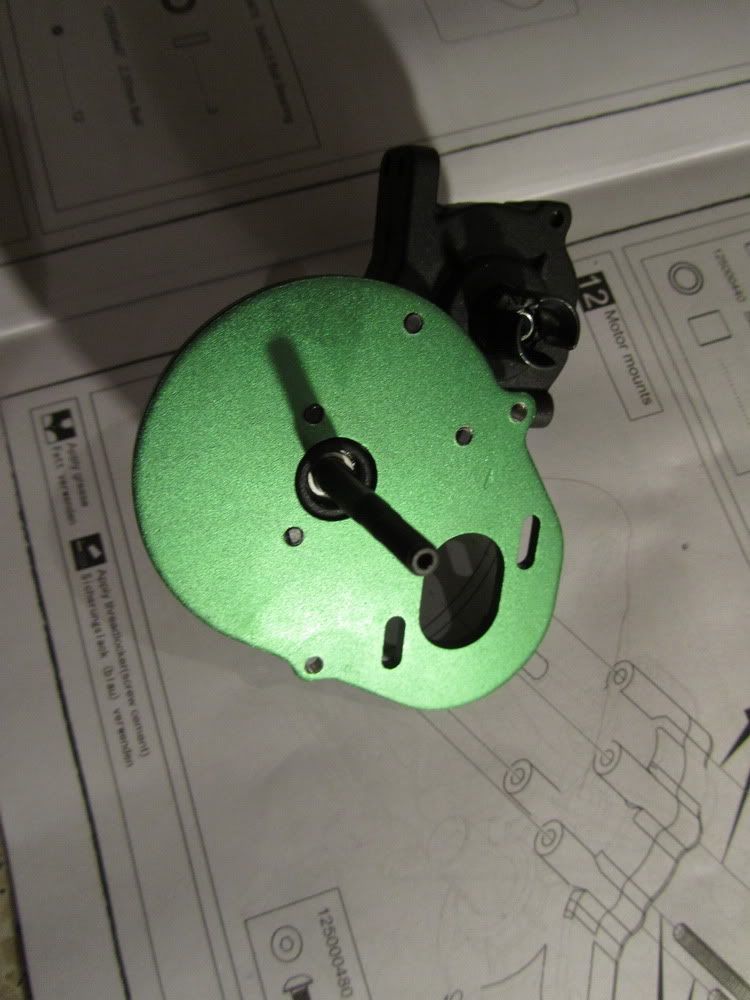
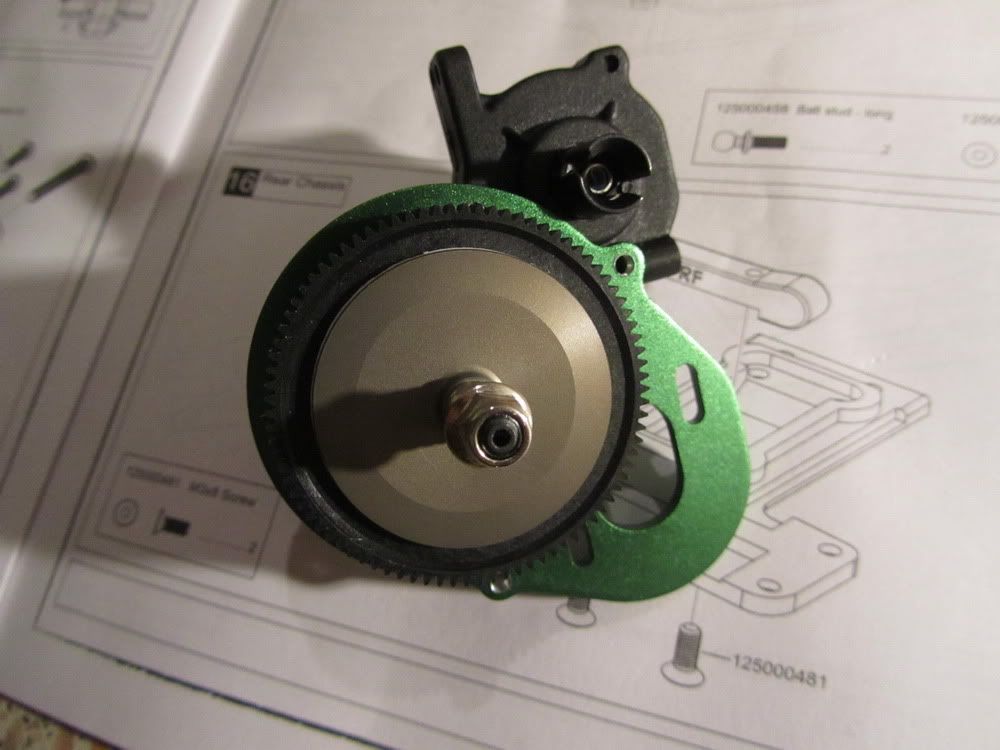
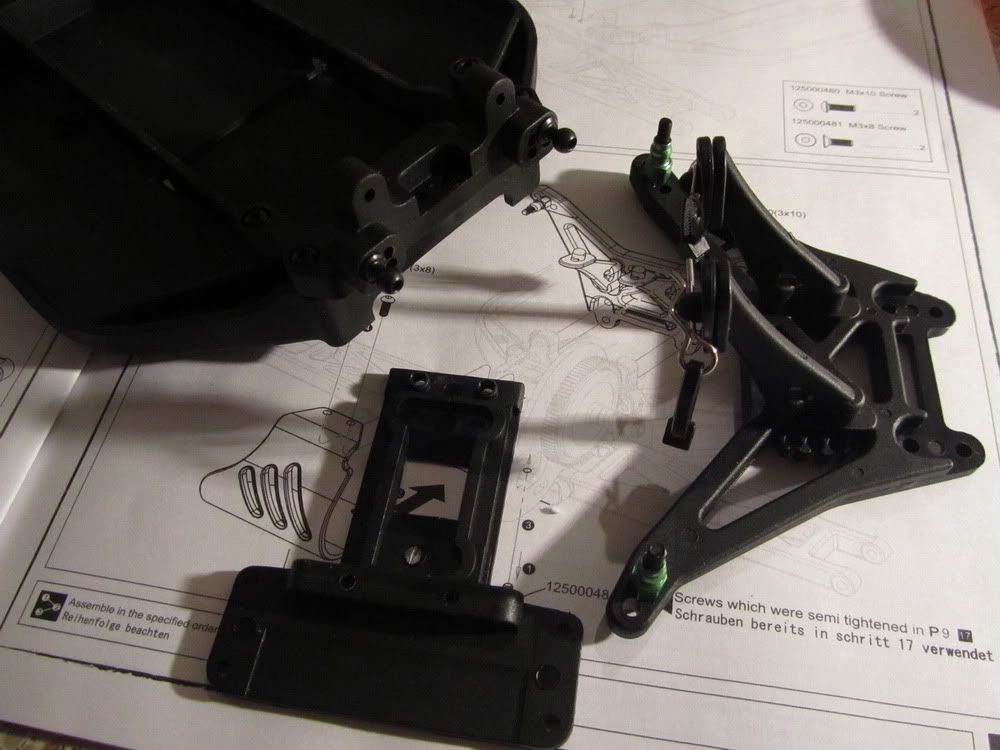
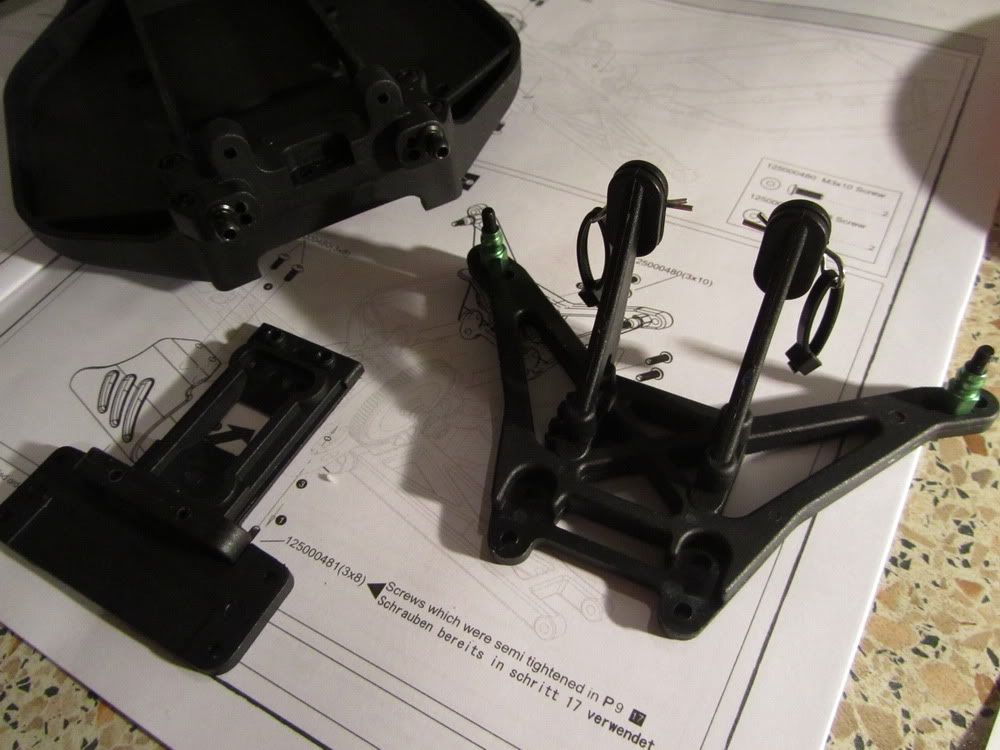
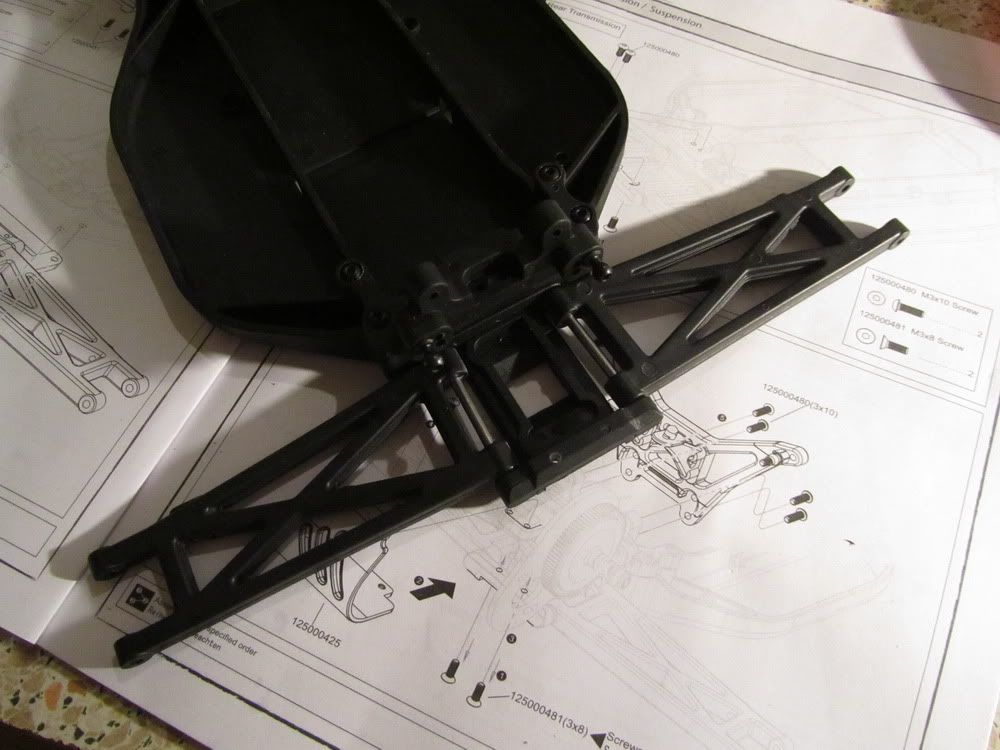
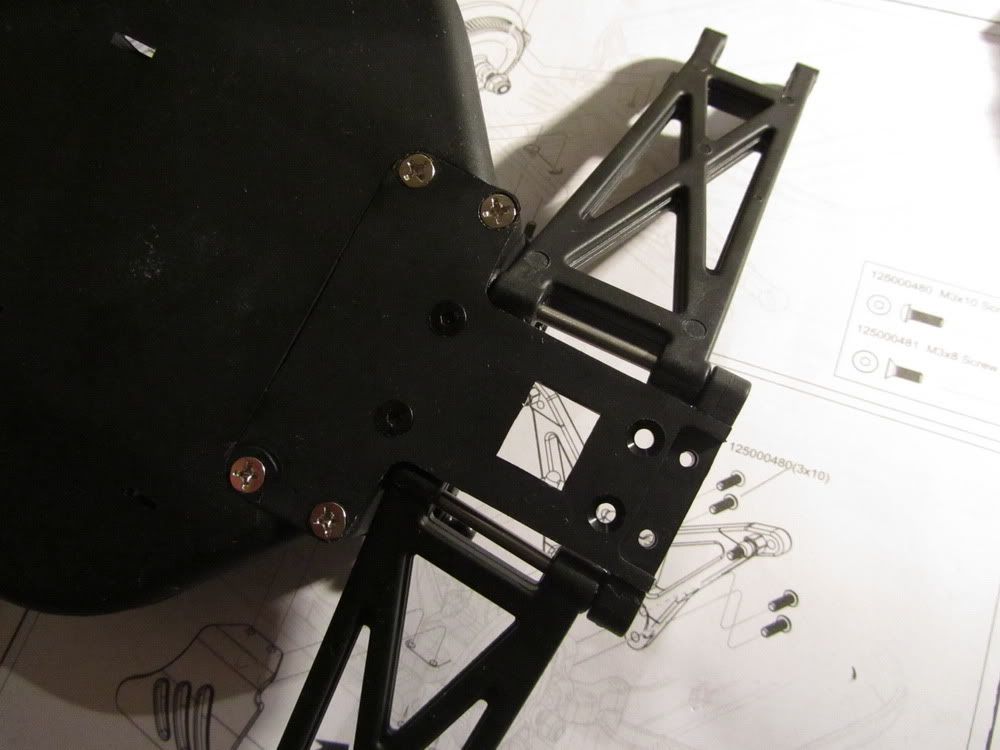
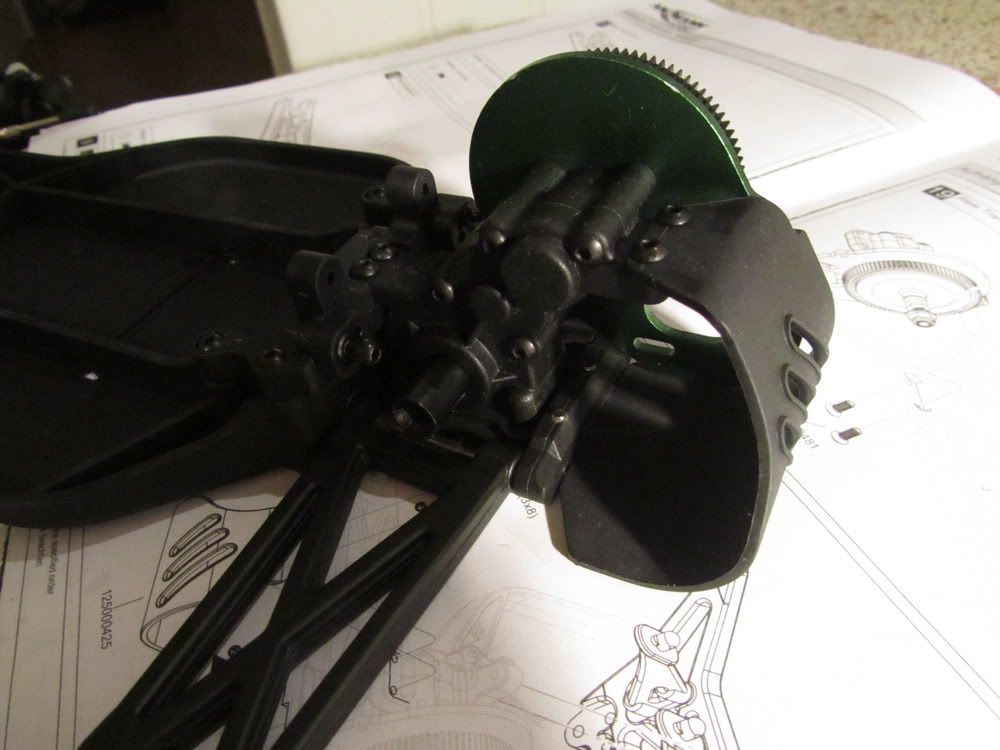
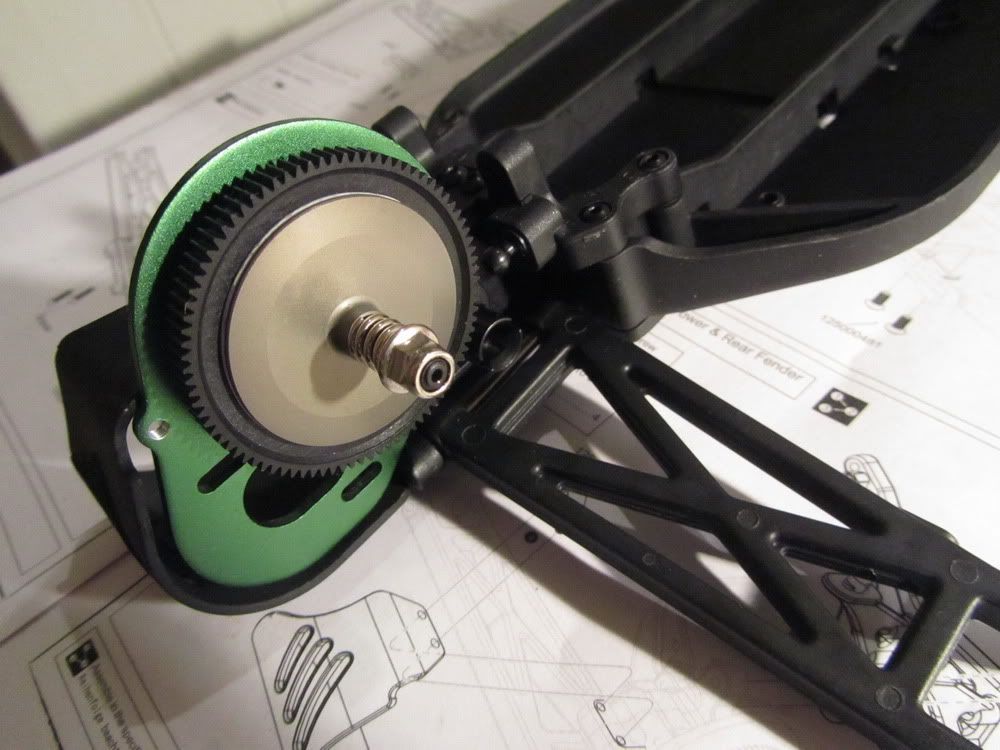
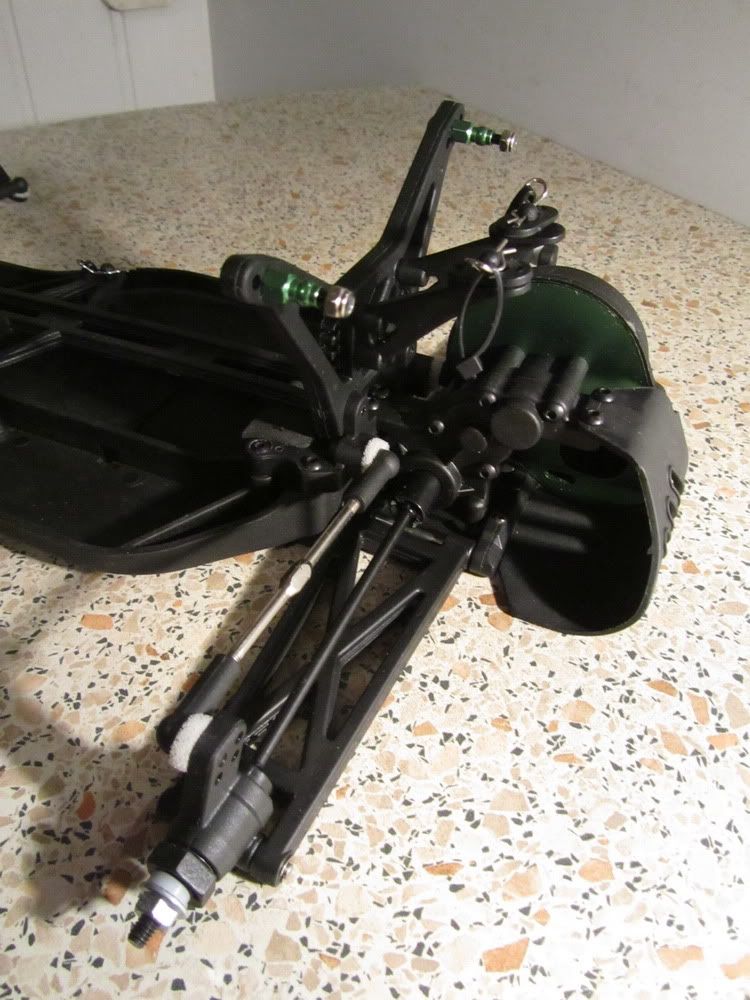
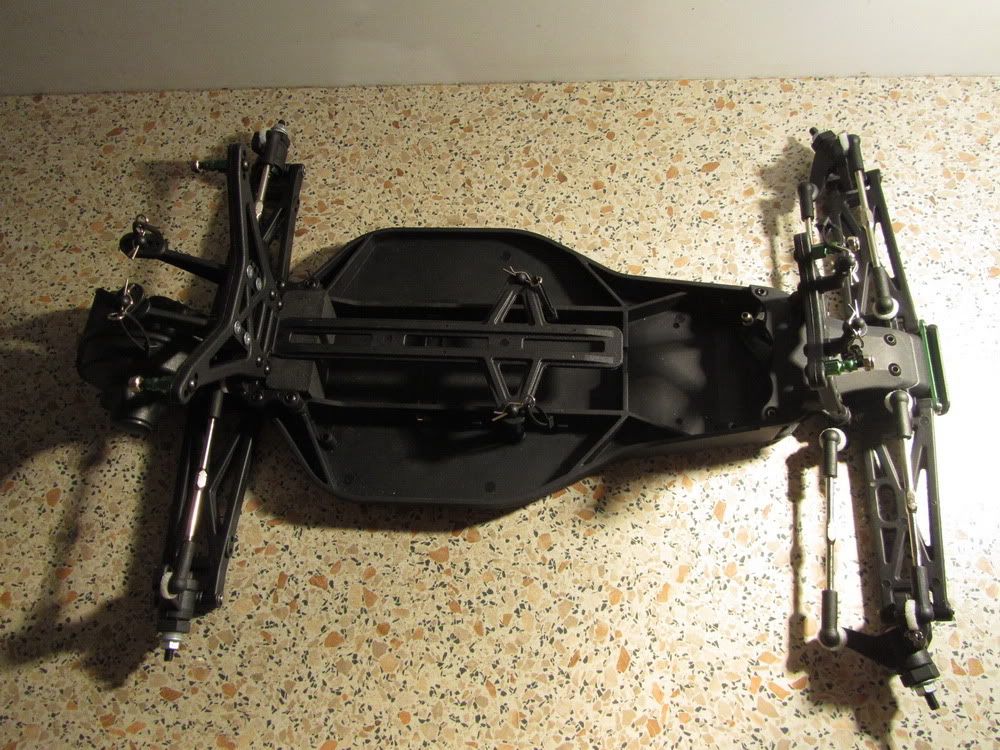
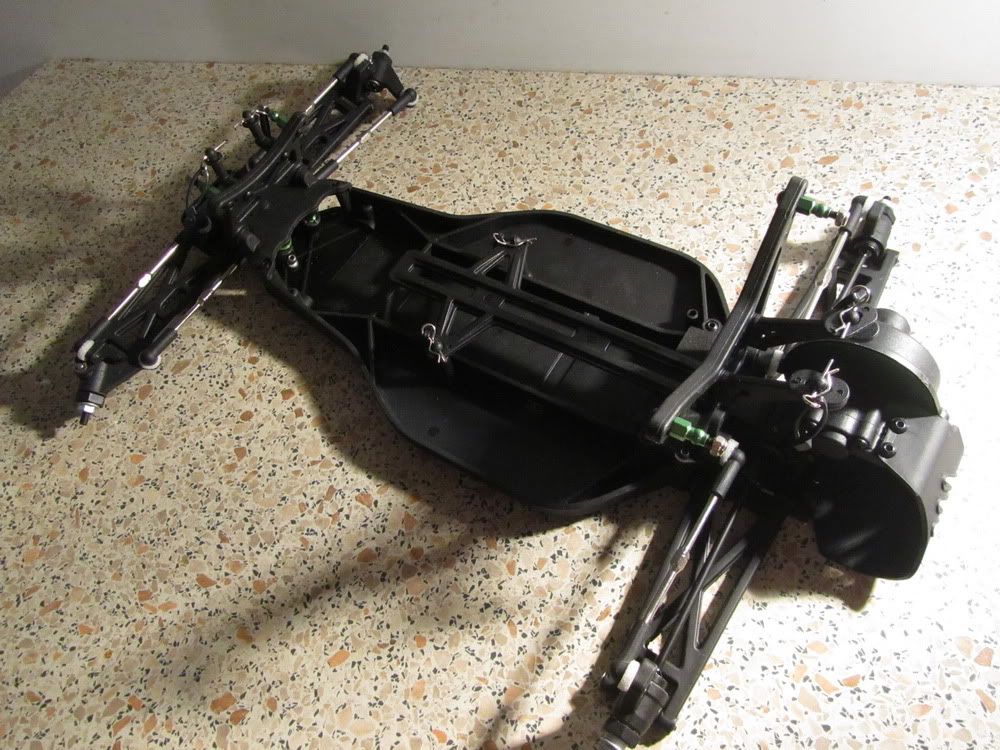
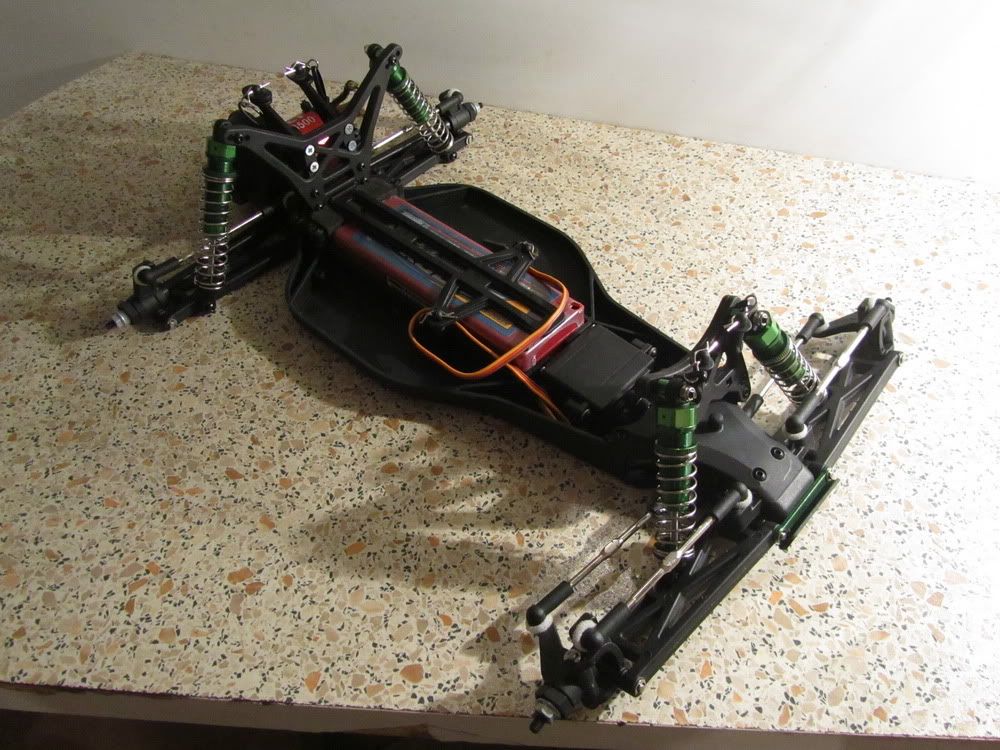
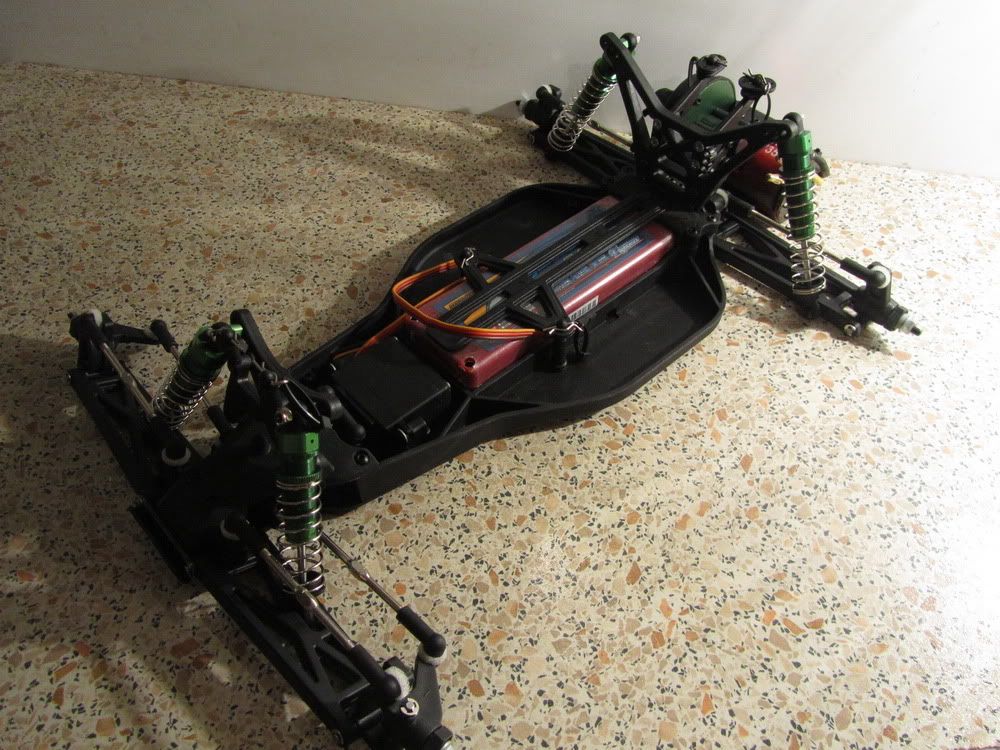
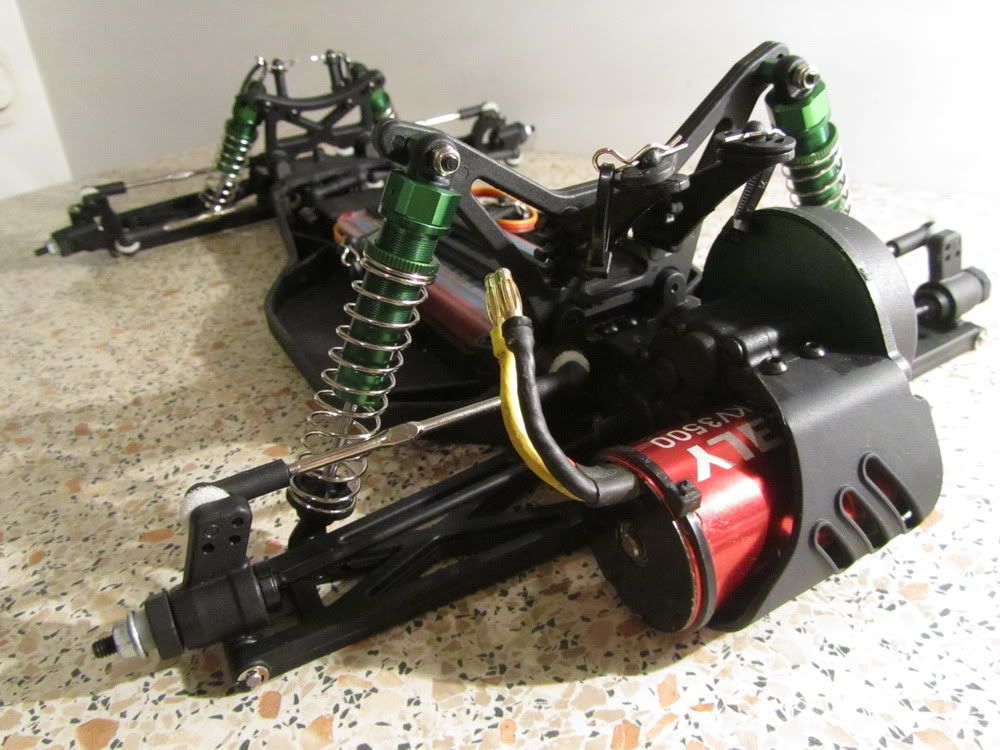
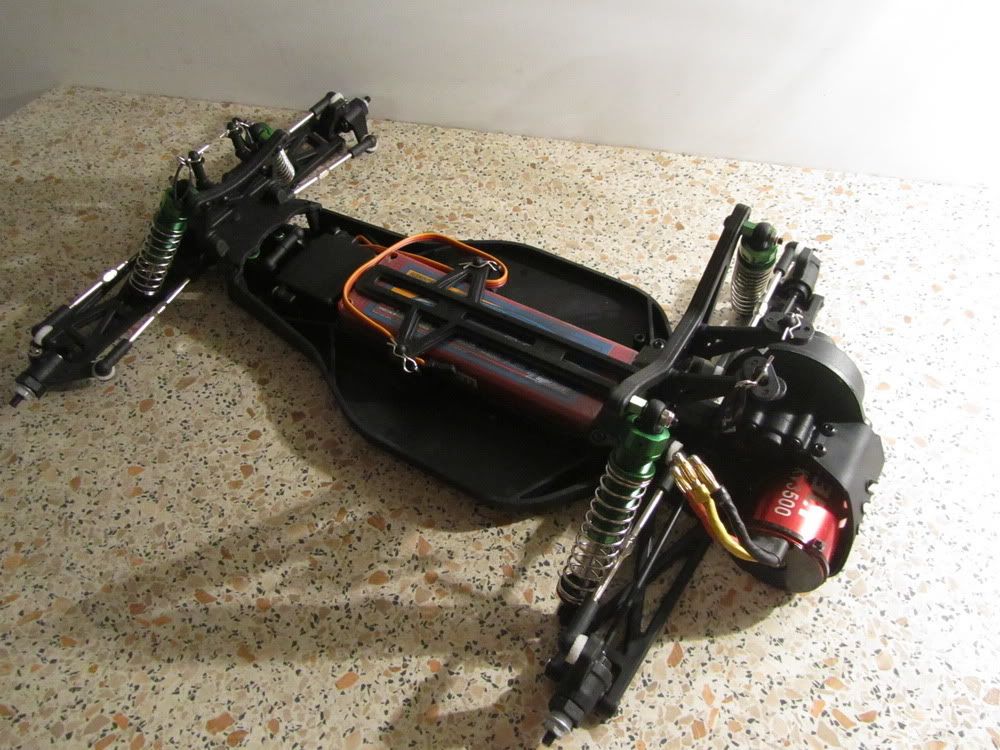
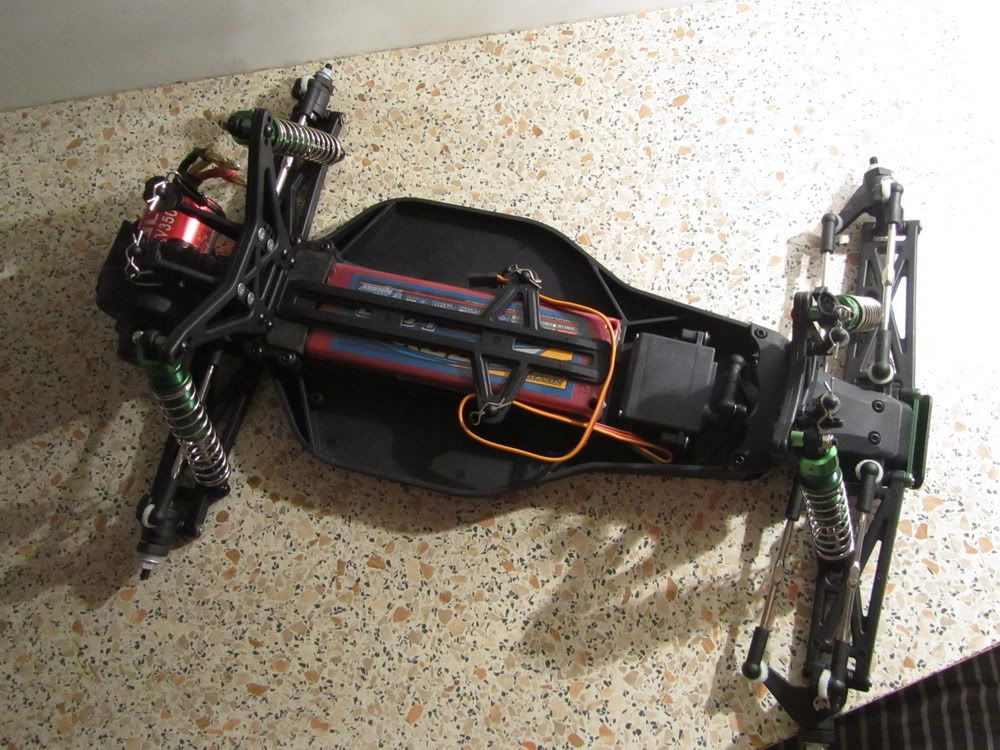
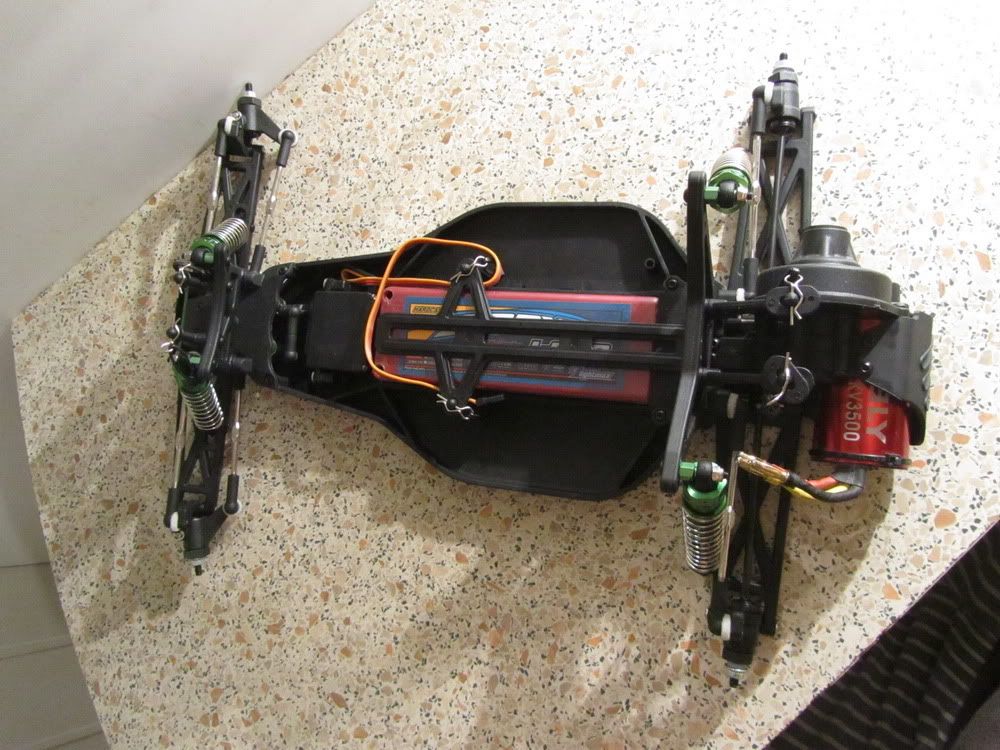
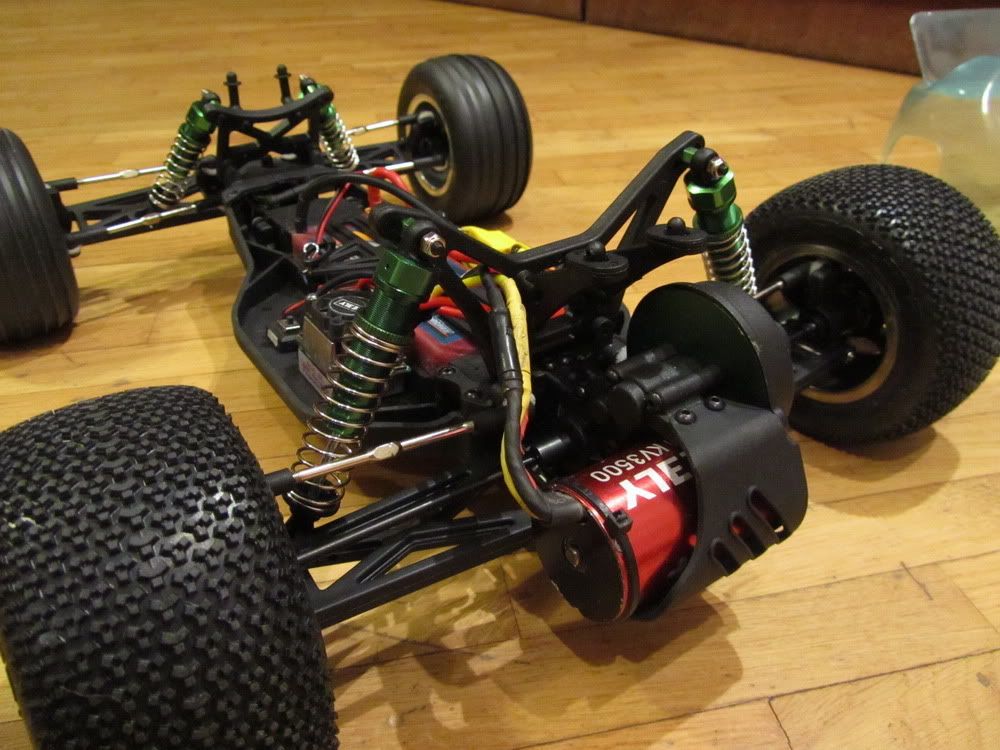
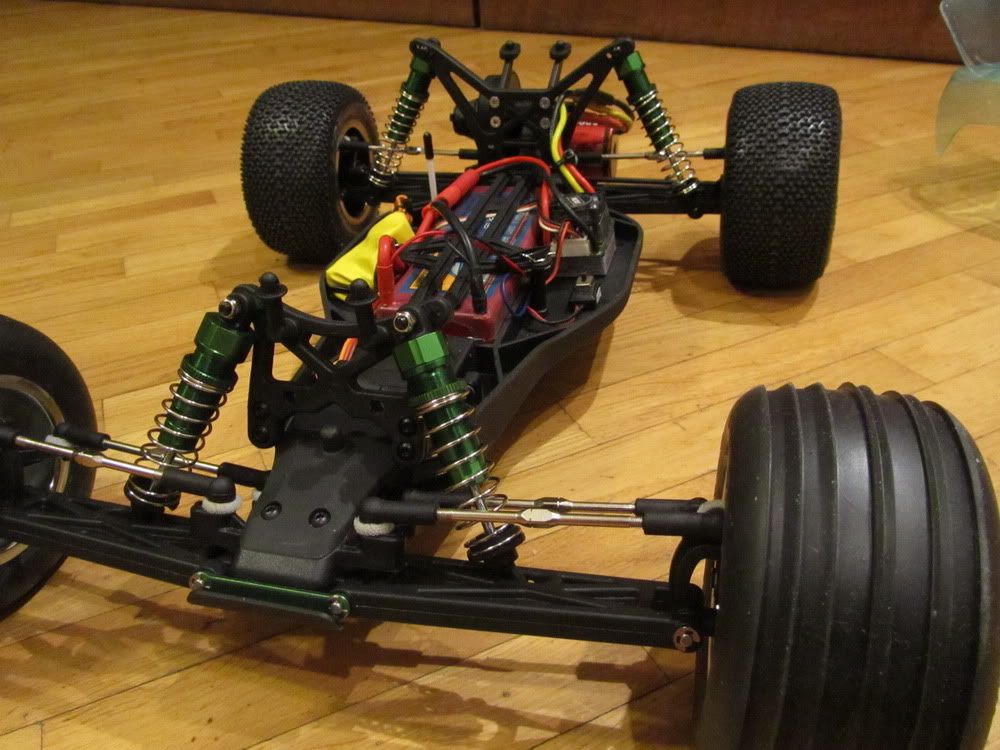
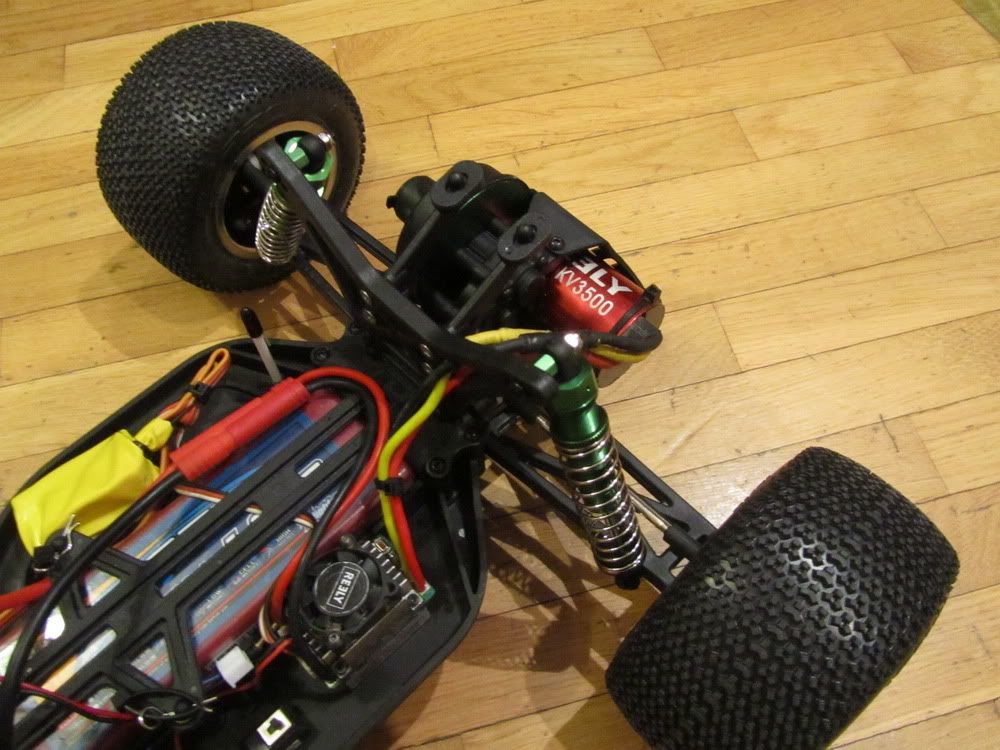
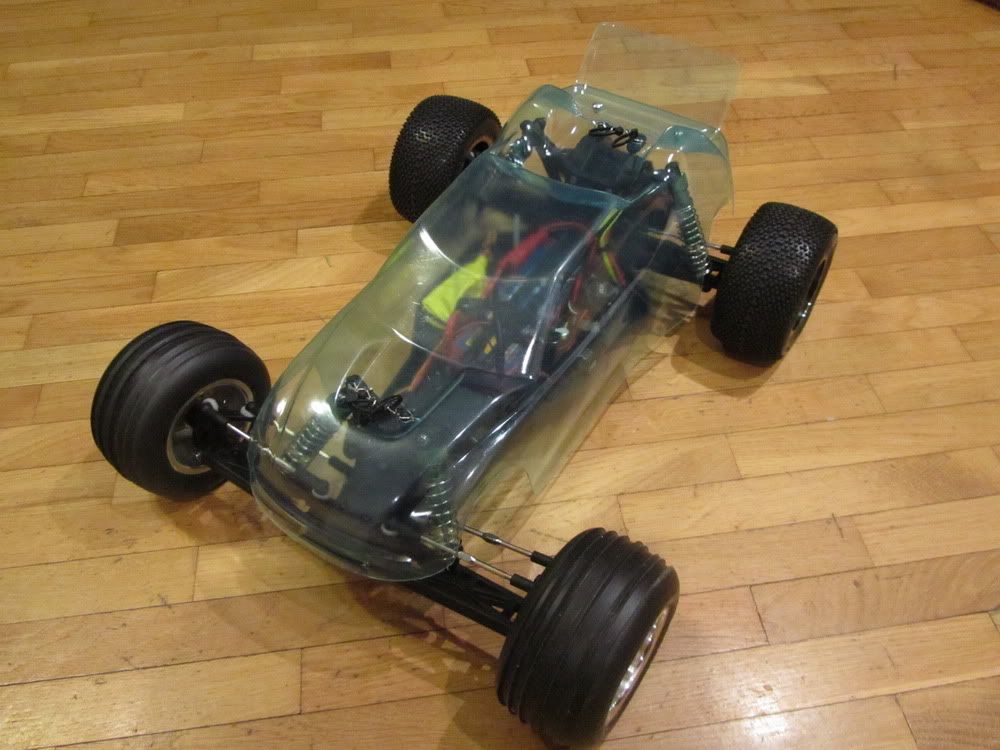
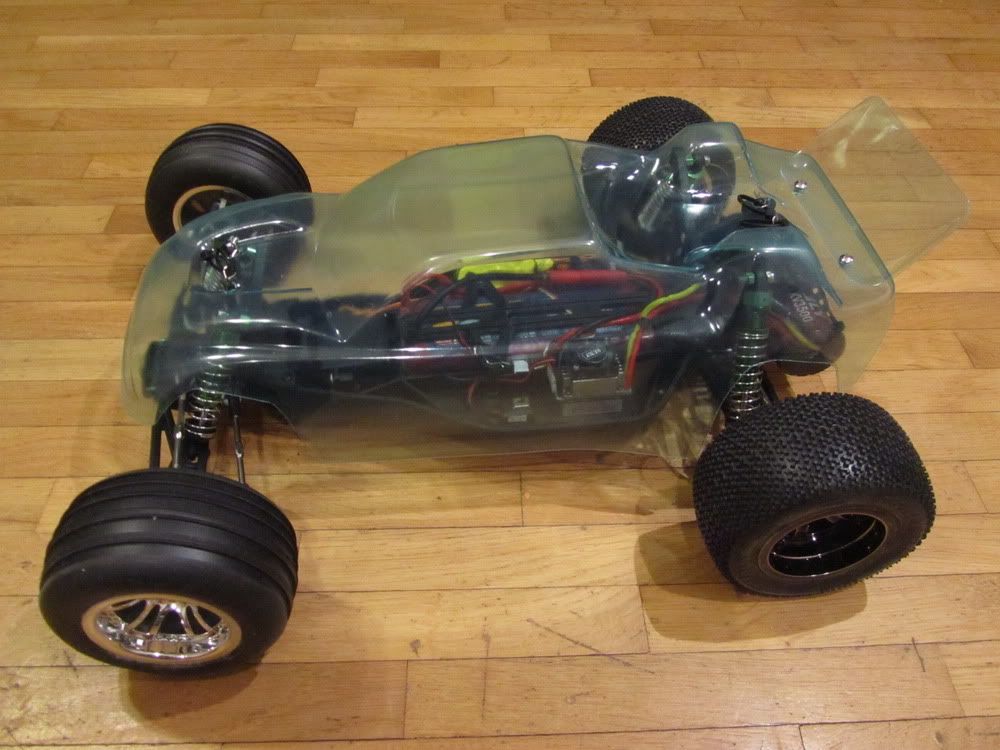
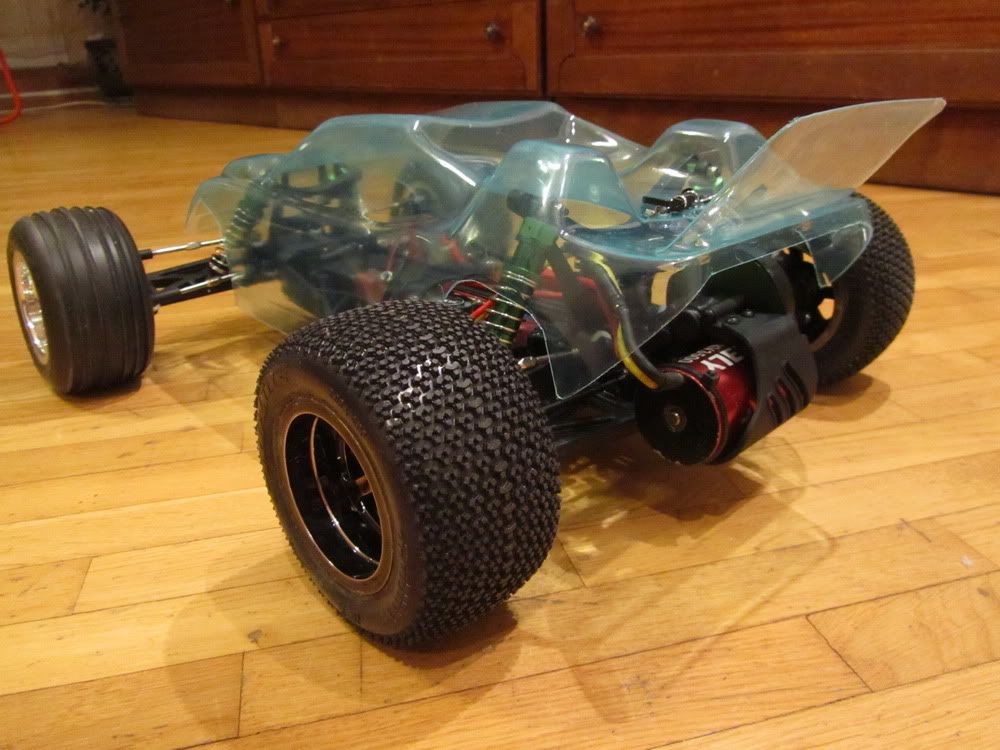
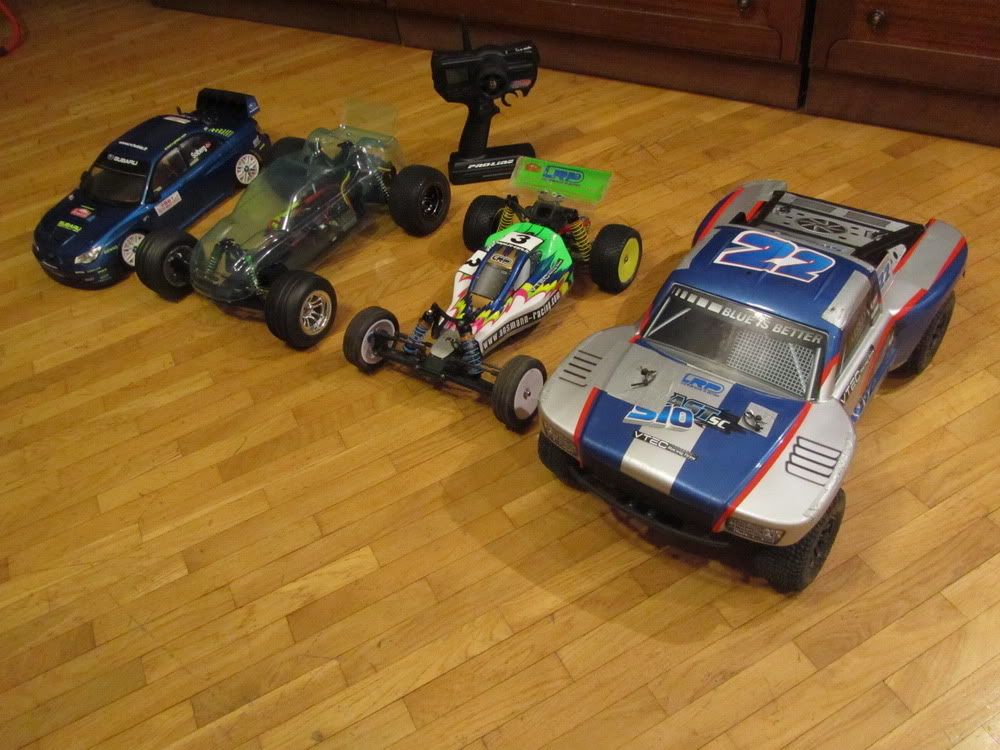
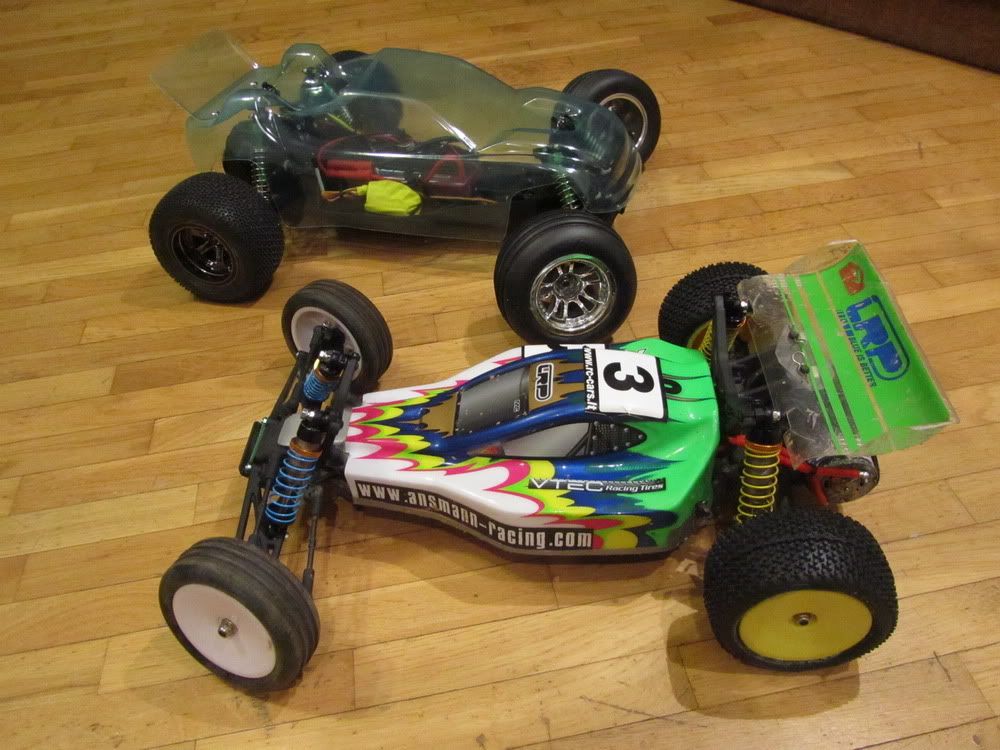
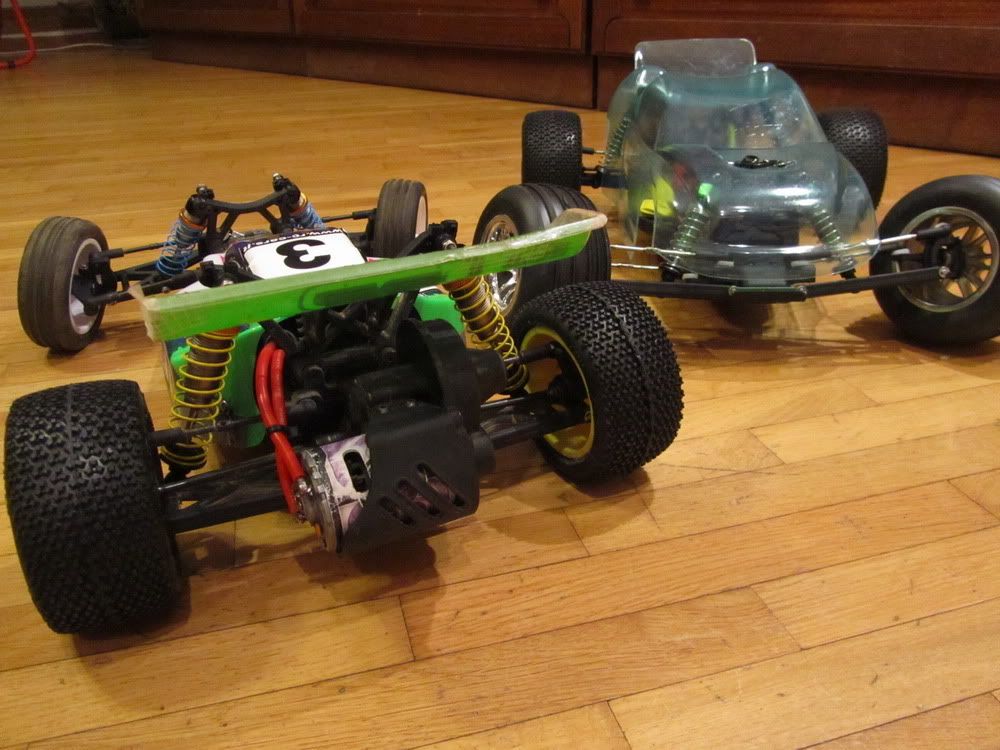
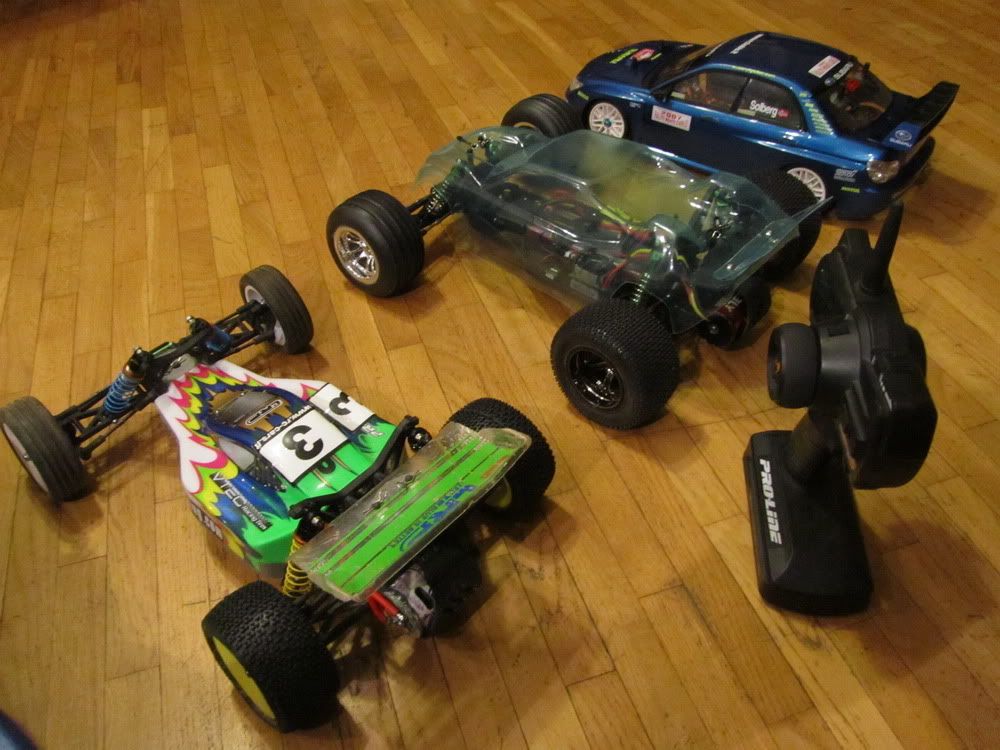
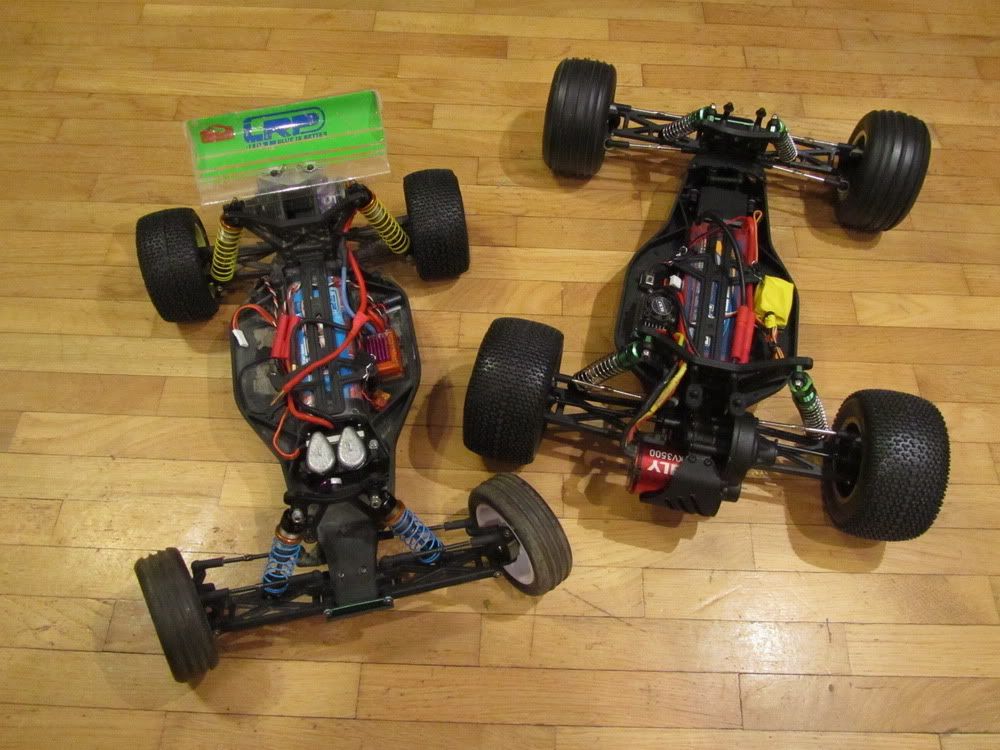
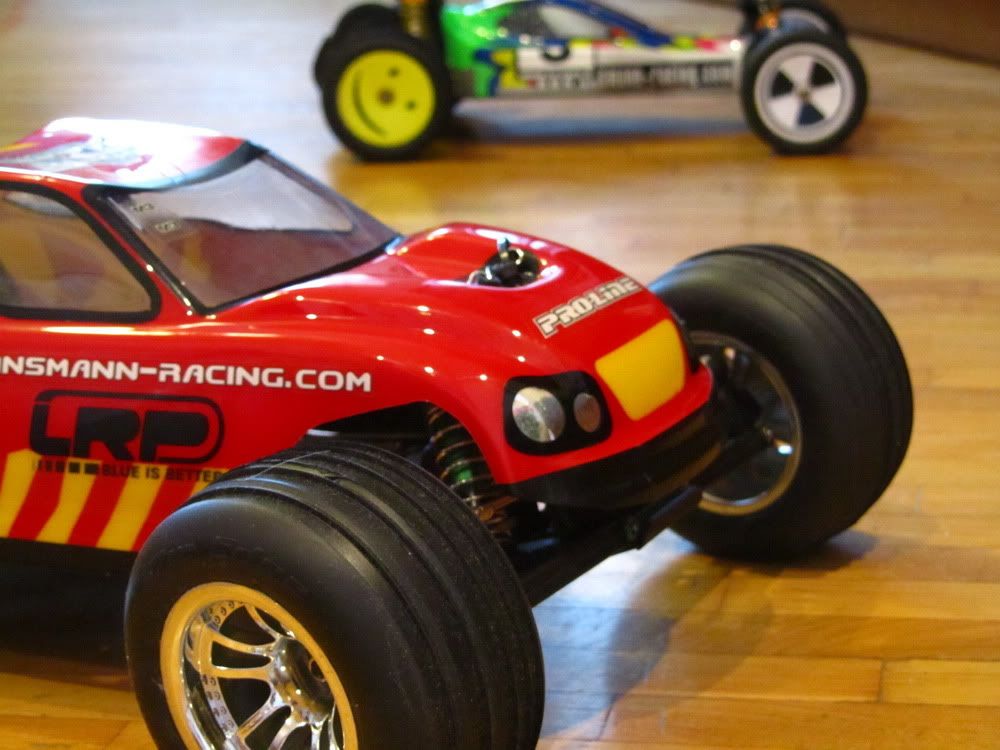
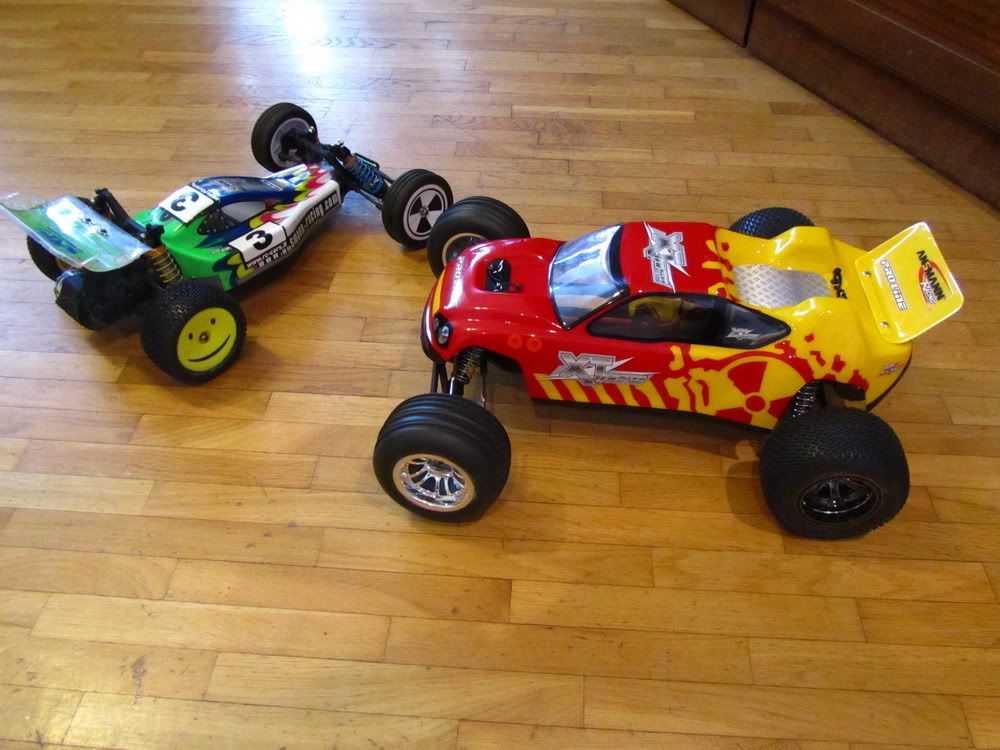
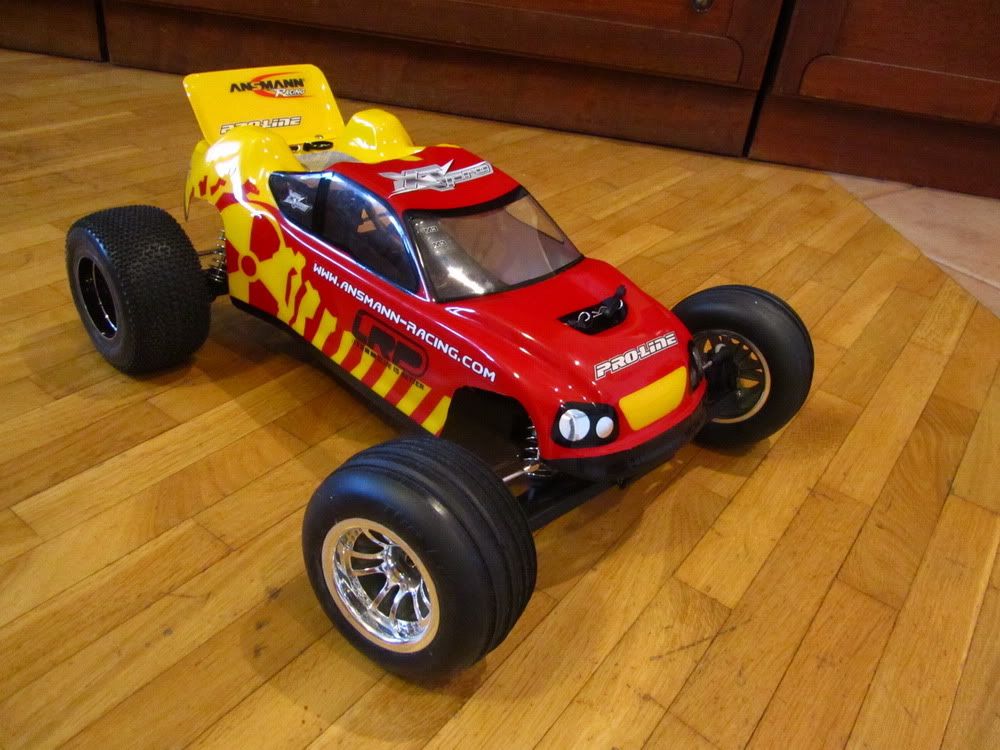
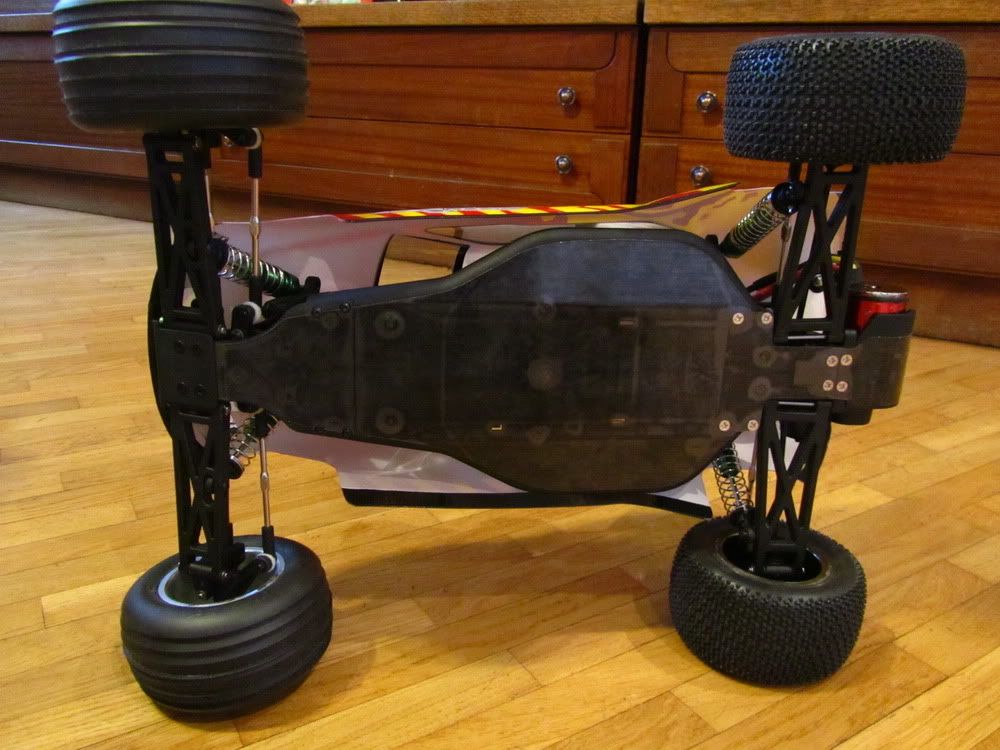
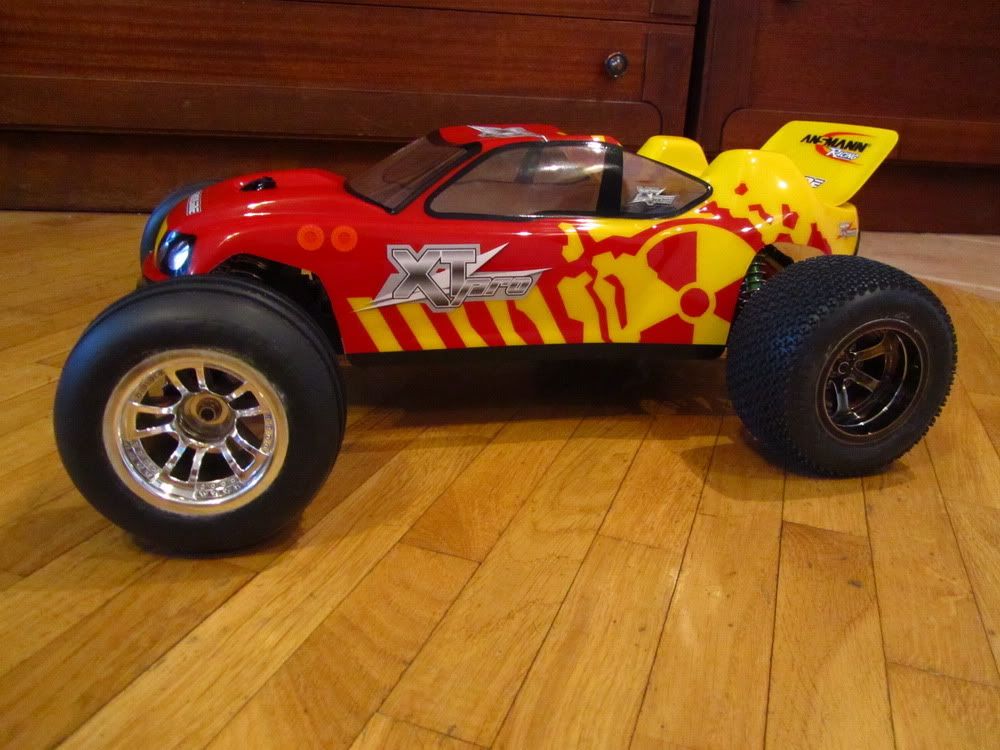
So, i've got Ansmann XT Pro 2wd Stadium Truck KIT.
Model is going to be used for training with mild brushless system (540, 30A, 3500kv). Since I am a beginner, I am racing in standard class with my modified Mad Rat (with 23T brushed motors).

Servo is going to be a budget HXT 10kg with metal gears from HobbyKing. Tyres: rear Proline Caliber, front Proline Ribbed. Batteries: various lipo from HobbyKing and LRP Ni-mh. Also I won't be using stock dished rims. I will use some shiny HPI stadium truck rims

I just absolutely love building kits, because they create half of happyness of this hobby I got it very cheap here in Lithuania (about 70 pounds). I like the model because of its nice features: quality aluminium shocks, carbon fiber reinforced plastic, adjustable turnbuckles, rubber shielded ball bearings and so on. Model comes without tyres and with clear polycarbonate body.

Box and its contents:


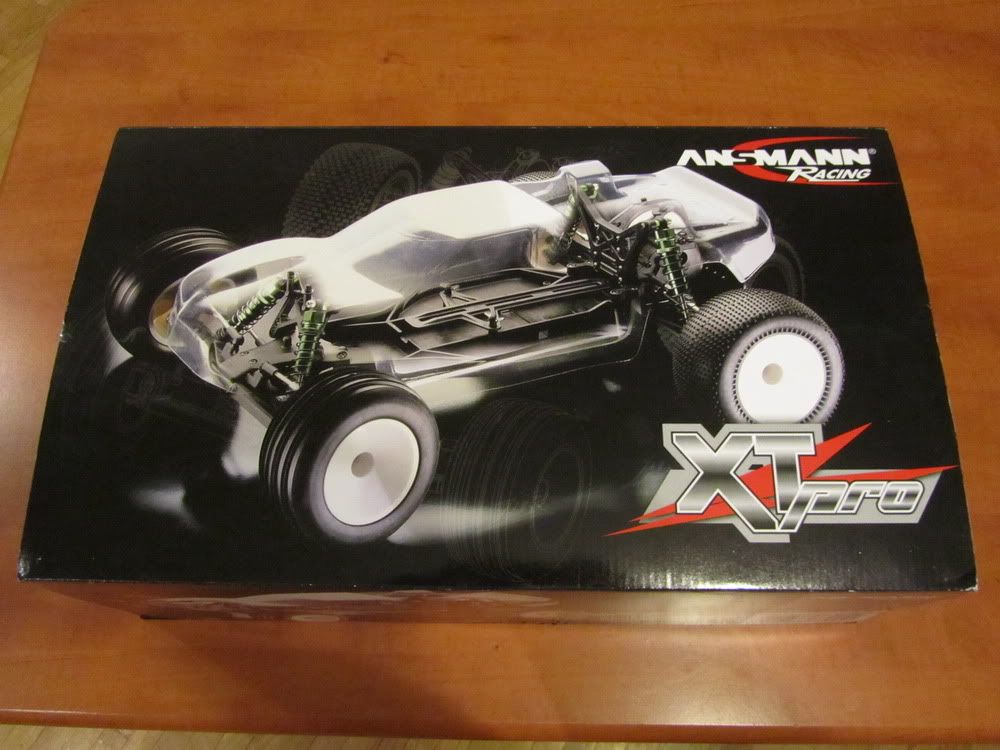
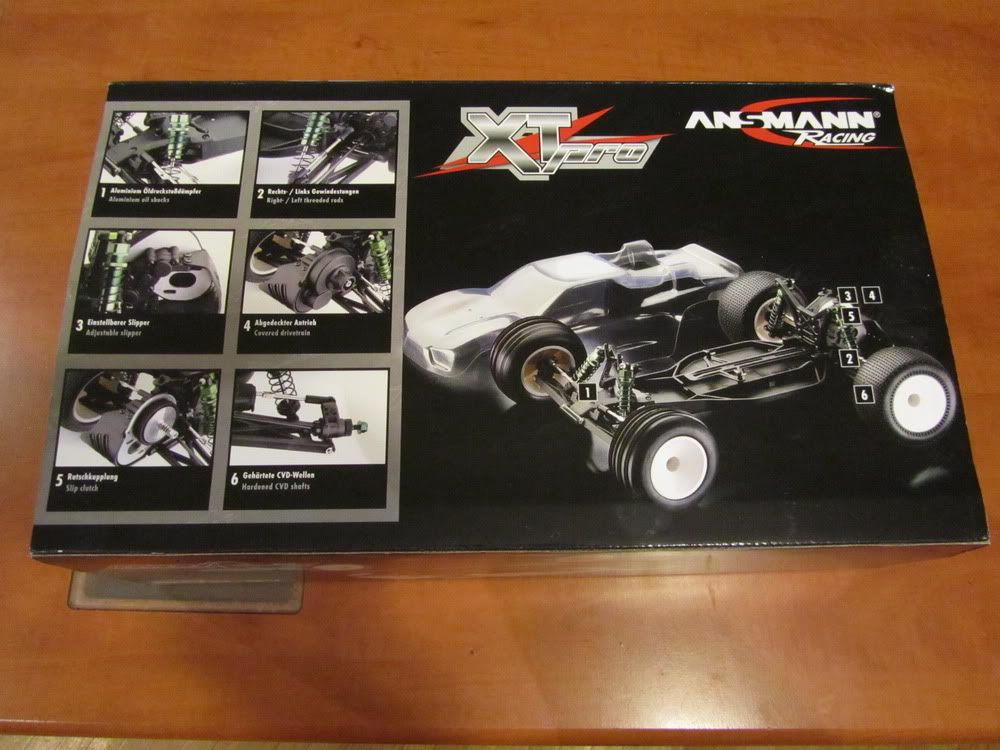
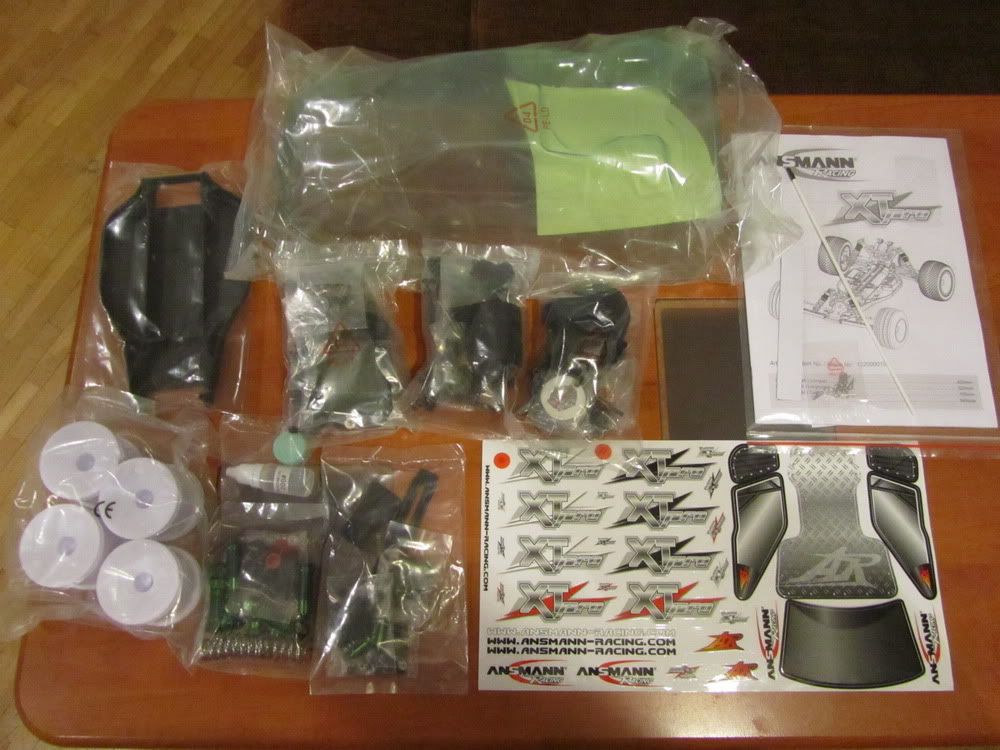
Typical 2wd model front suspension:


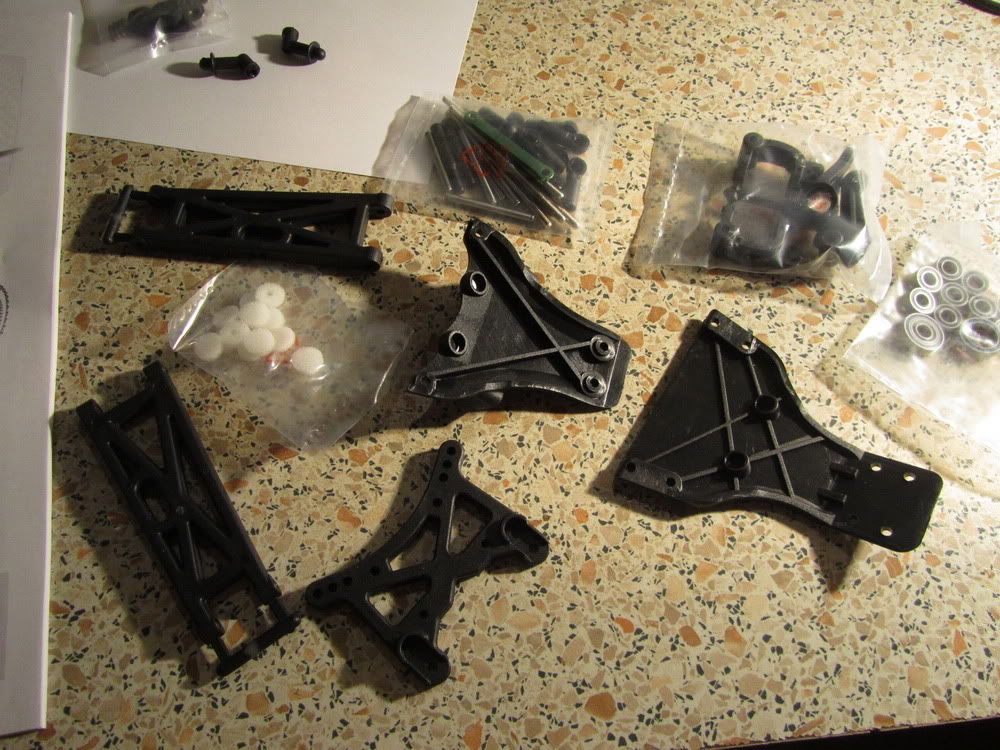
Carbon fiber reinforced plastic:


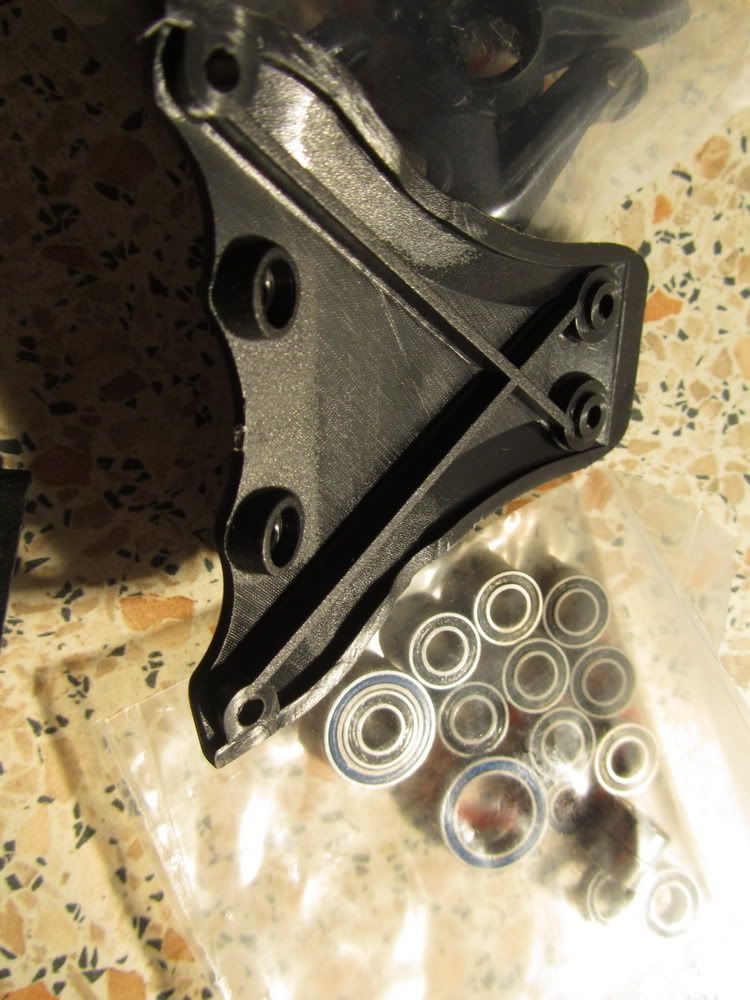
One of the first problems I got, were the very soft screw heads. I have stripped a lot of them, maybe because I didn't have the top notch screwdiver. I have replaced them with silvery phillips headed ones (since I couldn't find any black ones with hex sockets in my city). I didn't want to order them from ebay, since I can get simple ones three times cheaper in local hardware shop.


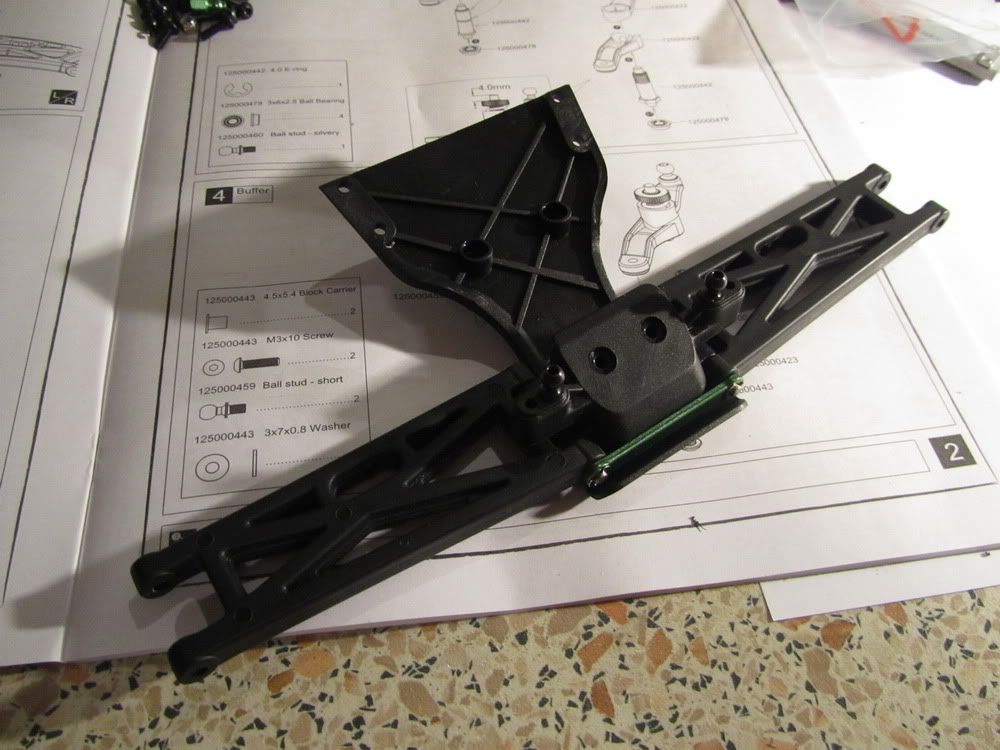
Servo saver - good thing. Alse the steering assembly feels quite strudy.


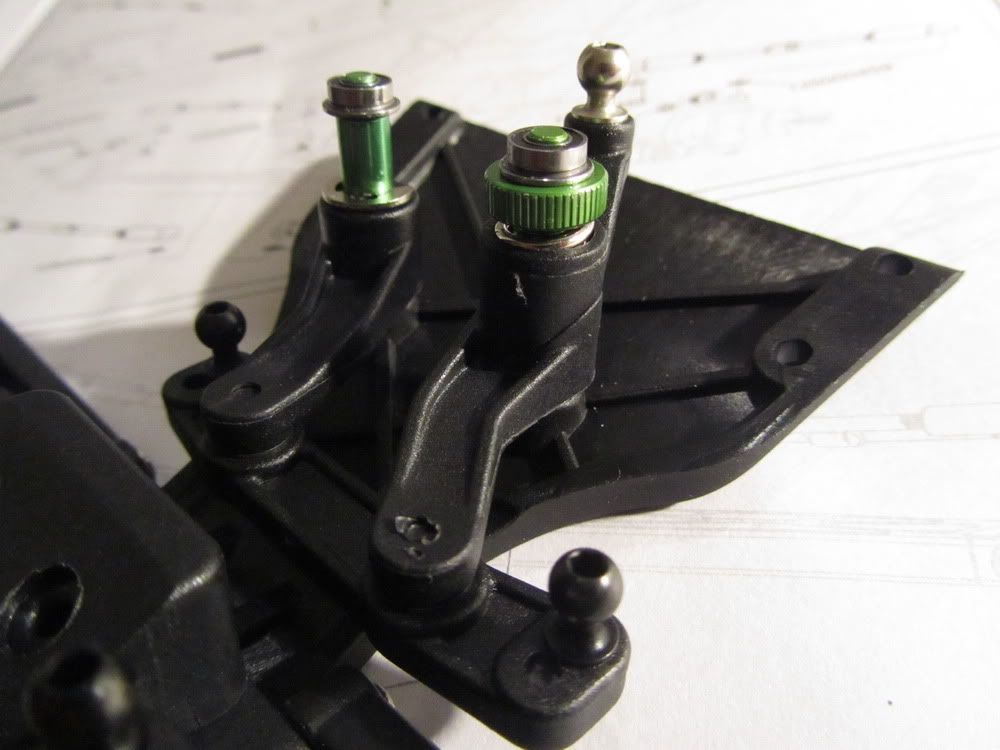
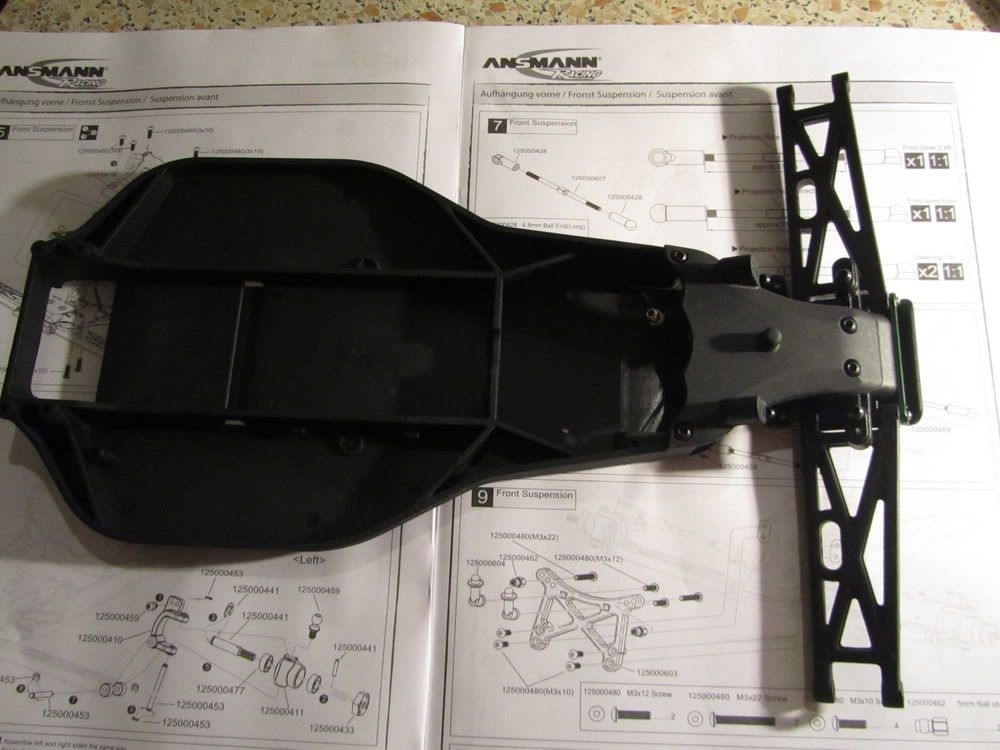
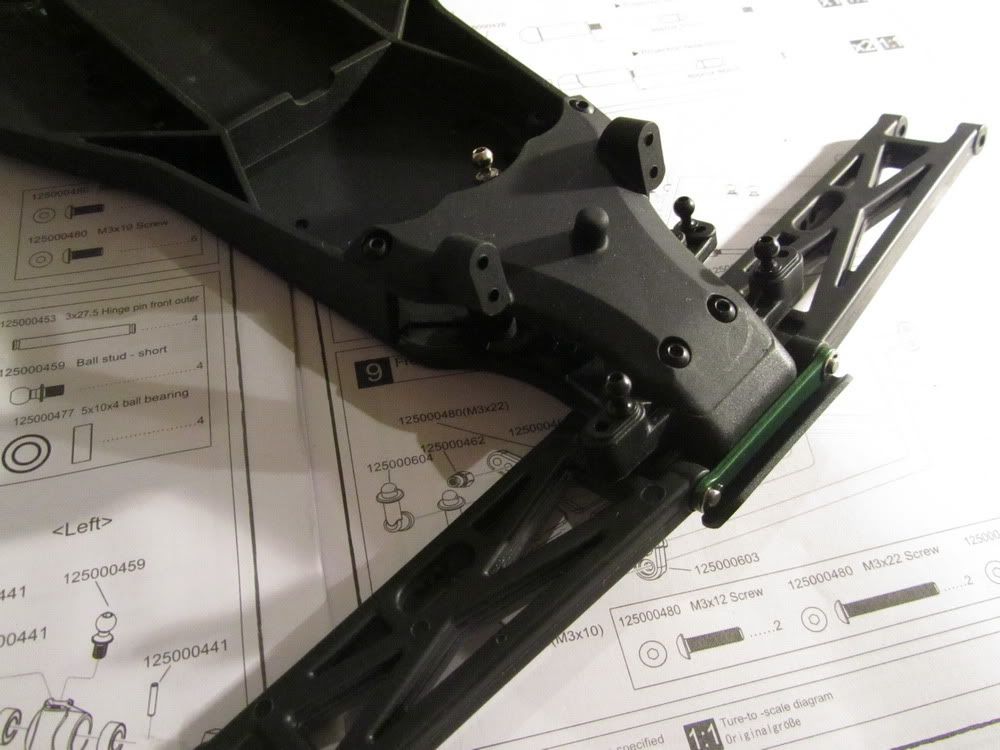
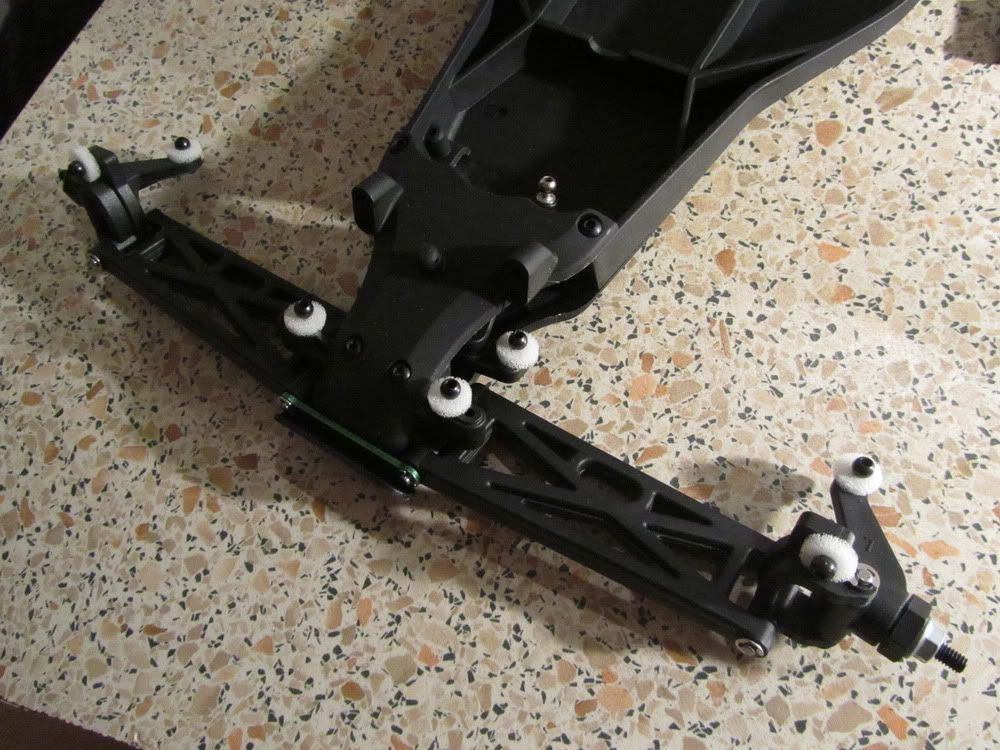
These "pillows" are nice for protecting and cleaning up the ball heads. I would like to get some aluminum hubs and other hop-ups, but they are too expensive. It seems, that Ansmann is not a very popular manufacturer (like AE or Traxxas) and I can't get cheap hop ups from China. So I will leave the stock plastic parts, because the high price won't cover up the benefit.
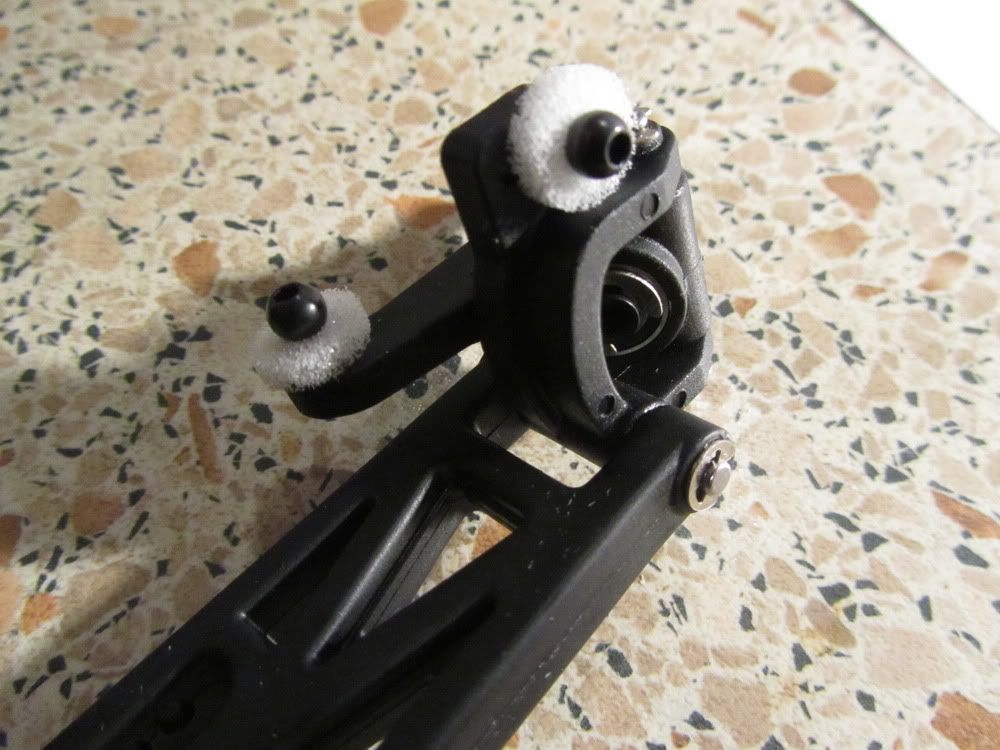
Reply With Quote
  #2  
Old 19-03-2012
Mindauxx Mindauxx is offline
Member
 
Join Date: Oct 2011
Location: Kaunas, Lithuania
Posts: 32
Send a message via Skype™ to Mindauxx
Default

Turnbuckles:


Front suspension:


Reply With Quote
  #3  
Old 19-03-2012
Mindauxx Mindauxx is offline
Member
 
Join Date: Oct 2011
Location: Kaunas, Lithuania
Posts: 32
Send a message via Skype™ to Mindauxx
Default

Pretty good ball diff. Balls are not ceramic, but with the next maintenance, I will put in some ceramic (black) diff balls.


Complete diff:


Gearbox:

Reply With Quote
  #4  
Old 19-03-2012
Mindauxx Mindauxx is offline
Member
 
Join Date: Oct 2011
Location: Kaunas, Lithuania
Posts: 32
Send a message via Skype™ to Mindauxx
Default

Aluminium motor mount:


Quite nice quality slipper clutch:


Rear shock tower and braces:


Rear suspension:


Stripped screws were replaced with silvery ones

Reply With Quote
  #5  
Old 19-03-2012
Mindauxx Mindauxx is offline
Member
 
Join Date: Oct 2011
Location: Kaunas, Lithuania
Posts: 32
Send a message via Skype™ to Mindauxx
Default

Place for motor:


Everything in place. I love the CVD's in this model .


Reply With Quote
  #6  
Old 19-03-2012
Mindauxx Mindauxx is offline
Member
 
Join Date: Oct 2011
Location: Kaunas, Lithuania
Posts: 32
Send a message via Skype™ to Mindauxx
Default

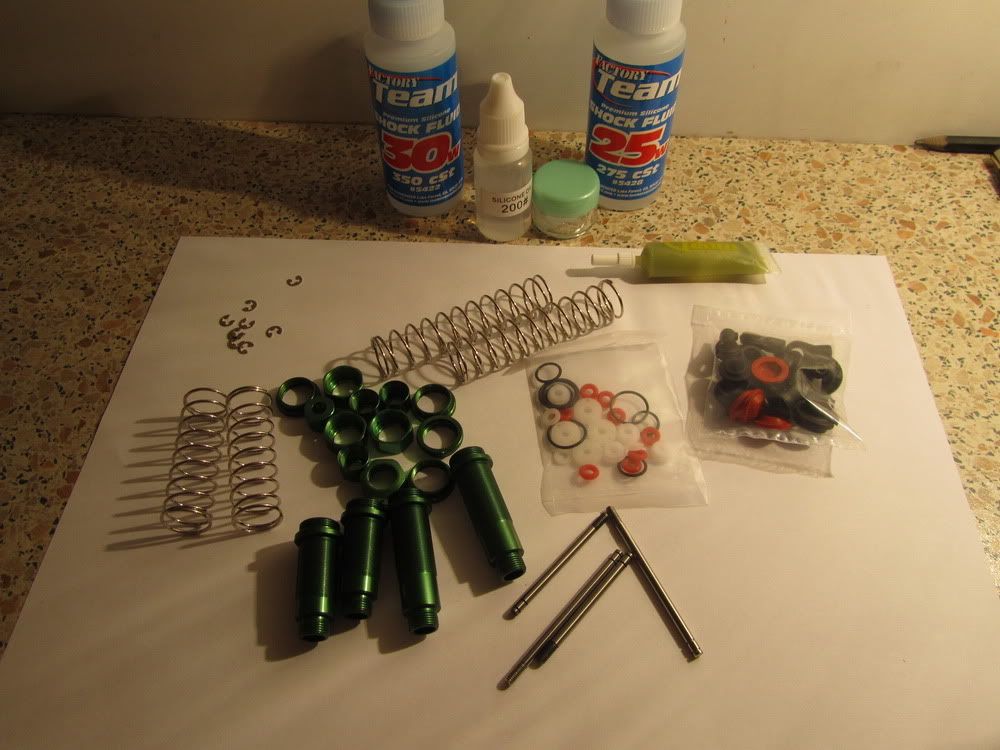
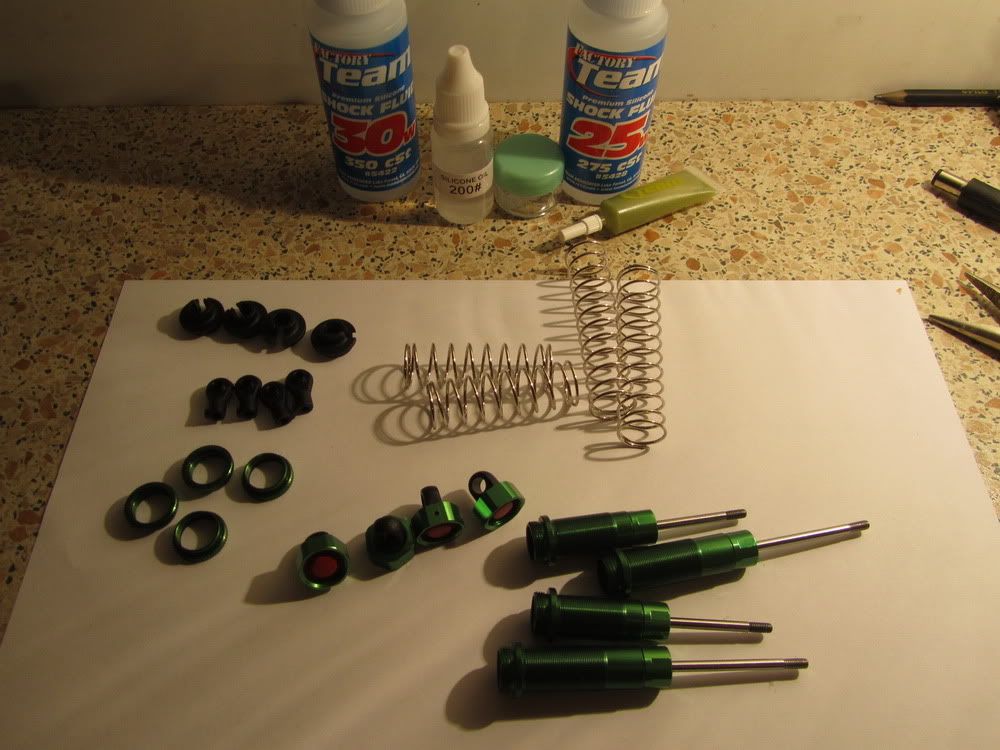
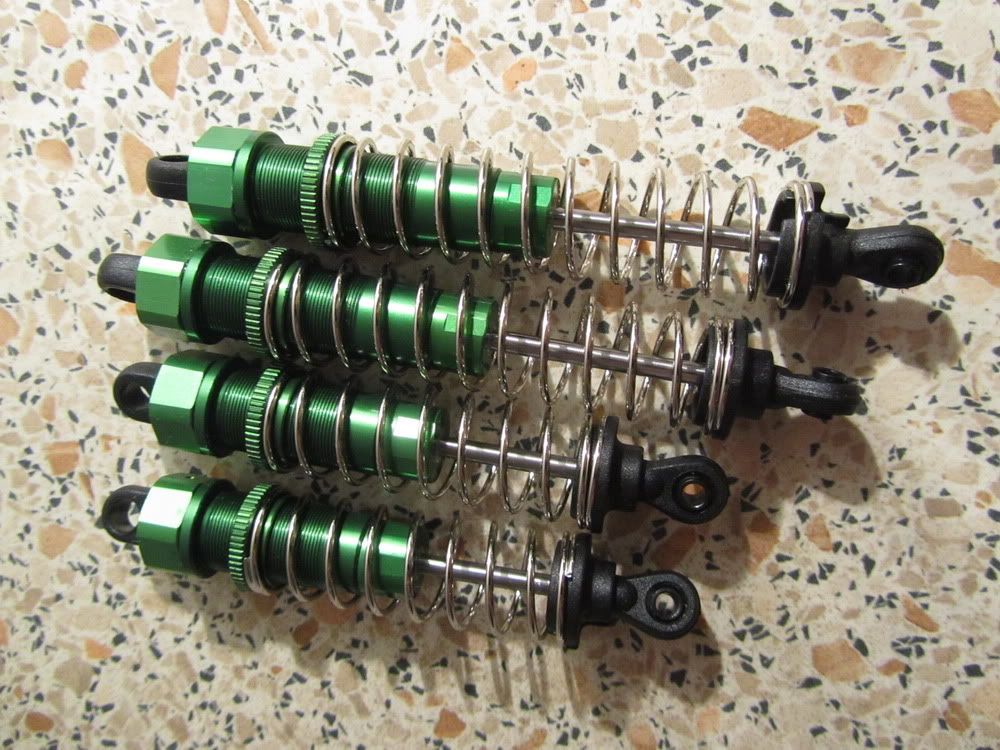
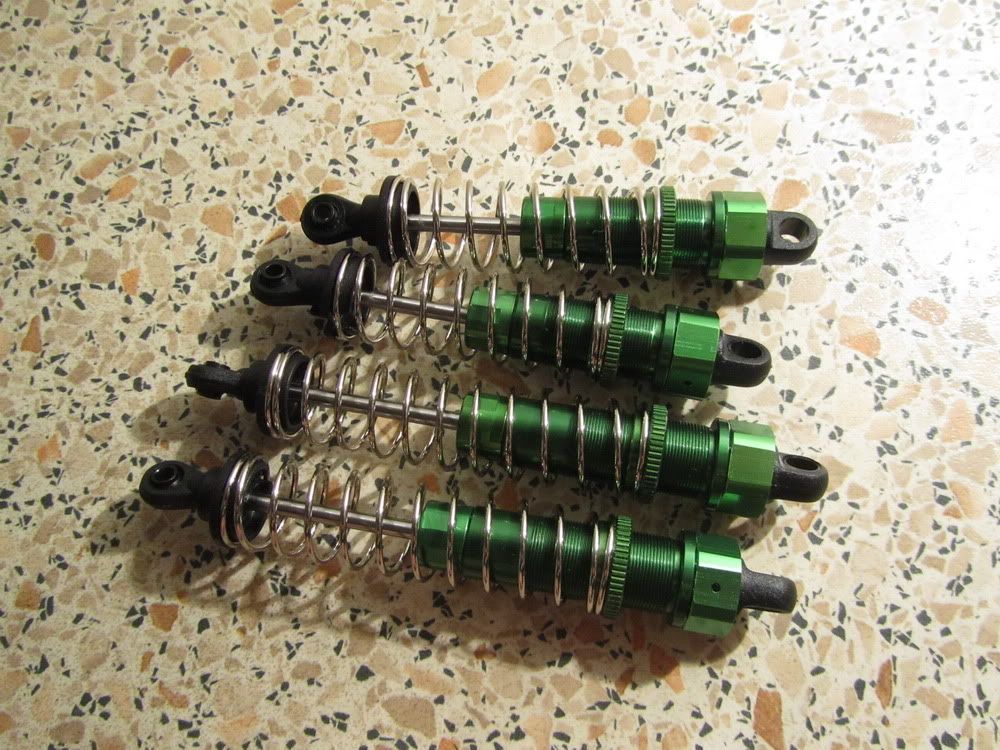
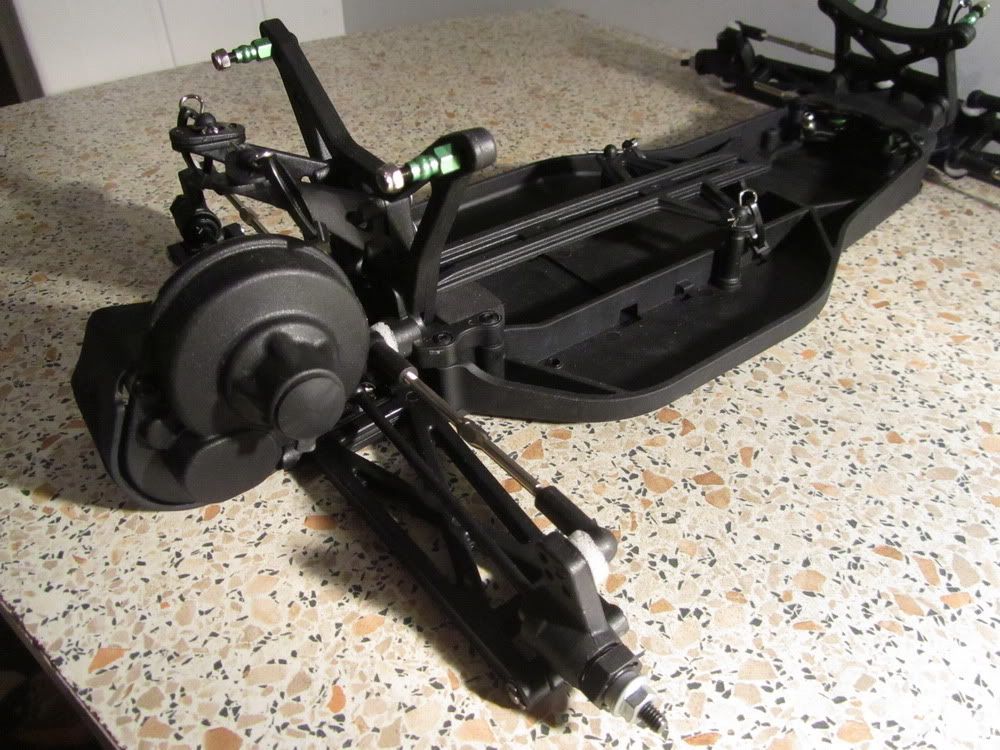
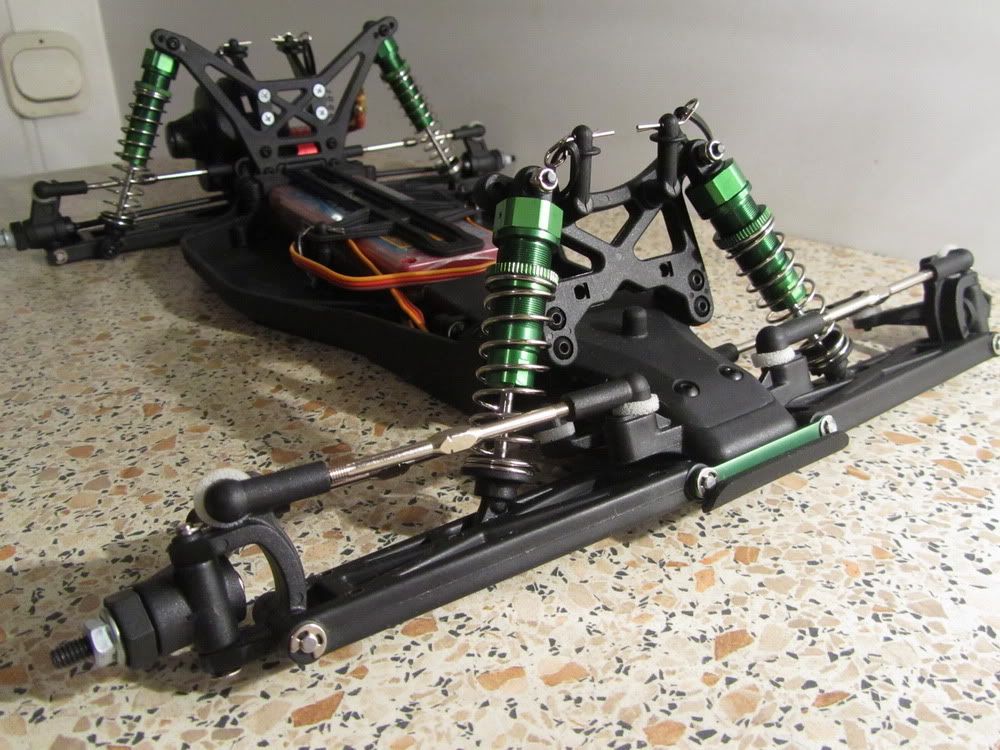
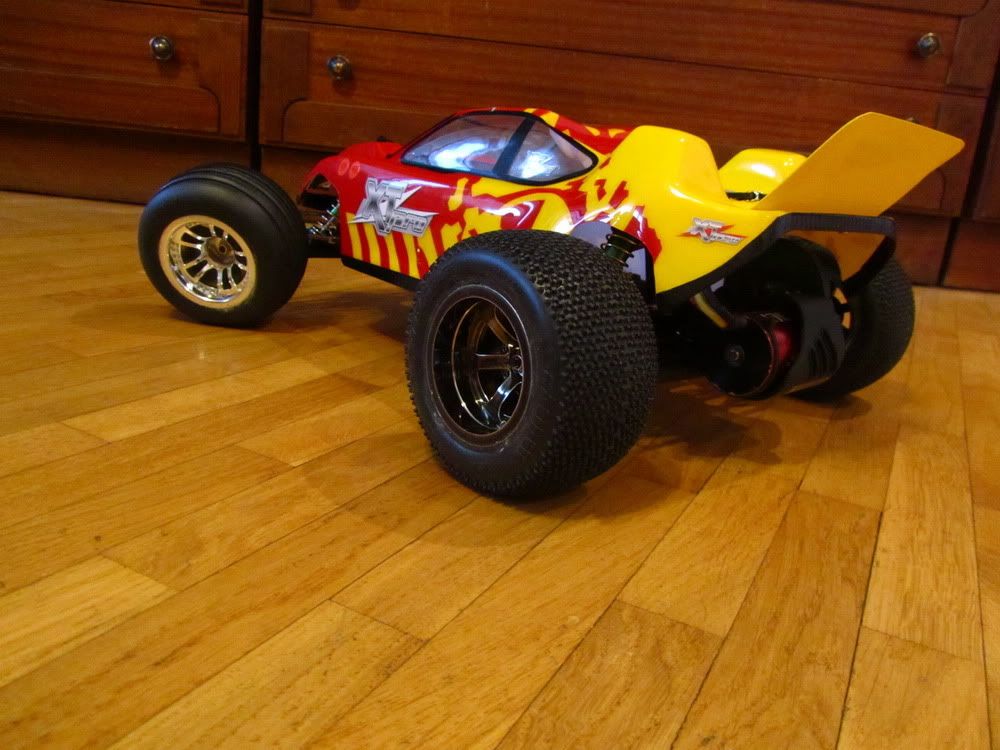
Shocks. I put 25wt to rear, and 30wt to front. Shock quality is very good. Shocks use bladder (I prefer it more over emulsion shocks). They feel just right for this model, a little on the soft side. It's just a pity, that there is only one set of pistons and springs


Reply With Quote
  #7  
Old 19-03-2012
Mindauxx Mindauxx is offline
Member
 
Join Date: Oct 2011
Location: Kaunas, Lithuania
Posts: 32
Send a message via Skype™ to Mindauxx
Default

Complete with shocks:


Reply With Quote
  #8  
Old 19-03-2012
Mindauxx Mindauxx is offline
Member
 
Join Date: Oct 2011
Location: Kaunas, Lithuania
Posts: 32
Send a message via Skype™ to Mindauxx
Default

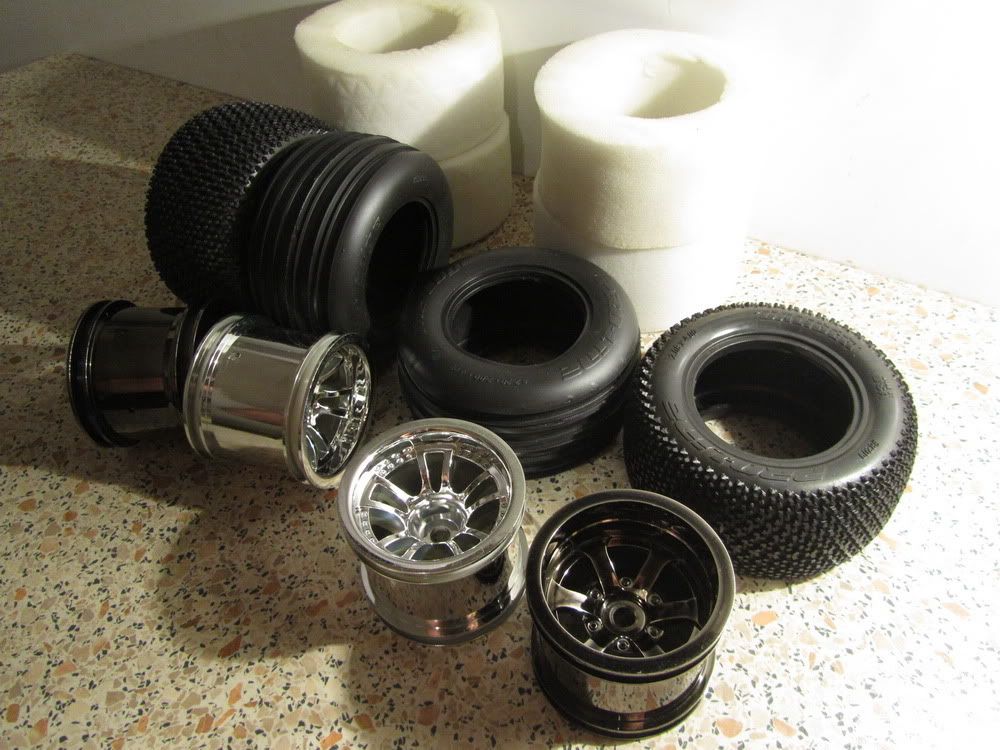
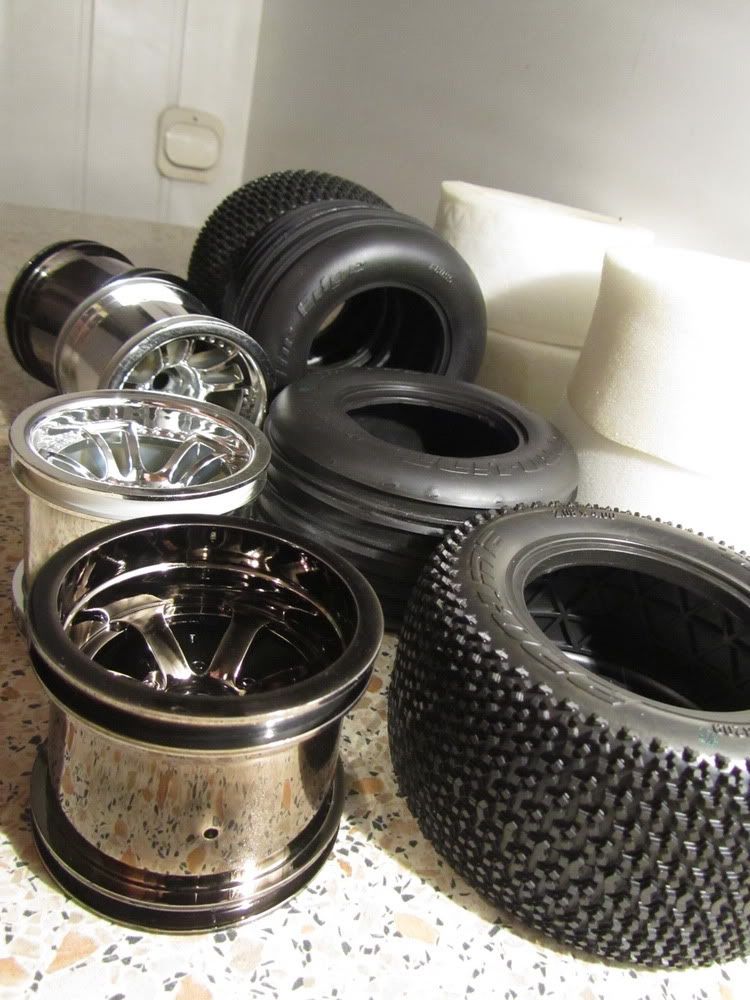
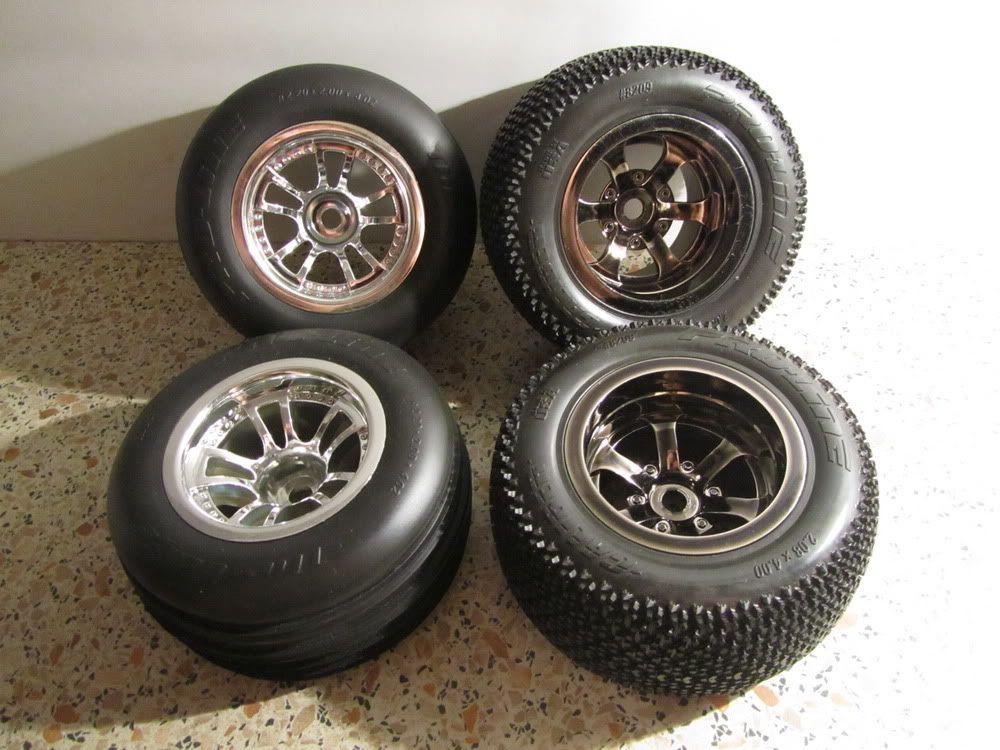
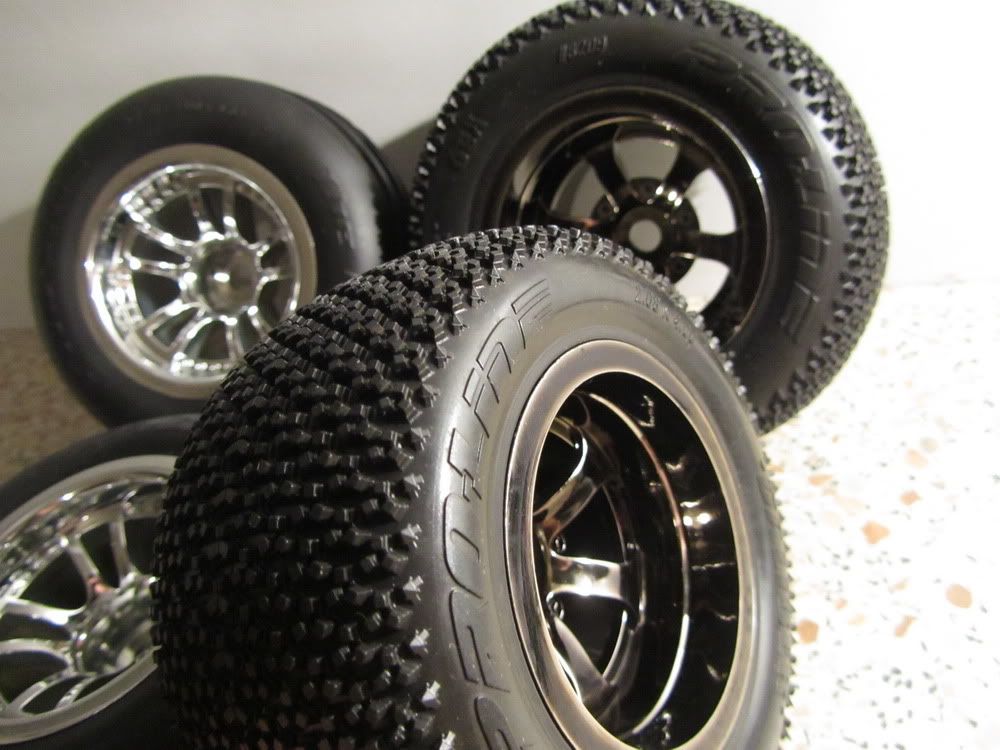
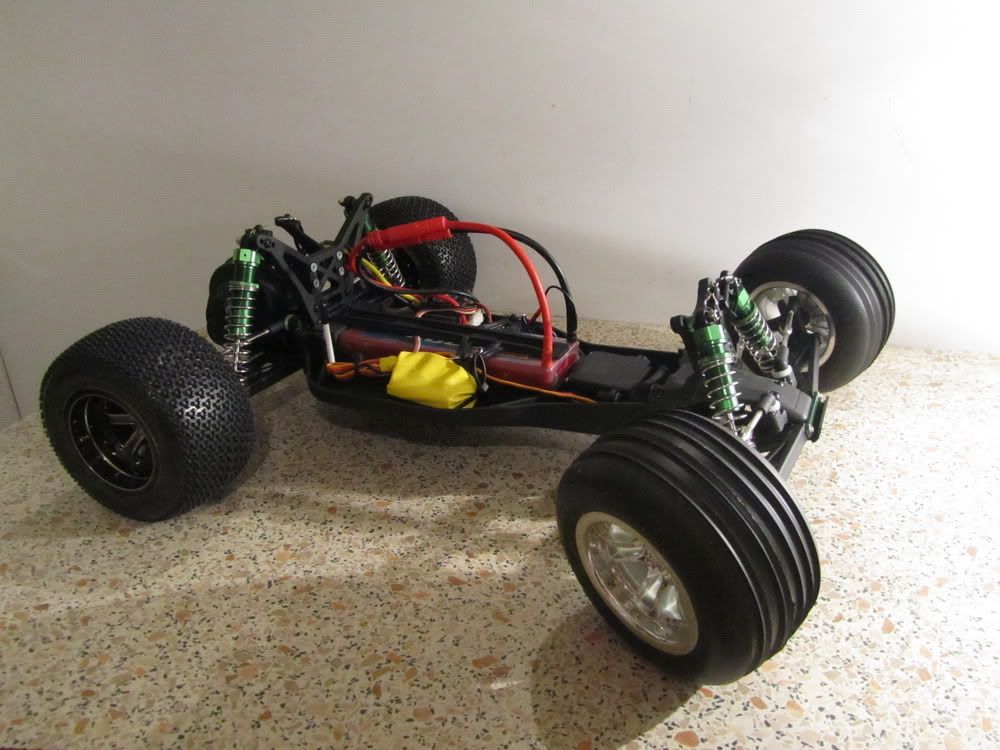
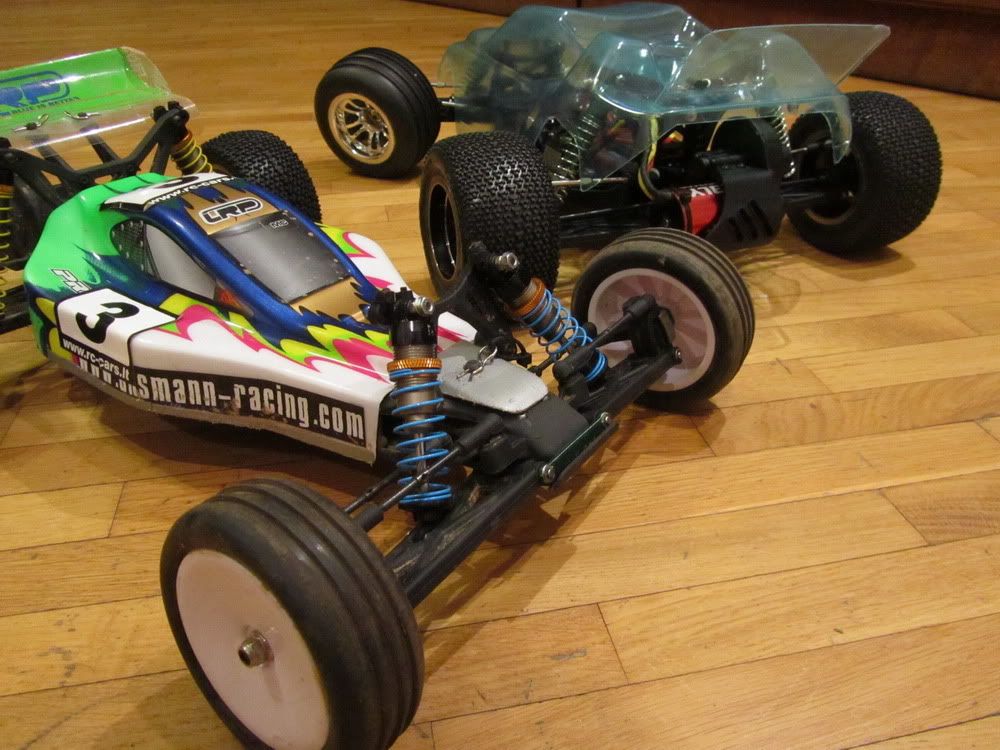
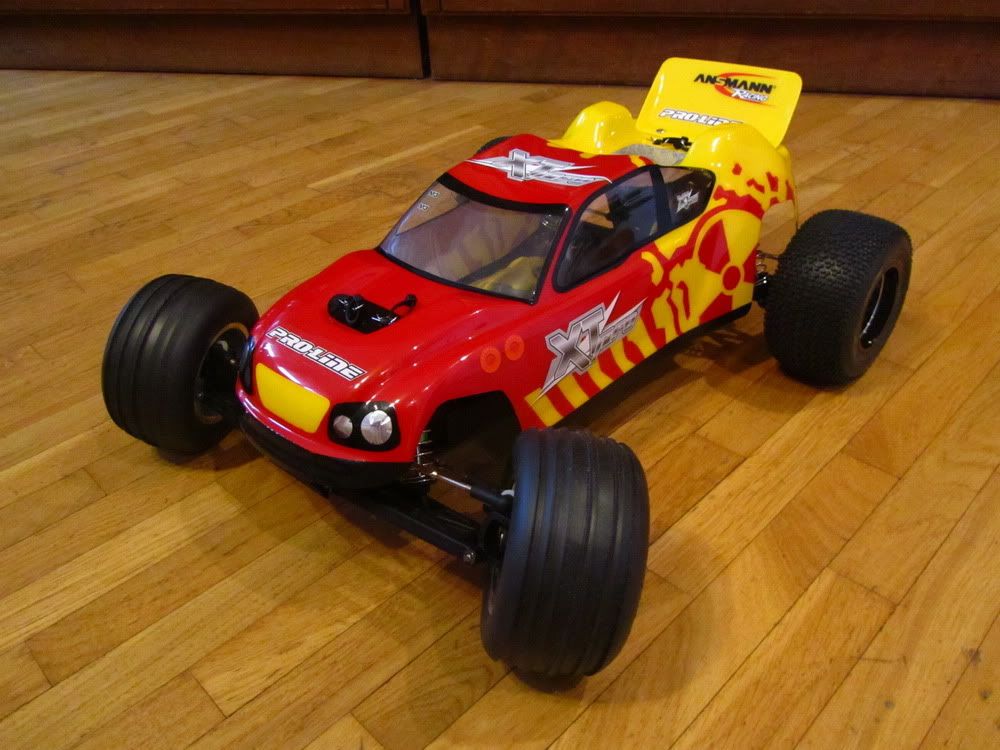
HPI rims and Proline tyres (Ribbed and Caliber, both M3). They feel quite soft and should have some good grip in my local RC track (dirt/gravel surface). I love these fancy rims and I am not currently using stock dished wheels. Maybe for spare wheels in the future.


Reply With Quote
  #9  
Old 19-03-2012
Mindauxx Mindauxx is offline
Member
 
Join Date: Oct 2011
Location: Kaunas, Lithuania
Posts: 32
Send a message via Skype™ to Mindauxx
Default

Complete with wheels and electrics. Receiver is inside the yellow balloon .


I have cut out the body and drilled mounting holes:


Reply With Quote
  #10  
Old 19-03-2012
Mindauxx Mindauxx is offline
Member
 
Join Date: Oct 2011
Location: Kaunas, Lithuania
Posts: 32
Send a message via Skype™ to Mindauxx
Default

Photosession with my other models:


Reply With Quote
  #11  
Old 19-03-2012
Mindauxx Mindauxx is offline
Member
 
Join Date: Oct 2011
Location: Kaunas, Lithuania
Posts: 32
Send a message via Skype™ to Mindauxx
Default

Preparations for body painting. First of all I have made the paint masks design in AutoCAD.


Painting:


Finished painting and removed the masks:


Reply With Quote
  #12  
Old 19-03-2012
Mindauxx Mindauxx is offline
Member
 
Join Date: Oct 2011
Location: Kaunas, Lithuania
Posts: 32
Send a message via Skype™ to Mindauxx
Default

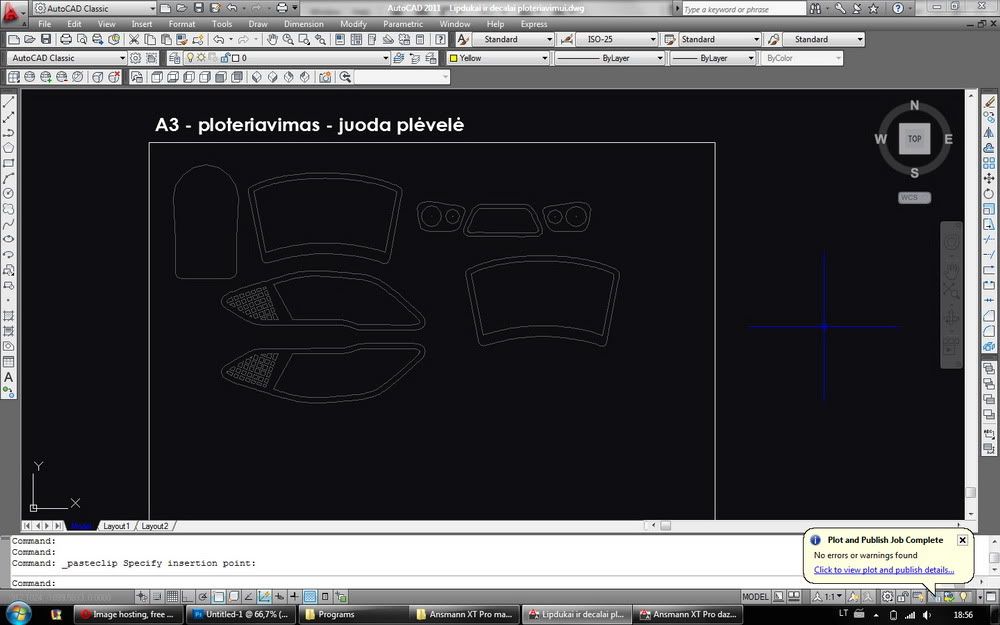
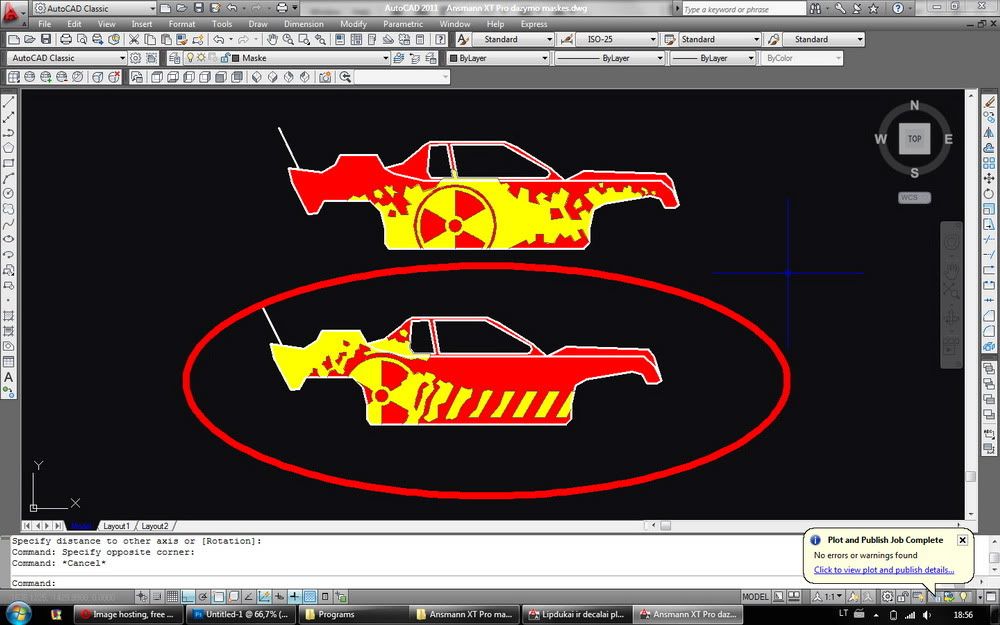
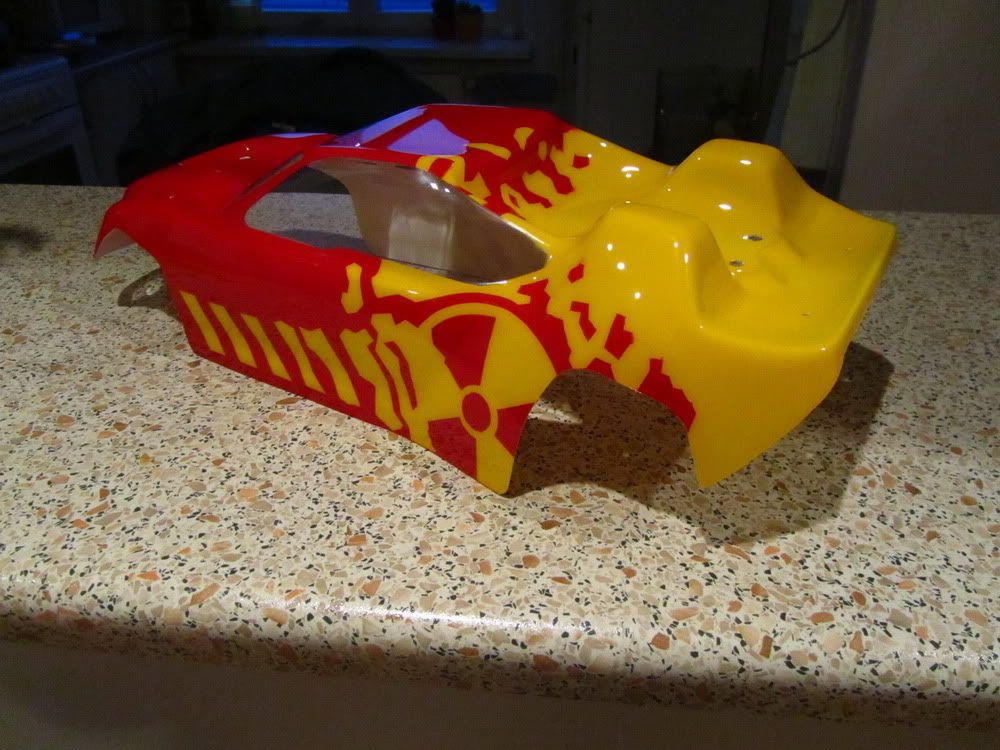
I made some decals with AutoCAD (window and light frames, etc.). I made them from PVC film, the one, that is used to make decals for cars and windows.


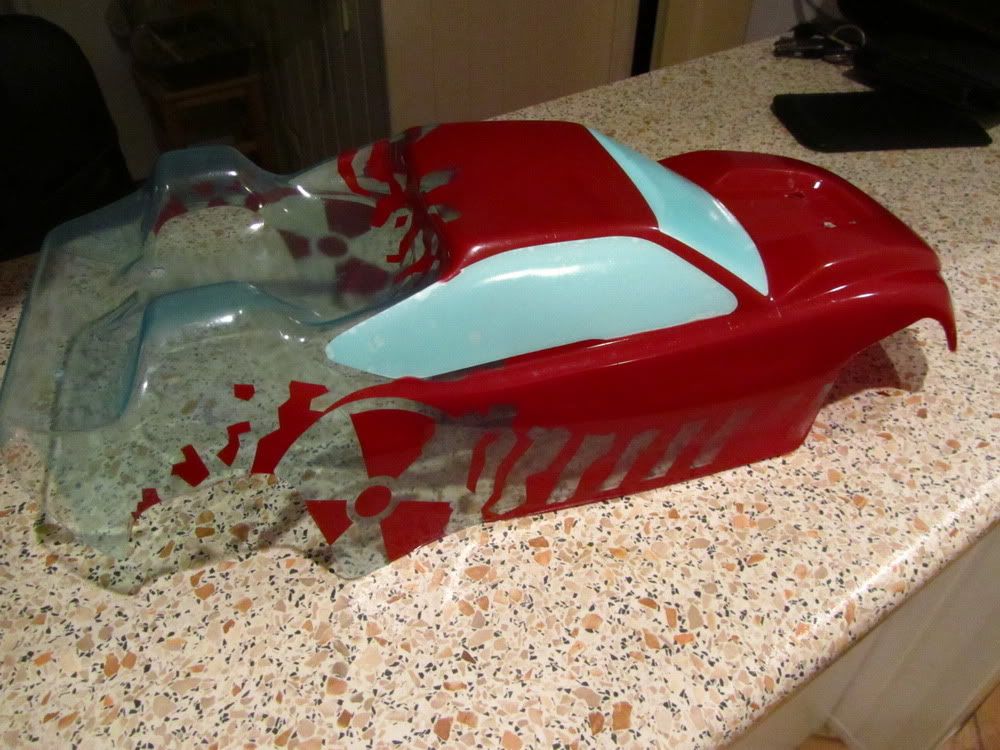
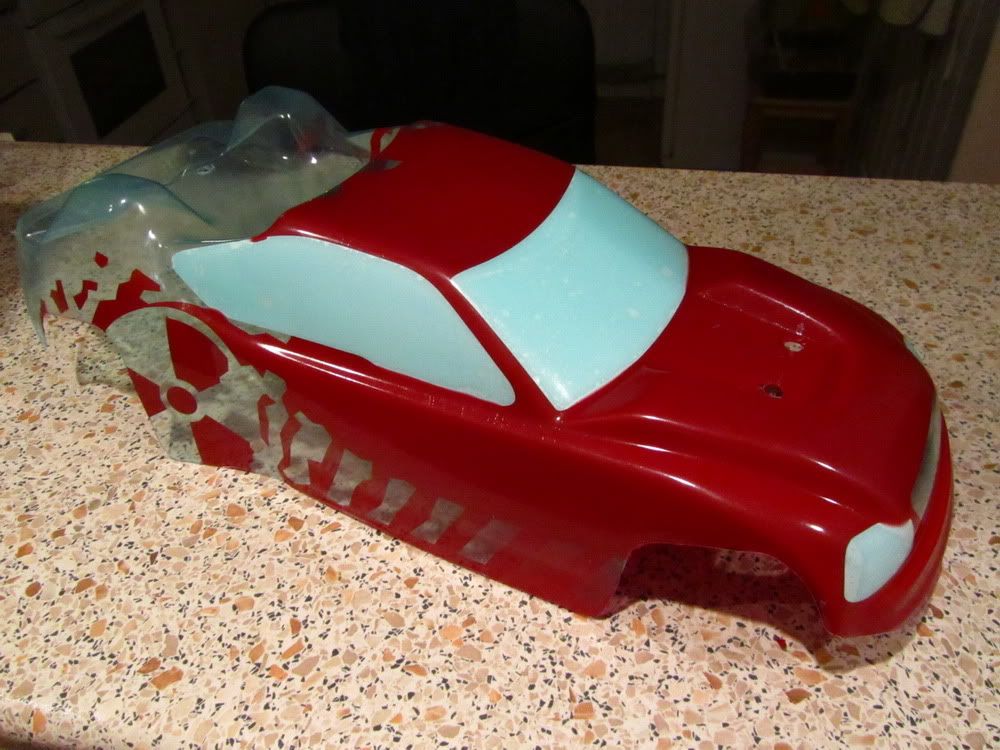
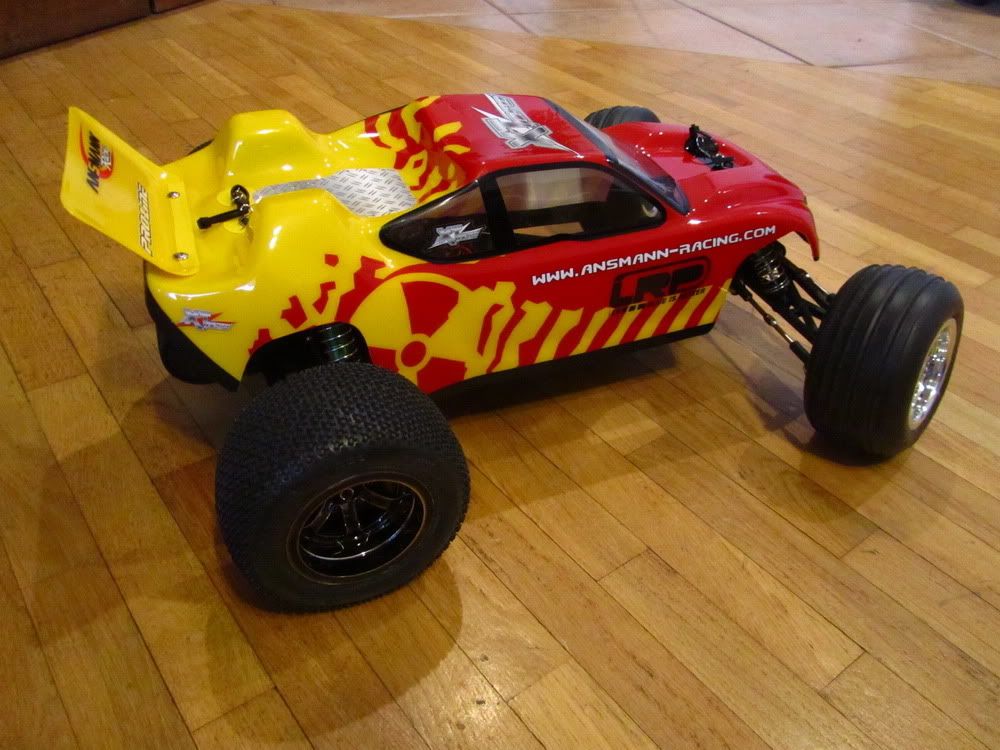
Decals applied to the body. I made some reinforcements out of the same film around the mounting holes to prevent scratches on body. Also I made some reinforcement from black duct tape around the bottom perimeter to prevent premature cracks.


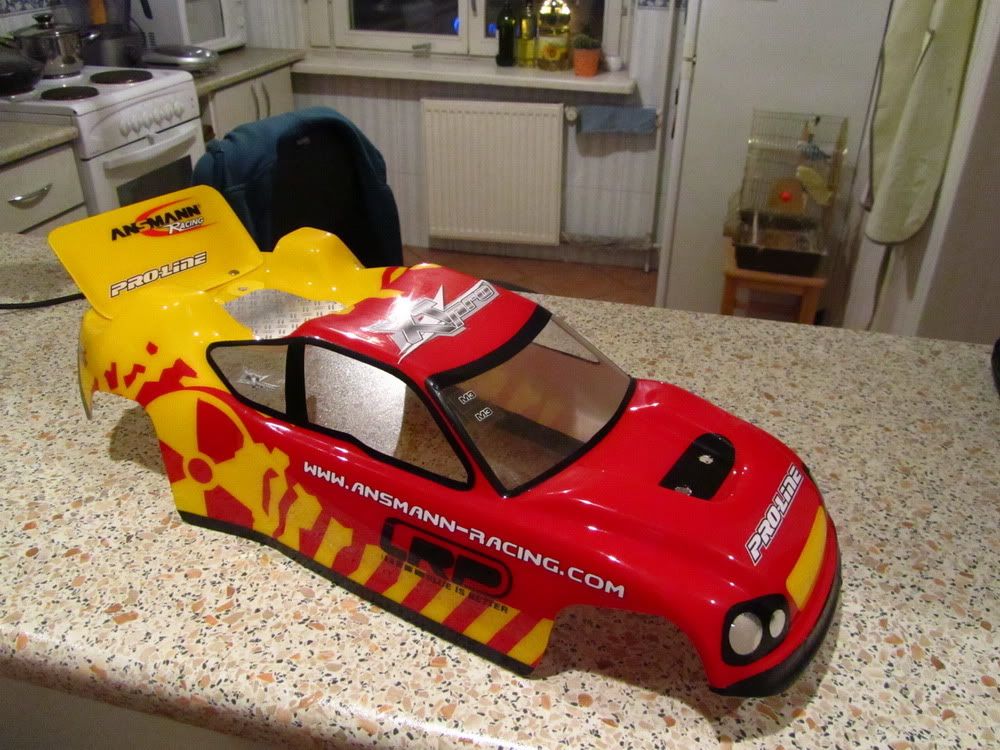
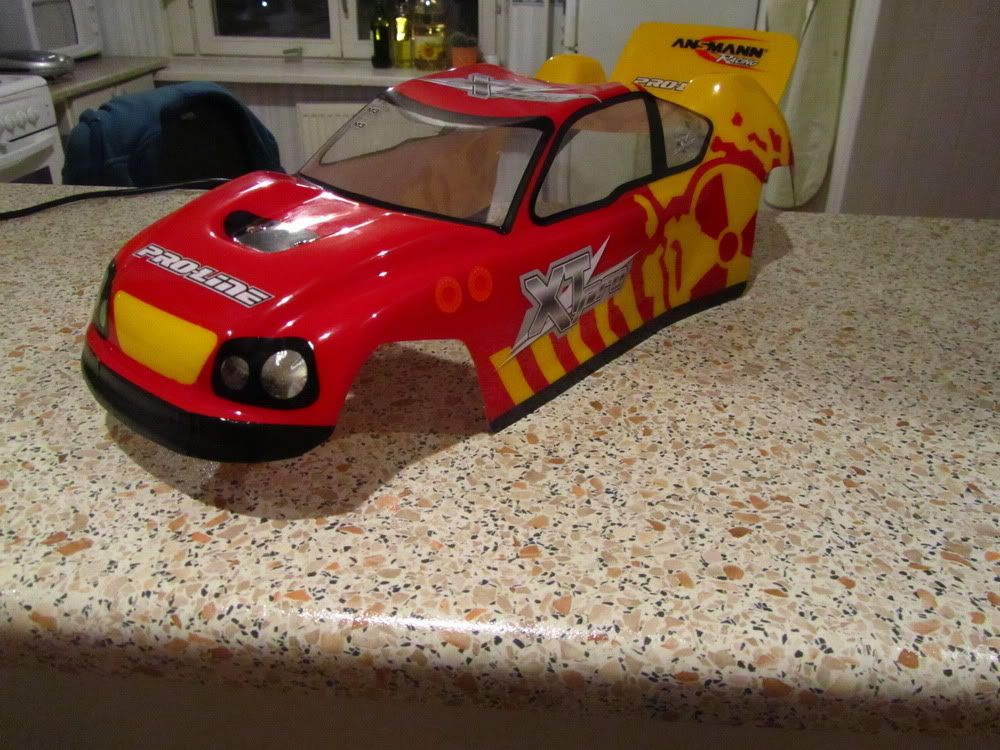
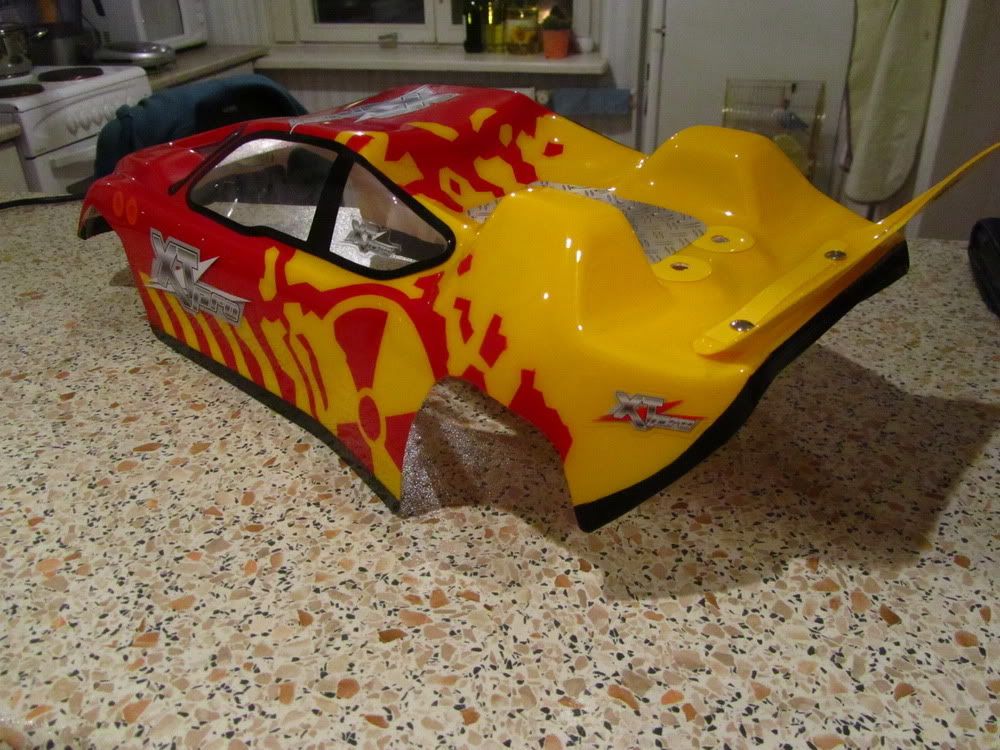
For the future, I am going to order T-Bone Racing bumpers for front and rear. I heard pretty good reviews on these, that they really protect the model against impacts.


This is the layout of chassis overwear (against dust and dirt). I will make it from PVC sheets (0,75mm thick). Then I will attach these to the body with velcro straps.
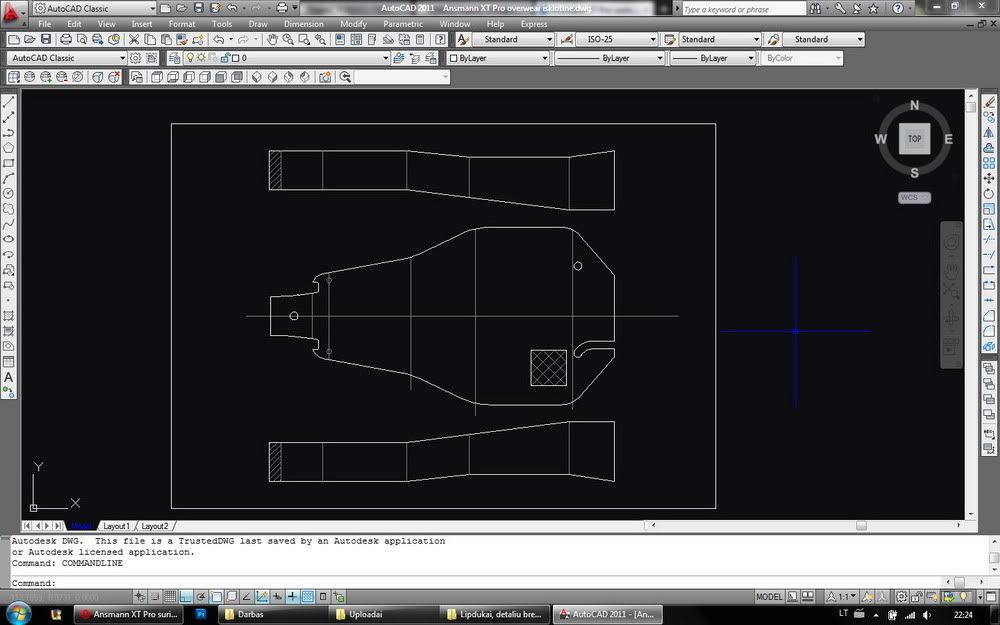
Reply With Quote
  #13  
Old 19-03-2012
Mindauxx Mindauxx is offline
Member
 
Join Date: Oct 2011
Location: Kaunas, Lithuania
Posts: 32
Send a message via Skype™ to Mindauxx
Default

COMPLETE MODEL!!!

I also made the protective skin on the bottom of the chassis (from quite thick, transparent PVC film).


Reply With Quote
  #14  
Old 19-03-2012
Appie53's Avatar
Appie53 Appie53 is offline
Member
 
Join Date: Feb 2012
Posts: 142
Default

Wow great pictures
Reply With Quote
Reply


Posting Rules
You may not post new threads
You may not post replies
You may not post attachments
You may not edit your posts

BB code is On
Smilies are On
[IMG] code is On
HTML code is Off

Forum Jump


All times are GMT. The time now is 09:28 AM.


Powered by vBulletin® Version 3.8.7
Copyright ©2000 - 2024, vBulletin Solutions, Inc.
oOple.com