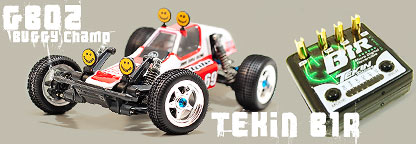
Hop up time!
Whilst the standard car is fun in a confined area, I wanted more. The worst traits of the TamTech Buggy Champ boil down to the slow & weak motor, along with the ridiculous springy suspension. Both reasonably quick and inexpensive to fix - but I wanted to make the Buggy Champ as fit as possible for the race track to see how it'd measure up against the competition.
With that in mind, I scoured the racks of the hobby shops whilst in Japan for the 10th off road Worlds, to see what I could find for the car. Since it was fairly new at the time, there really was very little meant for the GB02 chassis specifically - but I managed to buy a few thing I thought or hoped would fit.
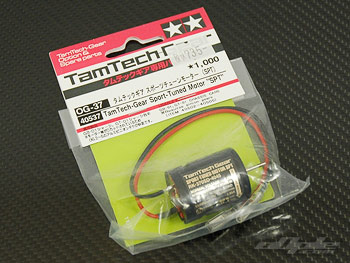
For speed I bought the latest Tamiya motor - the #40537 sport tuned "SPT" motor. Hoping this might be a huge improvement. |
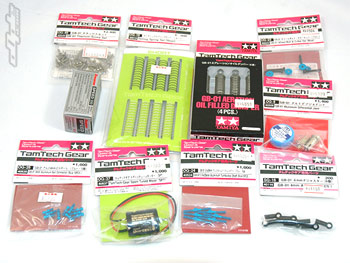 |
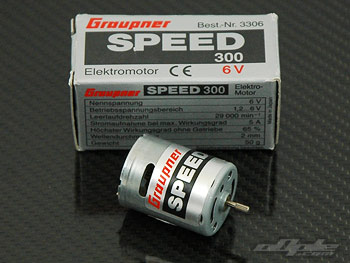
Before even getting the project started however, I was reccomended the ludicrously fast 'Graupner Speed300' motor. So I got the Speed300 as well, with the intention of seeing which was the faster - but with a quoted 29,000 rpm @6V (and more at the 7.2V the TamTech uses!), compared with quoted figure of ~22,000 rpm @7.2V for the Tamiya motor, it was pretty obvious there was zero chance of me taking the Graupner out of the car once installed.
|
|
The Graupner motor is nothing special looking - in fact it looks very similar to the kit motor. There were a whole host of motors out there to choose from, but it seemed a minefield to try and find one the right size as all these micro cars have different sized motors! The Tamiya and Graupner motors are the same size - so the Speed300 was a direct fit. |
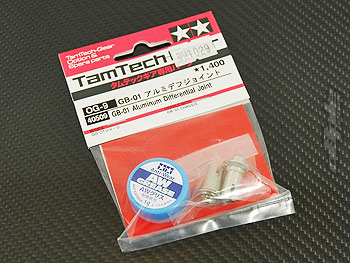
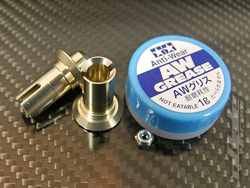
To cope with the extra power and rigors of racing, I bought the optional alloy diff halves #40509. The drivetrain of the TamTech cars seems pretty strong, with a slipper clutch to protect things in extreme cases (pretty optimistic for the standard car though). The alloy diff halves simply replace the plastic originals and include a little tub of the excellent Tamiya 'anti-wear' grease to help prevent wear from the drive shafts.
Once assembled, the differential had a much smoother action compared to the original plastic moulded setup.
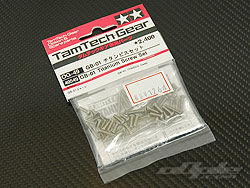
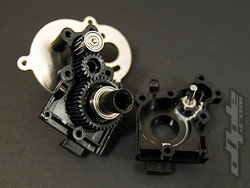
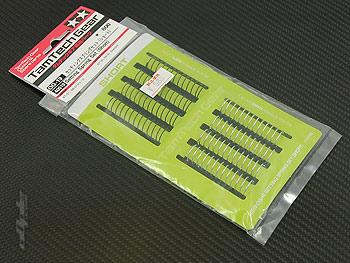
Rebuilding the gearbox with new diff parts it was time to break out the next hop-up from Tamiyas catalog. The GB01 Titanium screw set! Along with a little weight saving - the main benefit of these screws is their 1.5mm hex-heads, which are a lot easier to work on. |
 |
 |
 |
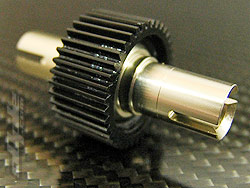 |
Standard gearbox - identical to the GB01 |
Alloy outdrives, Nut and Grease |
Completed ball diff. |
The Tamiya Titanium screw set, - #40549 being labled for the GB01, was bound to lose some appeal on the GB02 on review here - the front end alone certainly needs more screws than supplied. Still, maybe Tamiya will see fit to release another set for the newer car - time will tell.
The additional 'bling factor' provided by the screws leads onto a couple more items I found to 'upgrade' the car. |
|
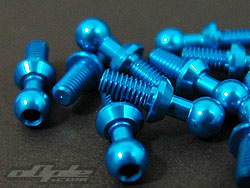
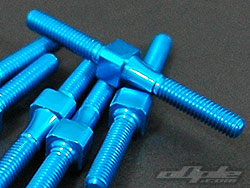
The blue alloy turnbuckles #40524 and matching alloy ball studs #40525 replace the kit items on the GB02 almost perfectly. I say since you're left over with a couple of turnbuckles and still requiralmost e several ball studs to complete the car, only 10 are supplied in a packet but 16 are required! oops, I guess I should have bought more then.
 |
|
|
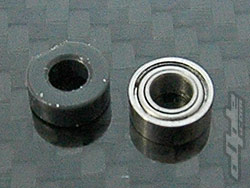
Once I finally, and with much frustration, got the front suspension disassembled - I noticed the front arms actually pivot on plastic bushings, and some of these were really quite tight - causing a lot of friction in the suspension movement. Indeed, without the shocks on the car the front suspension was clearly binding. I first thought about reaming out the holes slightly in the plastic bushings but decided against this.
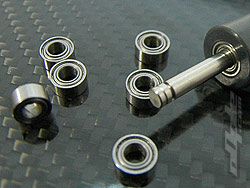
I measured the plastic bushings with the idea of finding some ballraces the same size - 3mm internal diameter, 6mm outer diameter and 2.5mm wide - 3x6x2.5, no problem! 4ukp later and with free postage to boot from Ebay, I got 8 new ball races for the front end.
These freed up the suspension nicely - I can't say it's going to make any noticeable difference to the car on the track, but I like the idea that the suspension is so free to move. |
Shocking!
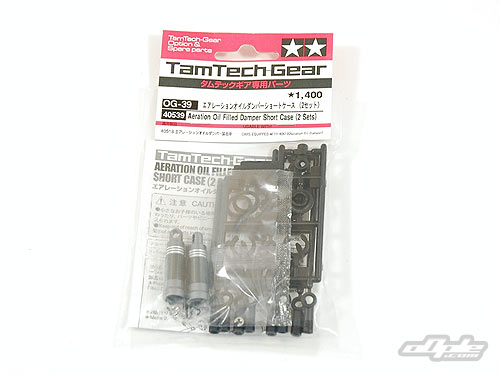
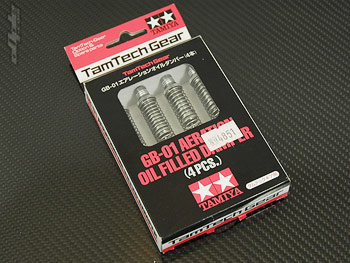
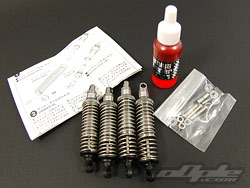
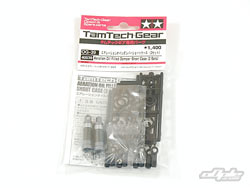
After the motor, the other main issue was the shocks, and there were two choices available. First, the plastic CVA dampers - these are blue plastic oil-filled items, and apart from looking pretty nasty should work well - I bought these for the Mini Frog, so didn't include them in this write-up. Secondly, and at around four times the price, there were also the gorgeous threaded alloy 'aeration dampers' set - obscenely expensive but hey, why not! |
The Aeration dampers #40525 come pre-assembled which I guess is nice - but it felt like the shafts / seals hadn't been greased or oiled. For the best performance maybe these shocks should come disassembled so they can be built properly but I guess that would go against the main perceived market for these accessories. At least, that's my guess.
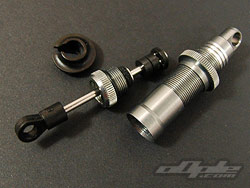
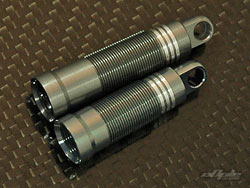
I was surprised to note the shock bodies are identical across all four shocks - indeed everything about the shocks was identical apart from the internal limiters pre-installed at the factory. The limiters limit the length of the shocks - so additional 'droop' can be gained by removing some.
There are no alternative pistons - just those already installed. And these appear to be the same items used in the CVA damper set - so no options there either. Tuning the shocks will have to come down to oil and springs. |
 |
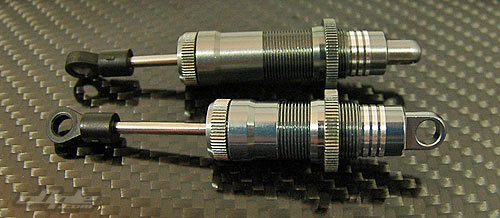
With only the shock oil required to finish off the aeration dampers - it's really quite short work. The provided 'red' oil is quite thin but at least it's a start. Filling the shocks is a dream: The seals are pre-assembled into a cartridge at the bottom of the shocks - removing it allows the shock bodies to be filled from below.
With the oil just reaching the bottom of the internal threads, the shock cartridge (with piston and shaft already in place) is screwed into the body. With the cartridge almost tightened up the shock shaft can be slowly pushed into the body to force out any excess oil or air through a small 'bleed channel' cut into the shock body though the internal threads. Once bled, the cartridge is nipped tight and the dampers are complete!. |
 |
 |
 |
| The Tamiya aeration damper set for the TamTech series is awesome quality and perform well - once you buy more parts. Oh and cut the springs down. Oh and don't forget to change to heavier oil. Oh and the shock bottoms fall off the balls too easily. |
 |
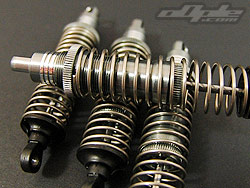
The springs are just tooooo long. |
|
Another odd inclusion with these high-spec dampers are the same springs used on the original 'springy' car. The kit springs on the TamTech cars are way too long for the shocks. The ammount of pre-load needed is comical and will always lead to poor handling. To get a more progressive feel to the shocks, shorter springs are required - and that's just what Tamiya introduced. The 'short' spring set sat alongside the standard spring set on the shelf in the shops - and seemed like a much better purchase at the time, so I got it.
 |
Optional 'Short' spring kit - too soft or too hard! :( |
|
The springs in this 'short' spring kit are labled 'Soft' and 'Hard. Now, someone at Tamiya takes their job pretty seriously and decided to take this literally - creating what in my opinion are overly-soft and overly-hard springs - neither of which seem very suited to the weight of the car.
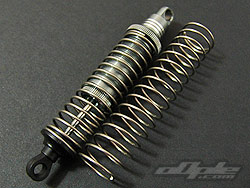
This debacle behind me, I decided to forgoe the optional springs and cut a few coils off the supplied aeration (same as kit) springs.
 |
The short bodies are an optional extra |
 |
|
These are actually a nice medium between those in the short spring kit, and once a few coils are removed - feel well matched to the car. It's just a shame those other springs couldn't be just a little closer, to give more options.
 |
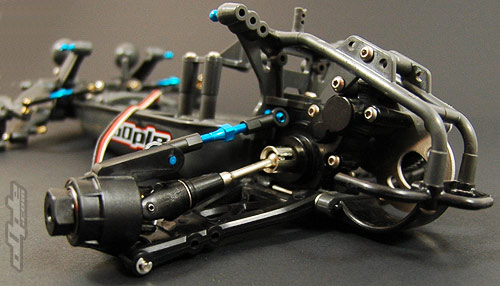
The short bodies #40539 allow the suspension on the GB01/2 to work properly |
With my cut springs installed I set about adding the shocks to the car. It only took a few seconds to notice the front shocks simply wouldn't work! bear in mind that these shocks are labled for the GB01 - they simply won't work on the GB02 we have here. The overly-long shock body up front simply limits the suspension movement and doesn't enable the car to fully compress. I measured the
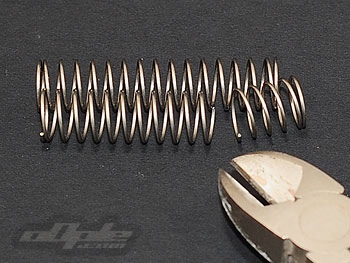 |
| Cut kit springs: It doesn't matter how much you cut off the springs - as long as they are all the same. |
|
GB01 mini frog - and it does appear to be a similar story there, so I'm not sure what Tamiya were thinking - not sure at all.
I was quite 'cheezed off' at this - Tamiya aren't one supplying useful information it has to be said. I'd seen optional 'short' bodies #40539 for sale at the same time I'd bought these aeration dampers, but didn't know what they were for - I guess they are meant for anyone who actually wants to use the dampers on a driveable car? (sarcasm warning - hehe). So I got some on order but for the initial build I had to look elsewhere, and for the first race I had to settle for the plastic CVA oil-filled dampers on the front of the car.

|
|