|
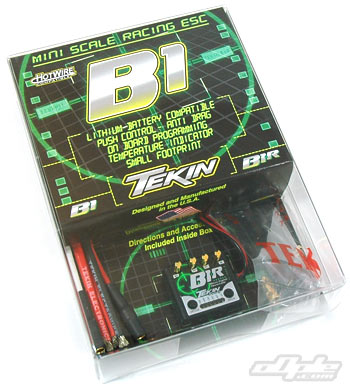
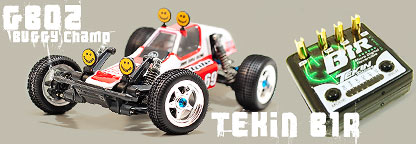
To handle the power of the new motor and give a nice smooth drive (something the kit ESC certainly couldn't be accused of) I always wanted to revisit the Tekin brand - like I had done with the Mini Frog review. Tekin had just released their new line of speed controllers - including a couple of new 'brushed' ESC's for the micro-sized cars, the B1 and B1R.
The B1 is Tekins top-line racing ESC for micro class racing - it's  brother, the B1R includes reverse in the same tiny package. Even though reverse is banned at mirco races, I went for the B1R since I thought this would be ideal for a 'fun' car like the Buggy Champ, and allow me to use reverse when away from the race track or disable it when needed. brother, the B1R includes reverse in the same tiny package. Even though reverse is banned at mirco races, I went for the B1R since I thought this would be ideal for a 'fun' car like the Buggy Champ, and allow me to use reverse when away from the race track or disable it when needed.
Even before the Tekin B1R arrived I'd head how small it was, so I wasn't too shocked at the size - but it is the smallest ESC I've ever seen! Once freed from the packaging however I was wondering if Tekin had sent out an empty-cased display model or something since it weights just about nothing at all.
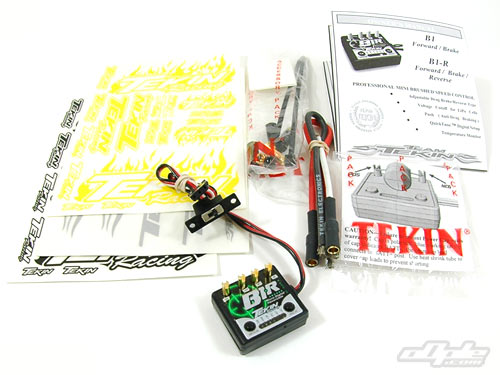
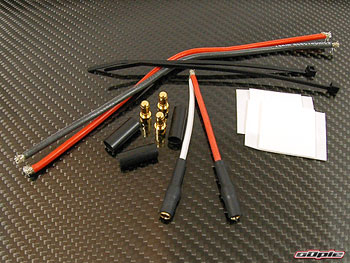
Tekin provide various wires - which will need soldering to the posts as required. I was initially going to use the standard 'micro' connectors that Tamiya supply with the TamTech cars - but decided it was probably a bad idea and instead dug out some old Deans connectors for the battery. I wanted to directly solder the motor just like my 10th scale buggies so
 |
 |
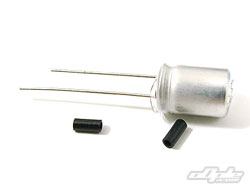
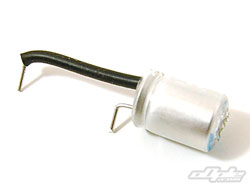
Tekin supply wires and connectors for the motor - ESC |
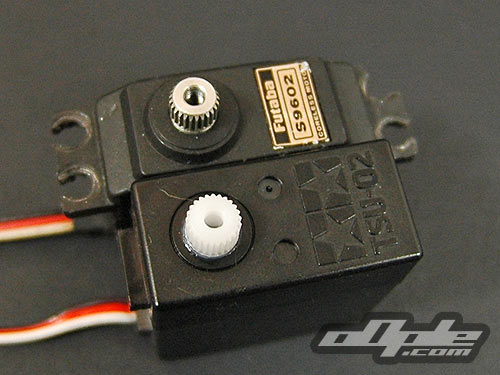
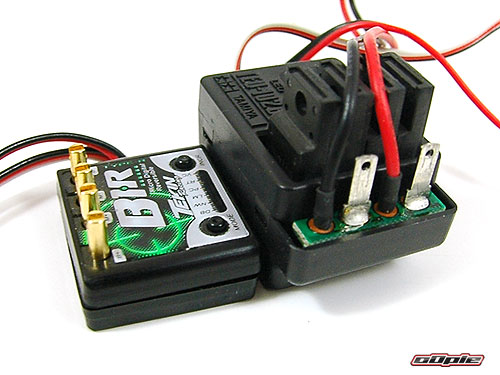
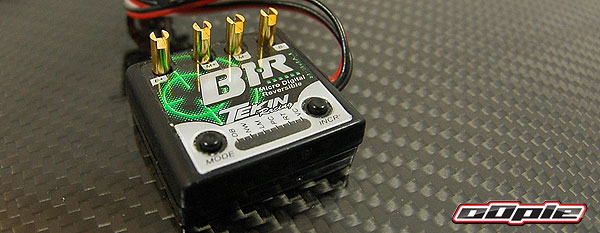
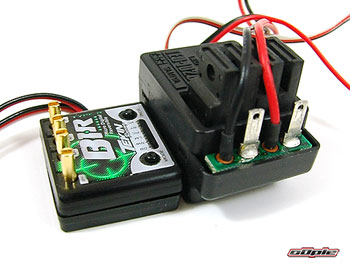
Tekin VS Tamiya - The B1R is Tiny!!!!!!!!! |
|
 |
 |
| Compared with an 'average' size ESC |
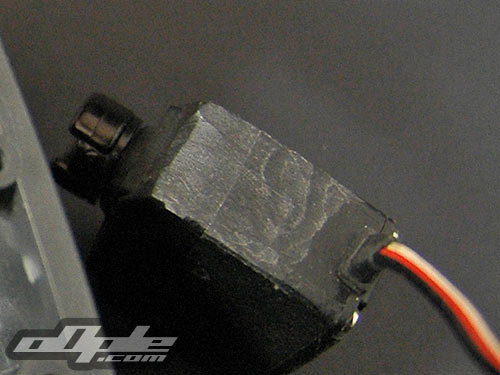
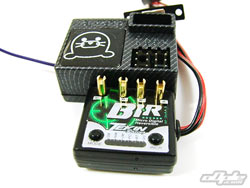
Even up against a small receiver, the B1R is tiny! |
|
--- didn't use the gold connectors that Tekin supply in the package.
The tiny B1R allowed a few different mounting options in the TamTech buggy - eventually I decided to mount it at the rear, closest to the motor. The tall, widely spaced soldering posts made wiring a real breeze - even with my big clumsy soldering iron in the confines of the TamTech chassis.
Like many ESC's these days, a small power capacitor is required to be fitted - I didn't realise this from the outset and I was intially a little peeved that I'd have to ruin the nice and neat install by placing a capacitor right over the ESC (as shown in the Tekin instructions). The capacitor needs to be soldered to the battery posts so I bent the lead wires to place the capacitor off to the side which looked fairly neat.

The switch on the B1R, despite being far smaller than the original Tamiya one, appeared to line up with the original holes - but even if I could have found some screws / nuts to attach it I'd not have been able to actualy reach the tiny switch in the original location. Instead I mounted the switch with double-sided tape on the side of the chassis. I'd be able to reach the switch by just lifting the shell slightly so it wasn't too bad.
LED1: DRAG BRAKE
control provides immediate braking action in the neutral zone. This gently slows the car down when you let off the trigger. Drag Brake can provide a better cornering approach . Higher values increase the degree of drag braking.
LED2: NEUTRAL WIDTH
adjusts your deadband around the neutral point. A low neutral width value provides more sensitive trigger response around neutral.
LED3: CURRENT LIMITER
adjusts the throttle response during acceleration to control annoying wheelspin. Low values allow low amounts of current to pass to the motor, higher val-ues allow higher amounts of current. The top value (11) turns OFF current limit.
LED4: PUSH CONTROL or ANTI-DRAG BRAKING
overcomes the natural drag of the motor when you return to neutral. Racers refer to this as “creep” , this setting eliminates the need to trim the throttle forward to create a coasting (pushing) effect. Low values give you a short duration push, higher values a longer duration push
LED5: BRAKE/REVERSE TYPE (B1R ONLY)
1) Proportional Brake with Reverse Lockout (LED1 ON). Proportional brake will be applied during reverse throttle.
2) Forward to Brake to Reverse (LED1-2 ON). The car will operate freely in forward and reverse. (Brakes to a stop before switching into reverse)..
3) Proportional Brake with Reverse Delay (LED1-3 ON). The car will only go in reverse if the trigger has been in neutral for 1 second, otherwise it operates like proportional brake with no reverse.
LED6: Voltage Cutoff LED6
1) NONE (LED1 ON) NiCd/NiMh Cells.
2) 6 Volts (LED1-LED2 ON) 2 Cells LiPo (2S)
3) 9 Volts (LED1-LED3 ON) 3 Cells LiPo (3S)
4) Custom (LED1-LED4 ON) User Adjustable Cutoff, requires Tekin HotWire PC |
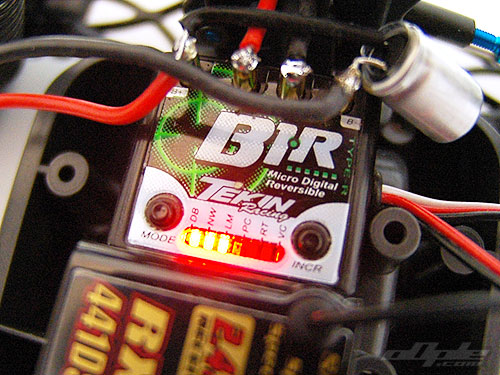
Setting up the B1R is a breeze. Turning on the power you hold the mode button until the unit starts flashing all the lights. This means you're in setup mode and the unit starts looking for the 'neutral' signal - after a few seconds the third LED light will flash, indicating Neutral is set. The unit begins flashing the 6th LED, on the far right, to set the full throttle position - simply hold the throttle down until the B1R chimes. The 1st LED on the far left flashes to setup the full brake / reverse position in the same way - and you're done.
The B1R has various tuning options on the ESC (see right) with everything from Drag brake setting to a current limiter. I thought I might need the current limiter since I was racing a 2WD car - but left this setting alone until I could test the car.
The only setting I changed was to disable the reverse after a brief play around the kitchen. This is a useful feature since reverse is not allowed at most race meetings - instead of reverse you'll just get brakes, like the non-reversing 'B1' version.
Now. It's time to confess my utter shame. With the Tekin B1R painstakingly installed to show it off, and a brief practice around the kitchen with some flat cells. I wanted to put a fresh pack of cells in the car to see how quick the speed 300 was.
Bearing in mind this was about 1am, and I was a little tired, I soldered my next pack of cells up in reverse. Simple as that. I hooked the cells up to the B1R and things immediately went downhill - with smoke pouring out of the poor little Tekin.
I almost cried - mainly because I thought I'd have to put a hold on the review until I could get the unit fixed or source another. I asked around and managed to source another unit for the review race - so that wasn't too bad. If you read the manual then Tekin clearly state that reverse polarity will damage the unit. My mistake.
 |
 |
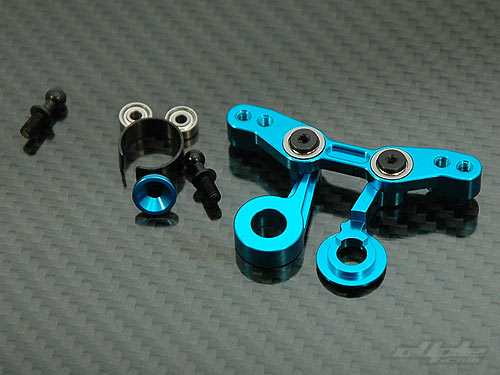
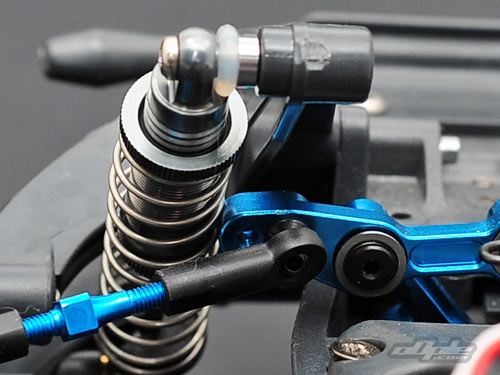
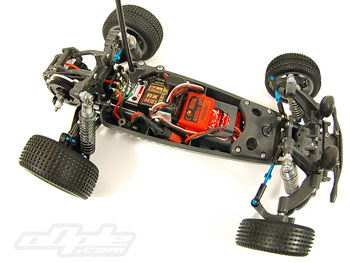
The small electrics make for a nice neat install in the GB02 |
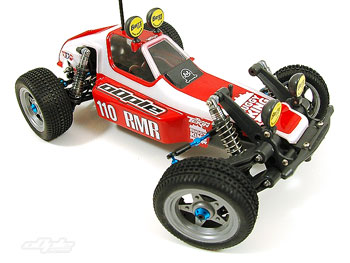
The car all ready for the track - front aeration shocks are ONLY for show, I couldn't use them since I didn't have the short dampers. |
|
I painted up a new body for the car - using the same style paint scheme as the original but in my own colours (candy red and pearl white). Though it's not obvious in the photos, the properly painted shell really makes the buggy champ look good enough to eat! |
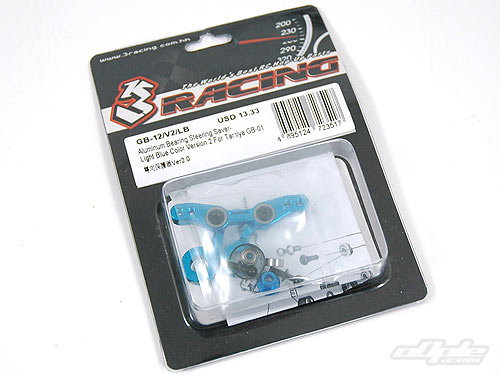
 that adding a stronger servo saver would be risky with the kit servo. Playing and racing are two difference leagues of punishment - nothing is quite as hard on the car as racing around a technical track against other drivers who are more than willing to 'punt' you in the nearest wall. So a re-think of the steering was needed.