|
||

|
|
||||||||||||||||||
|
#24
 11-11-2012
|
||||
|
||||
|
I saw Mattr try this today then saw how much he tightened the screws
 , Looks like a mod Ill be doing as well. Nice find fastfilli , Looks like a mod Ill be doing as well. Nice find fastfilli

|
|
#25
11-11-2012
|
|||
|
|||
|
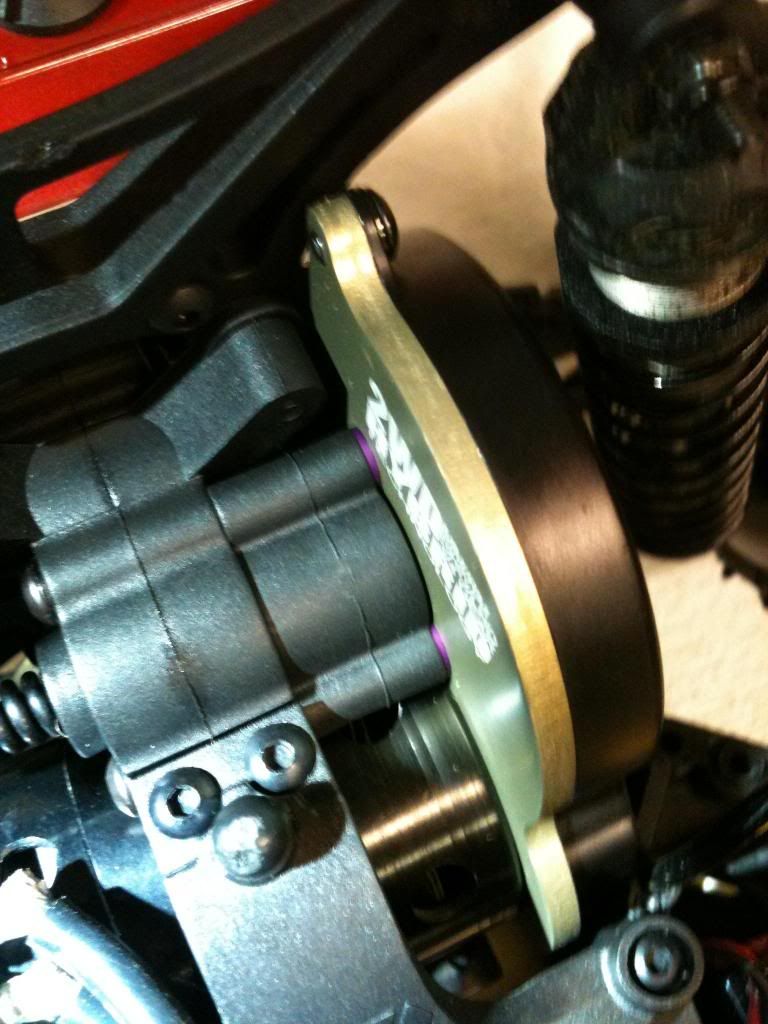
Just be careful what order and how much you tighten each one, i.e. go round in turn, snug them all up, check the box, extra half turn each, check the box, and so on. Until you think its tight enough!
I also found that my layshaft spacer was starting to crush as when i put the spacers in, the slipper was dragging on the motor plate, time to buy a hardened one!
|
|
#26
11-11-2012
|
||||
|
||||
|
Plus another one for fastfilli's mod !!
Just done it on my 210 & now the diff is SOOOOOO smooth !! Nice one ! 
__________________
Associated B6.1 & B74.2 Lots of bling bits Reedy electrics KO Propo Espirit 4 stick radio Dji Mavic Air2S All round gadget freak !
|
|
#27
13-11-2012
|
|||
|
|||
|
Well chuffed it worked for you guys too, I thought I had dodgy gearbox molding.
I am currently making a +8mm chassis I will let you know how that goes too  Im also buying a different make buggy to compair to the Durango as so far Im not loving it, but im not giving up 
|
 |
|
|


 Team Durango


 Linear Mode

