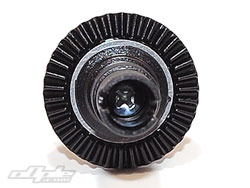
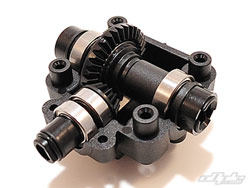
The first steps in the build are the front and rear gear box, these are identical front and rear and come with pre-assembled ball differentials. The differentials are all plastic in construction but feel nice and smooth straight from the bag. I took the front differential apart to check it over, and everything seemed to be well done - the diff felt well adjusted and the main diff balls and thrust bearings were well lubed with silicone grease. |
|
Xray do say that the differentials WILL need tightening during the initial few minutes of running the car - and I found this to be true, but more about that later.
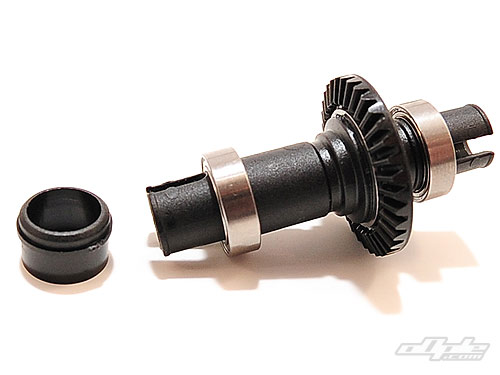
The differentials spin on quality metal shielded ball races and these push over the plastic out drives with a 'click' - followed by plastic reinforcing rings which should help strengthen the out drives. These also 'snap' into position over the small lip at the end of the out drives. |
 |
 |
 |
 |
| The diffs come pre-assembled |
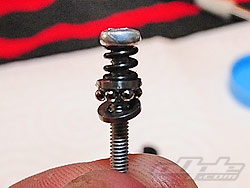
A strong phillips screw holds things together |
The thrust bearing uses 7 balls and heavy duty washers. |

|
The manual suggest cutting the moulding flash off these reinforcing rings, along with the gearbox pinion gear. I didn't think it was needed at first since they already looked well trimmed, but the tolerances are tight on this little car and even the smallest bit of flashing can be felt as the parts spin - so I did as the manual suggested and just tidied these rings up a little.
 |
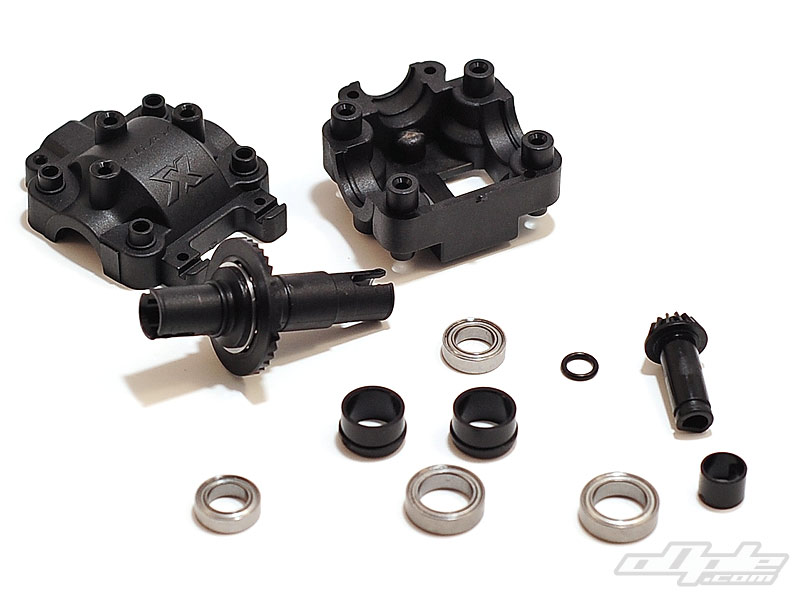
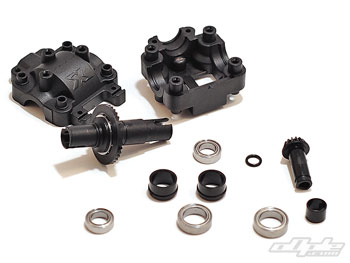
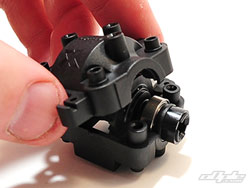
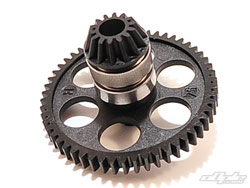
Plastic input shaft and pinion spins on two ball races - the spacer shown above is used on the front, whilst the rear gearbox input shaft has the spur gear. |
|
| The gearbox input shaft and pinion are moulded as one piece and a couple of ball races slide over the shaft for a nice stable mounting. At the front end, the ball races are followed by a plastic spacer, and an o-ring fits into a groove at the end to keep it all together. At the rear end, the ball races are followed by the spur gear, which is keyed to a flat on the plastic shaft. |
 |
 |
 |
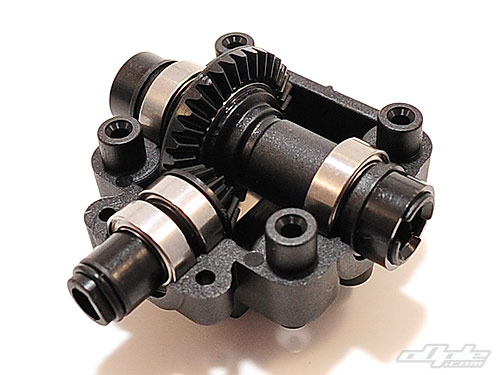
| Differential and input shaft installed |
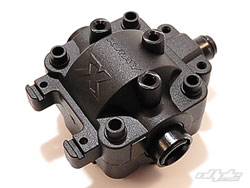
The gearbox tops key onto lugs on the bottom halves - for a really secure fit. |
the completed (front) gearbox |
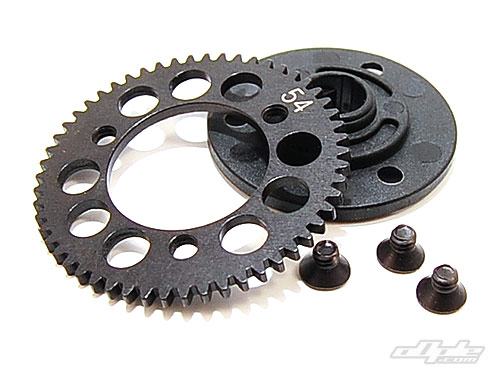
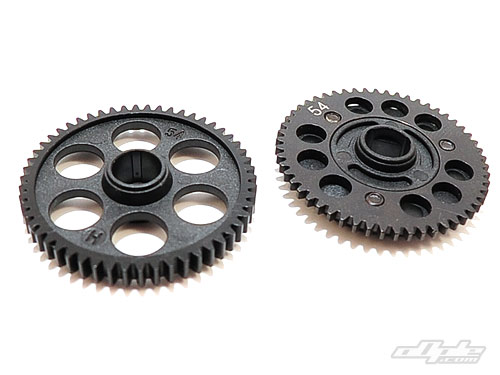
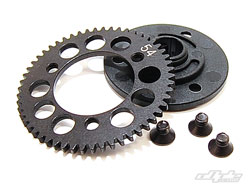
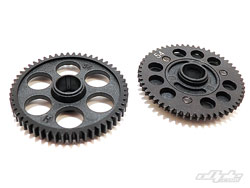
Xray supply two spur gear options for the M18T Pro - both identical in size and pitch, but one plastic and the other steel! The steel 'option' is bagged seperately from this stage of the build and isn't mentioned in the supplementary manual, instead coming with yet another sheet describing its uses, and since it requires mounting to a plastic 'mount' - some instructions.
 |
 |
 |
| The included optional steel spur needs assembling onto a plastic mount. |
The plastic (left) and steel (right) spurs are both 54T in size. |
I chose to use the plastic spur, and this attaches to an identical input shaft as used on the front. |
The plastic spur is recommended for most users, and running indoors like I will, it's what I chose. The steel option is provided for the 'ultimate' in durability in dusty and 'harsh' conditions, but will require a metal pinion gear - the plastic ones provided wouldn't last long with the thin steel item. The gears slot into identical 2-piece gear box mouldings front and rear.
The rear gears were fine, but the front gearbox had a slight tight spot - I tried & tried to find a visible problem with the mouldings or a spot of dirt / debris, but couldn't locate the cause. I'm sure it'll smooth out after a little bit of run time though so it's no big deal. |
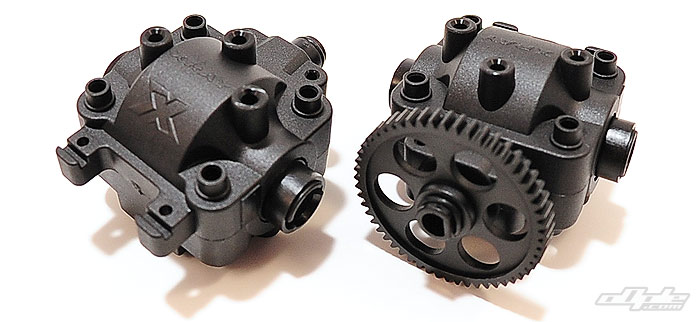 |
Front and rear gearboxes complete! |
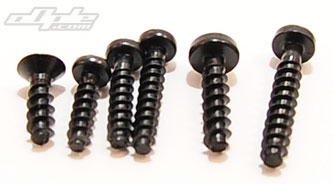
The screws on the M18T Pro are a pretty standard affair - self tapping screws with phillips heads. Being a small car - even the quality hard plastics don't take too much effort to screw into, so I didn't experience any real need to change them. Still, perfectly usable or not - It'd be nice to see something a bit more 'pro' here.
Several sizes are used during the build - thankfully the car is built from pre-packaged stages, so you aren't rooting through too many screws to find the correct size. 
Left: Both 2.5mm and 2.2mm diameter screws are used |
 |
|