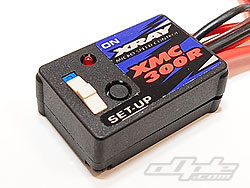
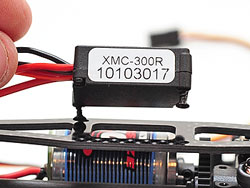
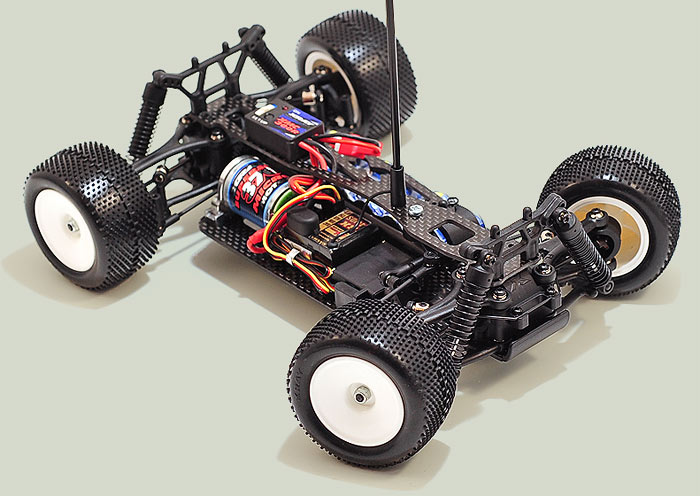
The XMC 300R ESC in the 'Power Pack PRO' is tiny! not only that but feels even lighter than it looks if that's possible. When I first looked at it, I thought the case wasn't screwed together properly - but this is actually because two opposite corners are meant to be screwed directly to the top deck.
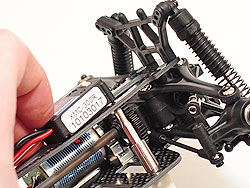
Better late than never I realised this - so out came the four screws that attach the top deck to the gearboxes. With these screws removed it was possible to slide the top deck over enough to poke a screw driver through the battery slots from below and mount the ESC.
The mounting is incredibly neat and secure, and I was really stoked with it. This was slightly short lived however since I didn't realise at first the R meant reversable! no problem I thought, just turn the reverse off! - sadly not. I ran the car with the ESC but without a reverse disable I simply wasn't going to be able to run it at the Micro National event I'd planned to. So I ended up having to remove the XMC 300R for the review race and use something else.
The XMC 300R Speed Controller
2 screws at opposite corners secure the unit to the top deck
It's such a neat and powerful little unit and a big shame that there isn't an option to disable reverse and only have forward & brakes. In terms of FUN the XMC 300R is an absolute BLAST - with a rather short delay from full forward to reverse of, ooooooh, 0.1 seconds - the 300R is able to throw the little car around like a race ESC never could. Just no good for the serious racer.
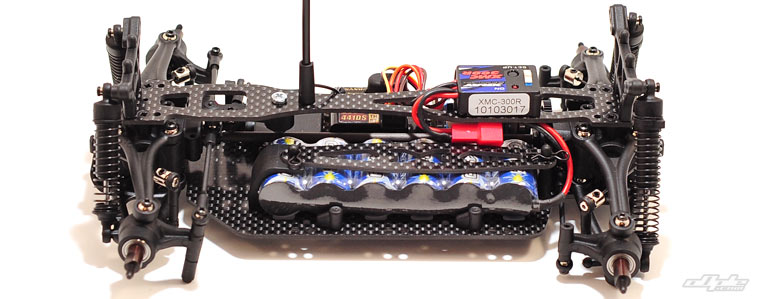
Xray supply a 6 cell 1400 mah pack of Intellect cells in the Power Pack PRO - some of the best around for this scale racing and nice to see they didn't cut costs here. The cells come pre-wired with the small micro connectors to correspond with the ESC - I guess you'd call these Tamiya connectors, but I'm not entirely sure of their name. Since I was using another ESC anyway, I decided to use DEANS connectors for the best connection possible.
The battery sits into the 6 slots cut in the main chassis and four plastic retainers are screwed to the main chassis to keep the cells in place. These retainers have multiple possible mounting options to suit different packs of cells - so if you're using stick-type cells (two rows of three cells arranged end-to-end) you can also mount those securely (thought they won't sit into the slots)
There were no guidelines as to where to put the mounts to suit the provided side-by-side cells (which is just like my existing packs of cells) so it was a case of trial and error to find the best fit. Once done though, it doesn't need to be changed unless you change the type of cells you're using.
A carbon fibre battery strap keeps the cells firmly in place - a small strip of foam under this wouldn't go amiss to keep the cells firmly pressed down, but they certainly won't fall out!
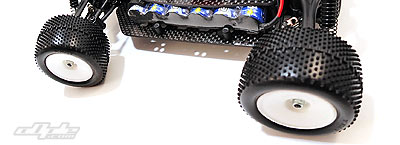
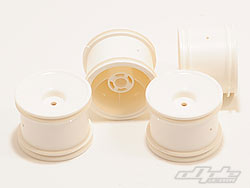
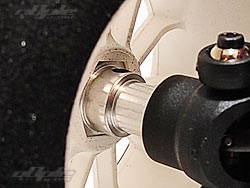
Xray supply wheels and tyres with the M18T Pro and whilst these might not suit every track, they do seem like a good all round tyre. The wheels are unique to Xray and slide over the long axles - with a flat inside the wheel to mate with the corresponding flat on the axles. It's quite an unusual setup but seems to work OK. The wheels need pushing on - which pushes the axles inward and it's slightly tricky to get the wheels lined up properly.
The axles are super strong looking
The supplied wheels and tyres seem good but for racing you might want to try the optional Xray foams (depending on the surface of course)
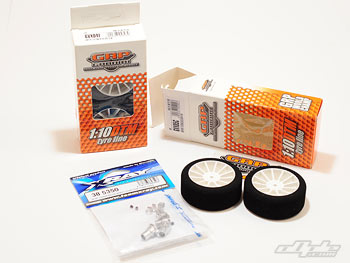
I wanted to give the M18T Pro the best chance possible - and since Touring car wheels seemed to be a popular choice in the micro scale Nationals, I knew I'd want to try them myself. Xray have some optional adaptors to allow the use of touring car wheels so I got some of these along with some GRP foams.
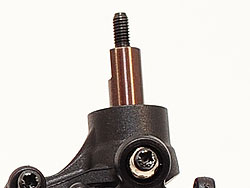
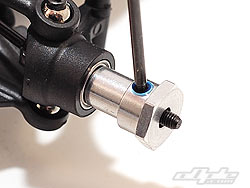
The Touring Hex adaptors
The grub screws and nuts need threadlock - the wheels are placed far out but the super strong spring steel axles should cope with the strain without problems.
The adaptors are fairly 'odd' looking things because of the long axle setup on the M18T Pro. The adaptors push over the axles and secure with a grub screw. Xray provide special nuts which fit inside the wheel to go along with the strange design (there's no axle showing when a wheel is in place - so nothing for a 'traditional' nut to attach to. I used some threadlock on the provided nuts to keep them in place, losing one would be very bad indeed.
The touring hex adaptors and GRP foams
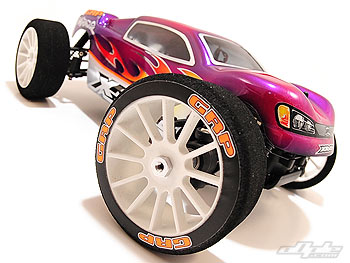
Foams attached!
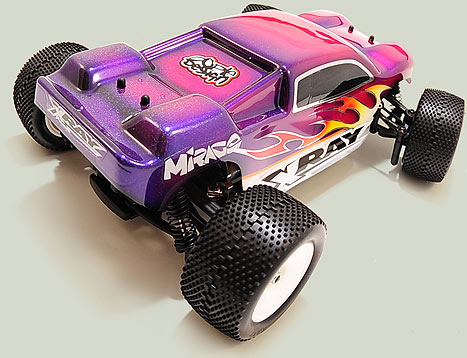
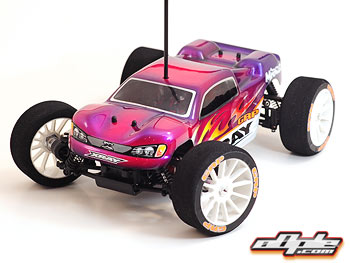
The Body Shell
Let me start by saying I'm not really a big fan of trucks - buggies I love, but trucks just don't have the same appeal to me, so take my comments as you will. The M18T Pro body is your classic stadium truck style, and gives plenty of room for electrics.
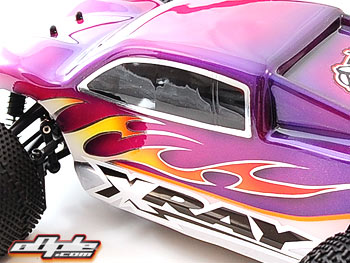
Even with my best airbrushing efforts I still felt the truck had a chunky, almost 'overweight' look to it. The huge flat vertical sides and relatively low-profile side windows just add to the effect - giving the truck a chubby look that doesn't fit the beauty underneath. The body does reach to the bottom of the main chassis plate - giving good protection from impacts and shielding against some of the debris.
Right: Colours used - Faskolor (createx): Irridescent Red, Irridescent Purple, White, Pearl White, Yellow, Red. Spaz Stix: Window Tint, Chrome, Holographic, Black
I gave the M18T Pro a 'regular' review paint job using Faskolor and 'Spaz' airbrush paints. Xray supply window masks and a nice little decal sheet with things like the front grill&lights, to give the truck some degree of realism. Painting any real detail like the flames is a bit of a challenge on the small shell, but despite my initial slight dislike for the shape I think it looks pretty nice.
Xray supply a small stick-on wing (but nothing to stick it with) for the rear of the truck - this is more like a flap of polycarbonate than a real wing but it probably helps in a small way.