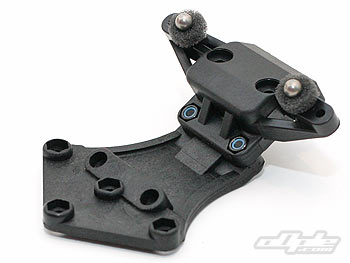
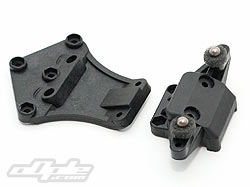
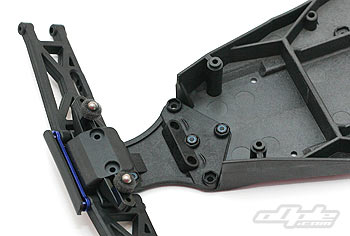
The first stage of the build is to assemble the front end of the car which will later attach to the main chassis. This is a multi-piece affair, with a nose-piece, top plate, camber link mount, bulkhead - all coming together to make up the main structure. The first job is to attach the camber link mount to the nose piece. This attaches with two counter sunk screws and nyloc nuts. This does initially seem quite weak but it will eventually be braced from above by the top plate.
Ball studs are added, and the kit setting of two alloy washers - though we left the washers out. The Ball studs use a hex, and a 4-way tool is provided for this job - though a longer nut driver style tool is a good idea to adjust these and other ball studs on the RB5.
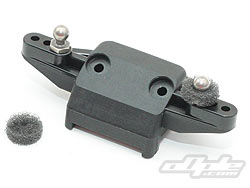
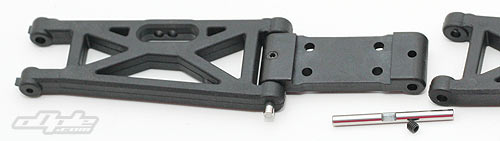
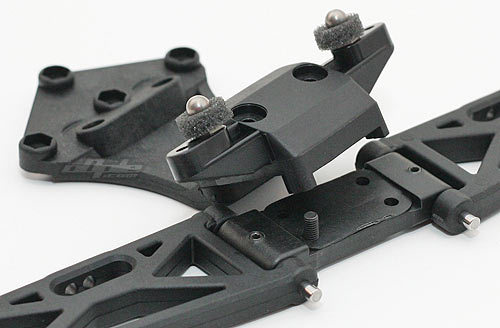
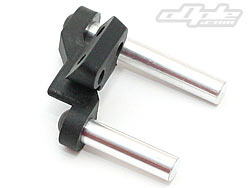
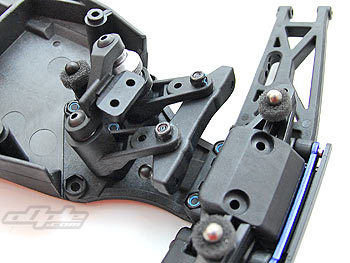
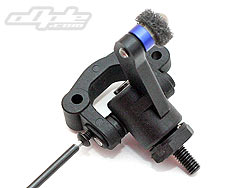
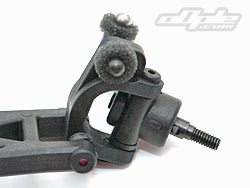
The suspension arms are next in the build sequence, and these come paired with rear suspension arms on the same plastic tree. The arms are moulded out of some composite material and look like they'll take a beating. The arms pivot on a one piece pivot block which has a unique feature. The block can be rotated 180 degrees to give 25 or 30 degrees of 'kick up'. The kit setting is 30 degrees.
The suspension arms pivot on beefy looking 3mm hinge pins. The hinge pins are captured by the pivot block with grub screws which lock into ground flats on the pins.
The hinge pins are quite tight in the pivot block so lining them up correctly before install is a wise move. The pins are further captured by a screw at the rear of the wishbones, and by the bumper at the front, a little later in the build.
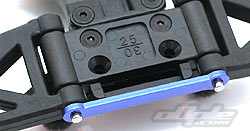
A simple alloy hinge pin brace is included with the RB5, and simply sits over the ends of the exposed pins - keeping them together in the event of a head-on impact.
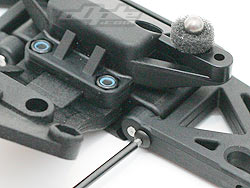
You can see the shim which is installed before attaching the pivot block
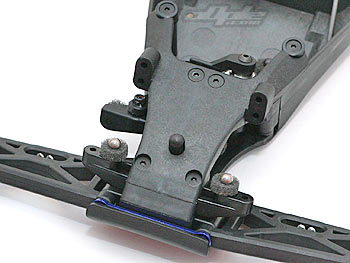
Using the 30 degree kick-up setting on the pivot block, a 0.5mm shim is used between the pivot block and camber link mount. To use the 25 degree setting, a 1mm shim is used. With the appropriate shim in place, the assembled pivot block / suspension arms are bolted to the camber link mount with four screws, two of which pass through the front bumper.
It was notable at this point that there was significant friction in the suspension arms movement - eventually we realised that it was simply the hinge pin retaining screws which were too tight against the hinge pin.
A couple of turns to loosen the screw solved the friction issue and the arms were free to drop under their own weight.
The hinge pin screw can cause binding
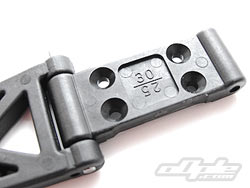
The front pivot block, with two angles
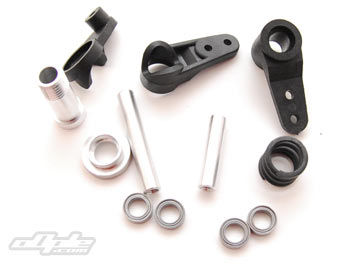
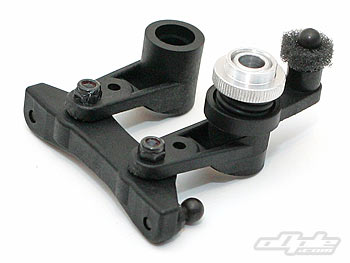
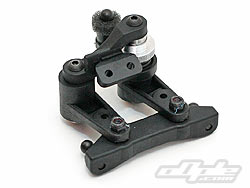
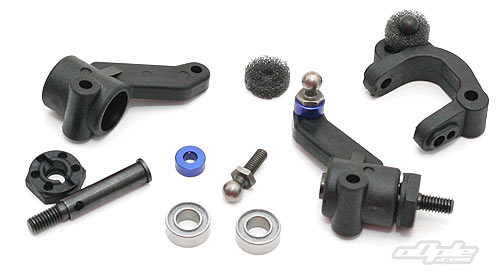
The steering is the common twin bell crank system and has an in-built servo saver. Much like the rest of the car - the steering is fully ballraced. A plastic link joins the two bell cranks - this rides on flanged metal bushings and has horizontal ball studs which enable you to adjust ackerman.
The link is held in place by screws and nyloc nuts. There is a fine line between too tight, resulting in binding - and too loose, resulting in the nuts only having a small amount of nylon engaging with the screws. We uses Tamiya threadlock on these screws to give a little extra security and stop the nuts backing out.
The steering pivots on two alloy posts which are firstly attached to a small plastic mount. The steering slides up over the posts and put aside until the next step.
The front end that has so far been assembled needs attaching to the main chassis before the steering drops in.
The main front nose plate sits over the front of the main chassis and screws down with two screws and nuts. The steering slots into the two angled holes on this front plate and the top plate finally secures the entire assembly to the chassis - tieing all the elements together and making a stiff and strong looking unit.
The front hubs are a similar design to that seen on the Losi XXX series of vehicles. Utilising bearings inside the hubs, with a long axle shaft which holds a hex for the front wheels to attach. The design does away with pressing bearings into each wheel and makes for faster wheel changes too.
The hex is the regular size however, same as many Kyoshos, Tamiyas, Touring cars etc. - A bigger size than the Losi front wheel hex, so even though it's a similar design, you will need to buy these specific RB5 front wheels.
All the hinge pins used in the hubs are again captured by screws - meaning none of those nasty E-Clips to lose or fall off.
The ball races provided here (and through much of the rest of the RB5) have teflon seals and are fairly thick with grease - providing a decent dose of friction, but we left it as-is.
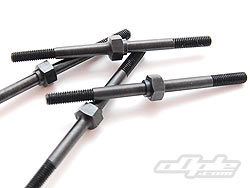
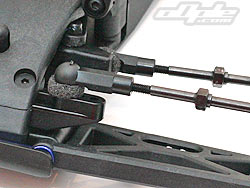
Turnbuckles are provided with the Ultima RB5 - and they are the same as those seen on the ZX-5 I reviewed a while back. Constructed of steel as they are, there should be no issue with strength here but they do weigh more than some nice Titanium items - not to mention they look a little nasty.
The adjusting hex is quite large and the only tool to hand was pliers. Even with some card around the hex to protect it from scratching, the turnbuckles did end up a little 'battle scarred' after installing.
It's a shame Kyosho don't provide a tool to assemble and adjust these since it's an awkward size. Before racing we replaced these with Associated blue titanium turnbuckles from the B4 - just like I did on the ZX5.
The ball cups are quite a tight fit on the ball studs - just in terms of installing, they can take quite a lot of force to install, so some long nosed pliers could be useful to aid installation on some of the links.

 4-way tool is provided for this job - though a longer nut driver style tool is a good idea to adjust these and other ball studs on the RB5.