Previous - 1 - 2 - 3 - 4 - 5 - 6 - 7 - 8 - Next

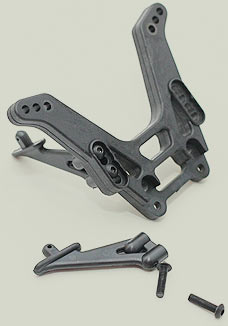
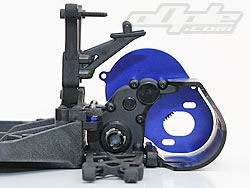
The rear shock tower is moulded from the same stiff and strong plastic composite as the front tower, and features height-adjustable wing mounts, with three levels.

These mounting holes are all quite low, which places the wind well below the top of the shock tower, reducing its effect somewhat. The 'middle' holes are suggested in the manual - actually 'suggested' is a little too kind since the manual TELLS you to put the wing mounts in the middle hole. We used the top hole so the wing was in the cleanest air, but still its only a slight difference.

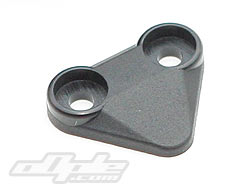
The wing mounts themselves are very similar to those seen on the Losi vehicles, and is moulded from a soft plastic to absorb impacts without breaking.

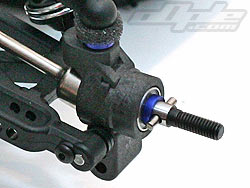
Assembling the rear shock tower, with wing mounts and shock screws should be very easy - but we still managed to get both the shock screws and wing mounts the wrong way around (see photo on the left for evidence!). The only rear difference front and rear on this shock tower is at the bottom where it mounts onto the rear brace.

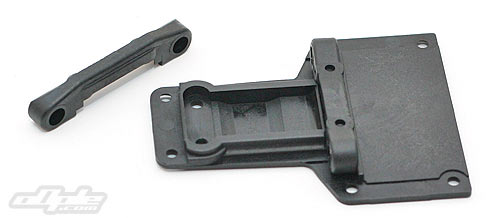
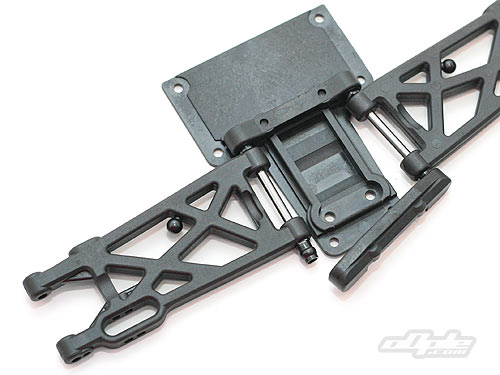
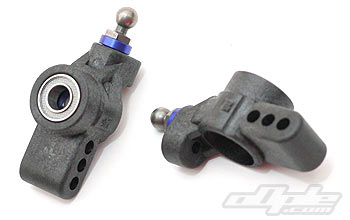
The rear brace which serves to brace the rear of the chassis and act as a base for the shock tower to mount to, also has three holes for the rear camber link ball stud to attach.

The holes are slightly off-set from one another, with the middle hole placed further back. The ball studs are height adjustable, and once the car is all together you'll need a 'proper' socket driver to adjust these since the kit wrench wont reach.

The rear of the chassis is a separate plate - just like on the Losi and Associated 2WD buggies. This separate rear section means the rear of the car can be removed as one unit. It also means that any damage can be replaced fairly cheaply compared to replacing the entire chassis.

The rear suspension arms look to be similar to those of the ZX5 - but not the same. Possibly these are the same as the 'upgraded' rear arms released a few months back - but I have none to compare against so I'm unsure.

The suspension arms inner hinge pins have plastic balls at both ends - which locate within two plastic pivot blocks. These are in turn attached to the rear chassis plate.

There is no room for wheelbase adjustment on the inner hinge pins.

The rear plate with suspension arms attached screws onto the main chassis from below with four screws.

There is no direction in the manual toward anti-squat settings. It appears almost as if Kyosho forgot this setting. On some other cars it is possible to change anti-squat by adding washers under the front block. The RB5 however doesn't appear to have this adjustment possibility without breaking the dremel out. The rear of the main chassis sits just above the pivot block, stopping you from raising the block up any significant amount. (see photo on the left)

The gearbox attaches to the RB5 with two screws from below and two from above onto the rear camber brace. This is similar to the Associated B4 and provides a good solid mounting.

With the gearbox attached, the rear shock tower and motor guard are next. The rear shock tower attaches to the camber brace and the motor guard pushes under the rear pivot block (which needs unscrewing carefully). The motor guard is a soft plastic much like on other similar buggies, and acts to absorb impacts as well as protect the motor.

The motor guard screws down to the top of the gearbox with two screws - a small, rather random little triangle of plastic sits above the screw holes.

Rear shock tower attached
You can see the zero anti squat here
Random 'mad piece' of plastic

The RB5 comes equipped with CVD style drive shafts, in an attractive silver finish. These come pre-assembled in the kit and the manual doesn't even show these in pieces - but it's still worth disassembling them to make sure they are right.

The drive shafts don't come pre-lubed, but the grub screws holding the pin in place are thread locked. I used the black grease included in the kit and re-thread locked the grub screws.

Grease is personal preference & some people don't use it on the drive shafts - so it's down to the end user. If you want to use the drive shafts straight from the box, you can.

The rear hubs are from the ZX5, and have vertical ball studs. The hubs are also height-adjustable, with three holes for the hinge pins. The top hole (lowest hub height) is the default position in the manual - raising the hub up lowers the car significantly and running off-road you'd probably want the default position always.

The hinge pins are again captured by a small screw in the suspension arm, and there is a small wheel base adjustment - with a plastic washer placed at either side of the hub (medium wheel base, as kit settings).

The same size hex as the front is used as you'd expect from a Kyosho. A blue alloy spacer pushes the pin out far enough to meet the required width. The hex, much like at the front, is fairly loose until you have installed wheels for the first time, so we took the hex, pin and spacer off until it came time to install wheels - otherwise it's easy to lose the parts.

Previous - 1 - 2 - 3 - 4 - 5 - 6 - 7 - 8 - Next