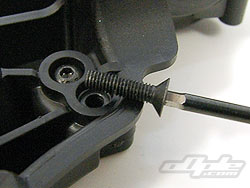
This just wasn’t right at all – I tried two screw drivers and knew I had the right size but the material was just too hard to screw into and by this point I couldn’t even unscrew the mount to pre-tap it! Oh dear – oh dear.
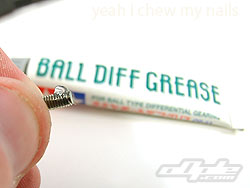 |
As well as pre-tapping the holes, I also applied a little silicone grease to the screws before inserting.
|
|
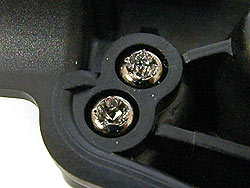
I was now left with the possibility of writing off the review after putting in the third screw of the build! Luckily there was room to swing a dremel and I managed to ‘slot’ the heads with a cut-off wheel. This enabled me to use a large flat head screw driver to remove the offending screws and start again!
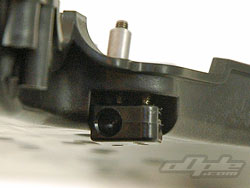
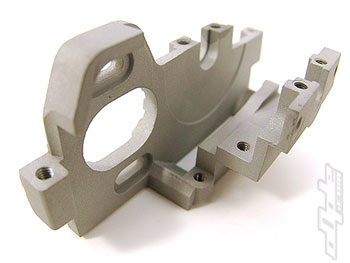
For a car of this level, which requires screws inserting into quite hard plastic composites, like these mounts – then either the holes need pre-tapping (by the user) or hex head screws should really be included. I attached the second front suspension mount with a couple of hex screws I had laying around and the difference was like night and day – it took so little effort since the only force needed was to turn the screw, not push like a maniac to stop the driver slipping.
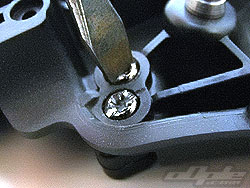
I decided to stick with the kit-supplied phillips screws, since this is what most people will use. I did however decide after my little ‘incident’, to pre-tap all the holes with a quality hex-head screw and my Hudy driver. I also put a dab of silicone (diff) grease on the kit screws before installing them into the tapped holes. This worked very well indeed and I didn't have any more problems.
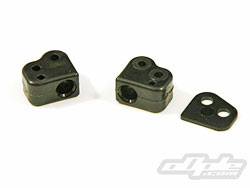
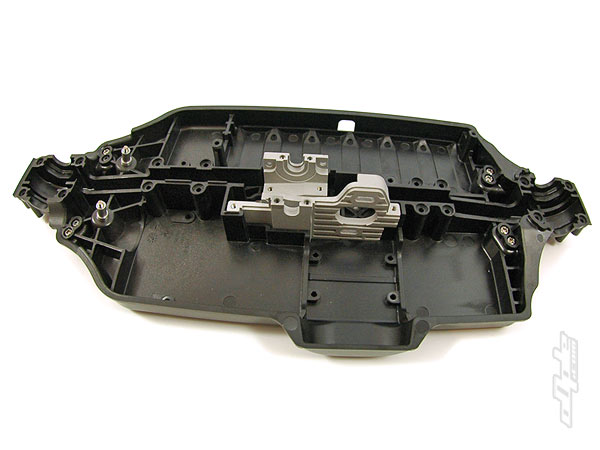
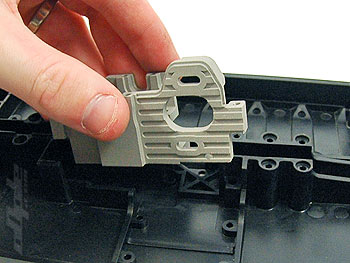
 With both front suspension mounts installed the rear are next – the exact same parts installed in the exact same way. The mounts might need to be properly trimmed here as any rogue flashing stops the mounts fully seating into the chassis. With both front suspension mounts installed the rear are next – the exact same parts installed in the exact same way. The mounts might need to be properly trimmed here as any rogue flashing stops the mounts fully seating into the chassis.
An hour of building had seen me put 10 screws into the chassis – of course I was photographing, demeling and swearing a little. |