The differentials are next. The Hot Bodies D4 only comes with front and rear ball differentials, no one-way options are included in the kit - though a front and centre one-way is available as a 'hop up'.
Both differentials are identical and hold few surprises if you've built a differential from  Kyosho / Associated / Tamiya or any number of other ball differentials around now. Kyosho / Associated / Tamiya or any number of other ball differentials around now.
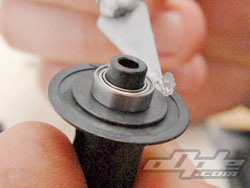
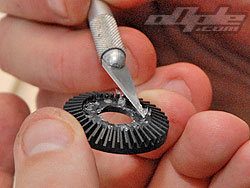
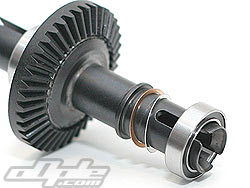
The differentials feature unequal length out drives and imperial 3/32 main balls. The main diff / crown gears internal diameter is too large for the included bearings so a plastic insert is provided which is first pushed into the gear.  |
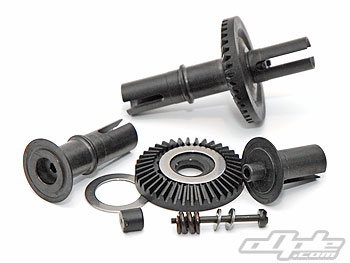 |
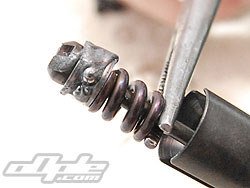
The thrust bearing is of the fairly typical type which needs assembling, with flat washers. This type of thrust race is a little more tricky to assemble than the pre-assembled style like Tamiya use.
The diff screws on the D4 have been a sore point for some users - breaking quite easily in some cases, and we knew that before even opening the kit - so we used care when assembling the differentials - not too tight. |
|
The actual screw is a slot-head type, but the slot is wide (around 1.6mm) so to find a slot headed driver that is narrow enough to fit in the out drive but thick enough for the slot is just about impossible. I used a 1.5mm driver to loosely tighten the diff, then used a small flat headed screw driver to tighten it up. Still, it's not great and I'd personally prefer a regular hex-headed screw.
Getting the differential setting right was fairly tricky - using a couple of drivers, one in either out drive to stop it rotating, you can test the diff for tightness by trying to turn the diff gear. There was a fine setting between too tight (and a fairly rough feel) and too loose. If anything it's best to go too tight, but after a couple of tries we got the differentials just right. They didn't feel super smooth out of the car, but once in the car with wheels on they should (and do) feel perfectly fine. |
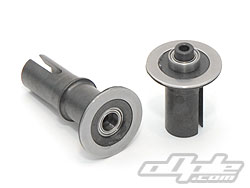
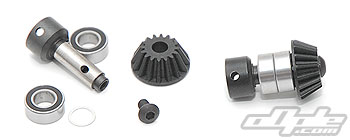
The gearbox inputs front and rear consist of identical CVD style input shafts. These are inverted from the traditional 'MIP' style shafts. The gearbox pinion / bevel gears lock onto a pin through the shafts and a screw holds the gear in place.
The input shafts spin on dual ball races with one thin 0.2mm washer to get the perfect mesh. |
 |
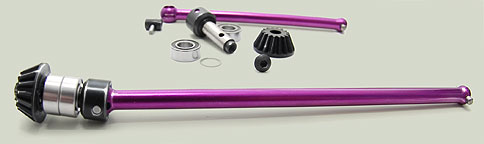 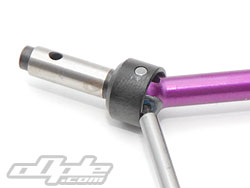
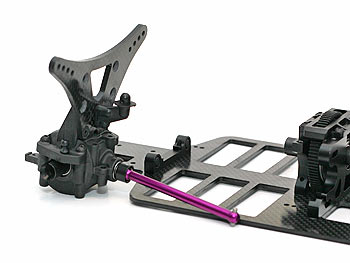
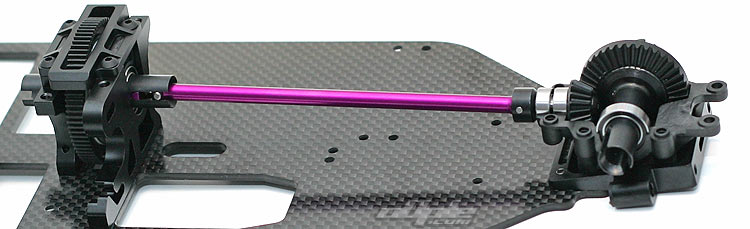
The centre drive shafts join onto the input shafts and these are purple anodised alloy in two different lengths, the longer of the two going to the front gearbox. The grub screw that secures the 'CVD' joint pin was a little hard to tighten with the driver we had to hand - the thick alloy drive shaft doesn't allow enough articulation of the joint to get good access to the grub screw. |
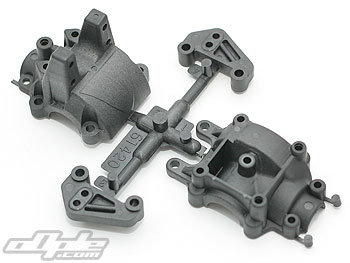 |
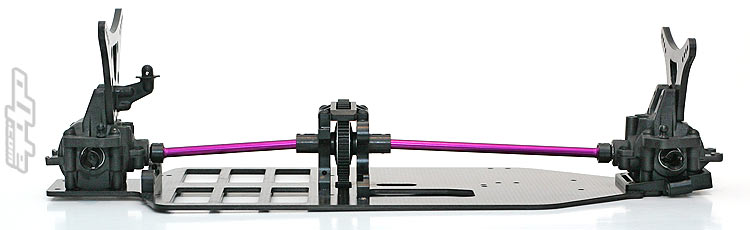
The gearboxes on the D4 are two part affairs, with an upper and lower half. These initially look to be the same front and rear but aren't. The front is moulded to accomodate the front 'kick up' of the hinge pin block for instance. Both gearbox tops have moulded uprights for the shock towers to attach - I thought this might be a weak point in the design but they look quite stong.
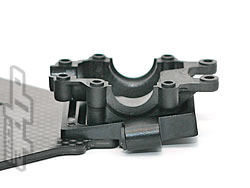
The front gearbox installs first, with the lower half sitting nicely inside the alloy front kick plate / pivot block. One of the differentials then drops in, followed by the input shaft - taking care to insert the opposite end of the front centre drive shaft into the slipper assembly.
The front gearbox top can have a problem in some cases, and this is detailed in an additional sheet supplied in the kit. I did look at this sheet before starting the build but forgot about it and neglected to mention it to John who was doing most of the building -oops. |
The 'problem' stems from the main diff gear rubbing slightly on the roof of the front gearbox top in certain cases, where the gearbox top has 'pinched' slightly during manufacture. The additional sheet gives steps to rectify the problem and shows how you can modify the gearbox moulding to cure any rubbing.
I only found the sheet after we'd assembled this area of the car, but was releaved to find that there was no problem in our particular case. Either way, I am sure that it's something Hot Bodies will work around to solve. |
|
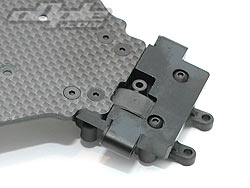
The front differential and centre drive shaft drop into the lower gearbox half - with the centre shaft inserted into the slipper out drive at the same time. We shimmed the front differential as per the manual which seemed perfect.
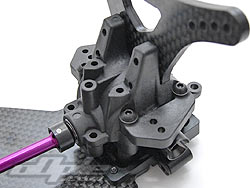
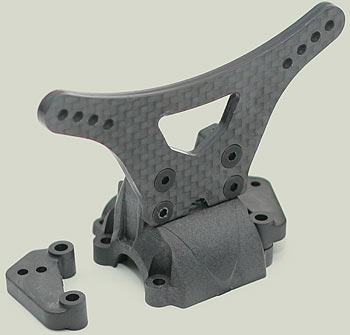
The carbon fibre shock towers mount directly to the gearbox tops via four counter sunk screws. Large uprights are moulded to brace the shock towers and internal ribbing inside the gearbox carries on the quest for strength.
Camber link pickups are provided via seperate plastic mouldings, secured via long screws which also secure the gearbox tops in place.

|
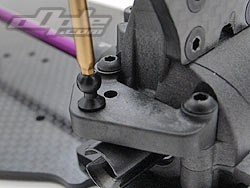
Whilst the front camber link plates have two pickup points, the rear only has one - though I'm told you can swap out the rear items for some fronts for more setup options.
The ball studs in the D4 kit are all hex-driver style, which makes them a little easier to install. |
|
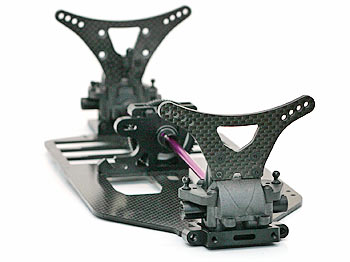
| The rear gearbox is assembled in the same way to that on the front - with similar mouldings and the addition of a rear body mount to the shock tower. The complete assembly then drops onto the chassis and is secured with 4 screws from below. |
|