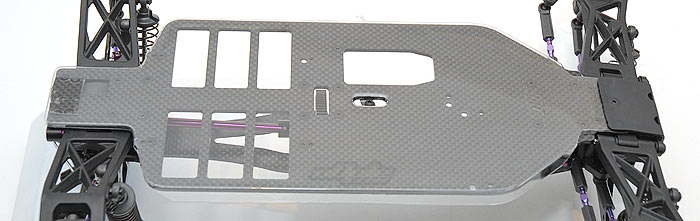
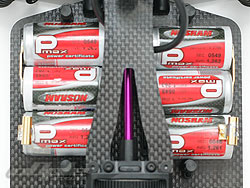
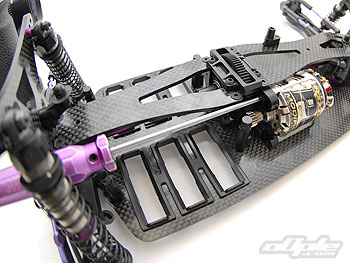
With the shocks on the car, the chassis looks almost complete - save for a few finishing touches. The cells are arranged saddle-pack style, and the slots in the D4 main chassis are oversized, to accomodate the plastic trays which hold the cells. The use of plastic trays to hold the cells is becoming more common among manufacturers and gives the cells a solid and safe location, with no risk of shorting out on the conductive carbon chassis.
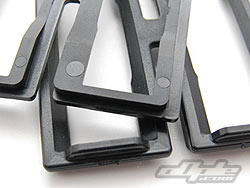
The plastic trays used on the D4 have a pretty unique feature which enable the cells to be run in a forward or rear position. The trays are offset (see illustration on the right), so rotating them 180 degrees shifts the cells in the opposite direction - a nice tuning option. Plastic cell  posts, and straps (which are also 'directional' to hold the cells in either position), do the job of holding the cells in place. posts, and straps (which are also 'directional' to hold the cells in either position), do the job of holding the cells in place. |
 |
 |
 |
 |
The trays are offset
|
Cells spaced rear / front |
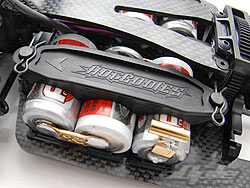
directional plastic straps hold things secure |
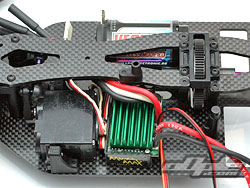
The motor mounts longitudinally and bolts into the central motor mount. Just like on other similarly laid-out cars, the motor access isn't the best. The central location coupled with the battery post makes the screws hard to reach. The lower screws is especially hard to reach, we used a ball-ended driver to tighten this screw but the easiest way we found was to remove the battery post closest to the motor whilst installing.
For brushless motors this isn't any real problem since you shouldn't have to remove the motor too often. If you needed to skim / re-brush the motor every couple of runs however, this poor access would soon become tiring. |
 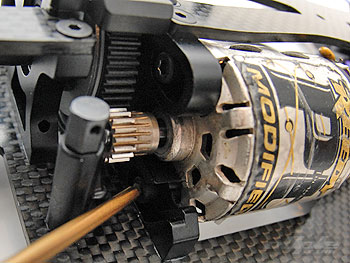
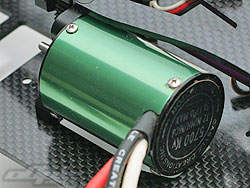
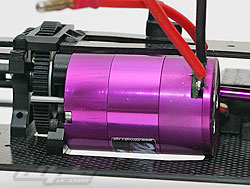
The cut out for the motor allows it to sit as low as possible. For traditional brushed motors this is a perfect fit, but for some Brushless motors the length of this cut out isn't sufficient. For motors that taper toward the rear there is no problem, but for motors like the MTroniks we tested, the chassis would need filing a little for the motor to fit.
|
 |
 |
 |
Mamba Max motor is tight fit
|
MTroniks motor wouldn't fit |
Some of the differences between the motors |
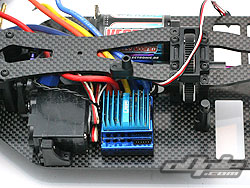
With the motor on the right hand side of the car there is plenty of room on the right side for even the largest ESC. We decided to use the LRP controller in the end, mounting it on the left (it will fit in front of the motor on the right, but leave the left looking a tad empty).
The electrics install had to be done in a short time for the review so maybe it could have been done better. We ended up with the receiver in front of the motor on the right. |
 |
 |
LRP Sphere Competition
|
Mamba Max |
|
|
The completed electrics install |
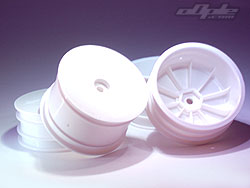 |
As mentioned earlier in the review - the D4 uses 12mm wheel hexes, the same size as Tamiya and most 10th electric touring cars use. The wheels are a very similar design to other buggy wheels like those from Proline and Losi - and this is an intentional move to make it possible for racers to choose the type of wheel they want to use since this car can use those other wheels as well despite the different fitting.
Racers that already have a large ammount of the common Losi / Proline compatible wheels can purchase an optional Losi sized hex for the front axles - whilst at the rear, it's just a matter of taking the 12mm hexes off and spacing the axle pin out with the three supplied washers. The manual even shows how to do it - Hot Bodies clearly know how to make the car appealing. |

 |
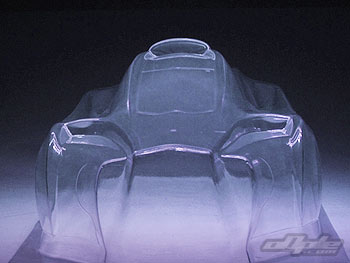
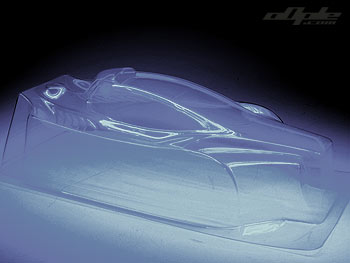
The Body Shell
Hot Bodies styled a futuristic and agressive design for the D4 shell. The drivers cab sits forward and the high sides give the body a bulky no-compromises look. It's got a hint of Yokomo's late 80's 'Super Dogfighter' in there - and maybe a hint of XFactorys X-5, with the central cabin and swept-up rear end. There is also plenty of room for electrics with the high sides. |
|
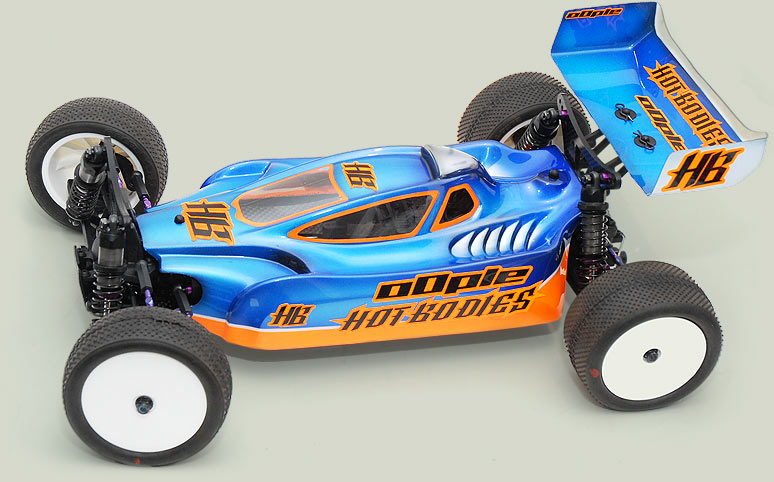 |
I had a few reservations on the D4 body to begin with, but actually seeing the shell in my hands it began to grow on me a little. I didn’t have much time to paint the shell and chose a quick and simple paint scheme which doesn’t really do justice to the shell at all. I’m not the best painter in the world, so a shell can take me several hours – and with a fast approaching deadline to get the car tested before its first race, I had to resort to a ‘quickie’ paint job.
|
To bring out the rather plain paint scheme I knocked up a few matching stickers – again a lack of time stopped me creating some unique D4 designs.
The body comes with a high downforce wing and an undertray to keep things clean. The undertray is a great design which integrates perfectly with the bodyshell to create a fantastic seal, especially when using the included 'velcro'.
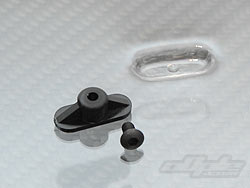
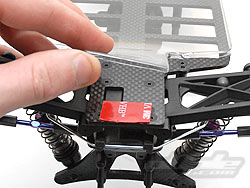
The undertray mounting is simply genius - the leading edge tucks under the front bumper whilst the middle uses a plastic 'lug' which is turned 90degrees to lock into the chassis. The rear of the undertray mounts with double-sided tape, and that's it! It makes maintenance a breeze, being able to remove and reinstall the undertray in seconds. |
 |
 |
 |
 |
One screw traps the front of the undertray under the front bumper
|
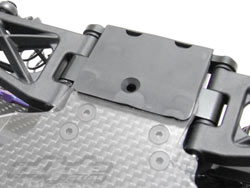
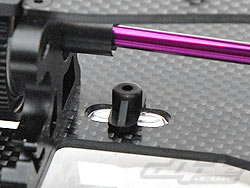
The centre plastic undertray clip simple rotates 90 degrees through the chassis to lock it in place. |
The rear of the undertray secures with double sided tape. |
|
|
|