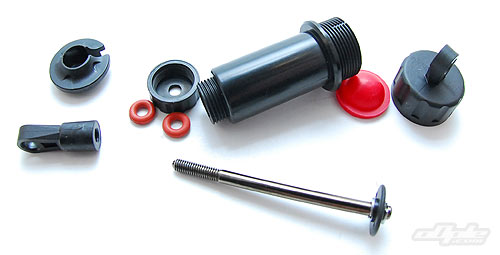
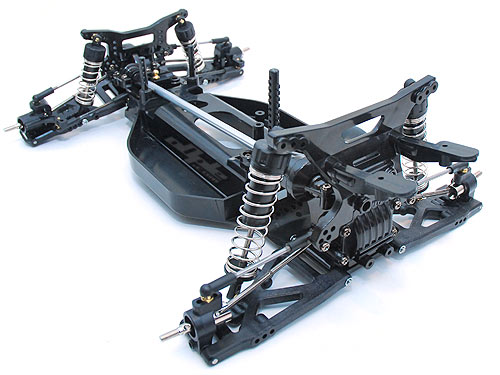
The shock absorbers on the Keen Hawk are oil filled coil sprung units. The rear shocks are a larger diameter than the front, so despite their similar looks (but overall shorter length on the front) only the e-clips and o-rings are shared between both front and rear shock absorbers.
The shock bodies, and indeed all but the shock shafts, are made from plastic. Not the highest quality design ever – but this car is quite cheap and let’s not forget those ball races and ball differentials.
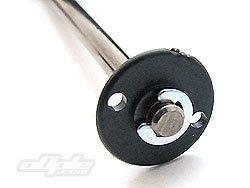
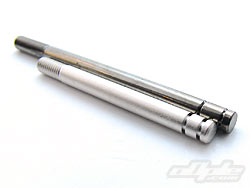
The shock shafts front and rear are different colours for some reason, possibly these are parts sourced from other cars in the (vast) Tamiya range. The front shock shafts have an unusual ‘satin’ effect, rather than the hard smooth polished finish that is more usual on these parts. It’s also worth noting that the metal on all shock shafts is quite soft and very easily damaged, care needs taking when installing the plastic rod ends so as not to damage the surface.
Plastic moulded pistons are included for front and rear shocks, and come in three different styles. The holes in these pistons are pretty large, and all three pistons (both front and rear) feature the same sized holes – the ‘hardest’ piston having just one hole, and the softest having three.
In addition to the large holes, all the pistons have one slight flat area in their circumference where they were attached to the parts tree. This is another area for oil to pass through.
The large holes do mean that there isn’t going to be much turbulence of the shock fluid – known as ‘pack’. This is where more fast piston movement causes turbulence and effectively becomes harder than it otherwise would.
AE green slime is great stuff
diaphragms are used in the shocks
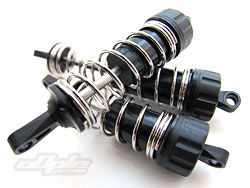
Completed shocks
‘Hard’ shock oil is provided – this really is thick stuff but with the large hole diameters in the pistons, it needs to be. That said, it’s still not enough – the hard springs and under-dampened shocks make for a bouncy car which sits too high and will bottom out on even fairly small jumps.
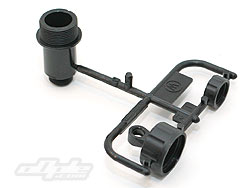
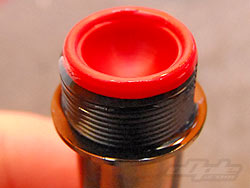
Building the shocks is a relatively painless exercise – there really isn’t anything to tax the reasonably competent modeler. Two 3mm o-rings insert into the bottom of the plastic shock bodies, without any other spacers, and a plastic cap screws on to the bottom of the bodies to keep the seals in place - pretty simple stuff.
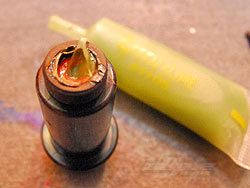
The top of the shocks use a silicone rubber diaphragm to separate the air/oil and compensate the shaft volume as the piston moves up into the shock body.
The shock pistons fix onto the shock shafts with e-clips but where the front piston is held relatively tightly – the rear piston isn’t, and is free to move up and down slightly between the clips.
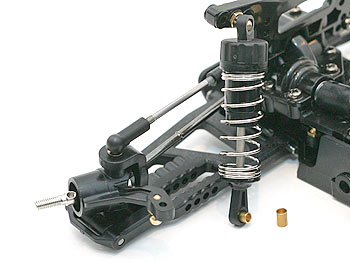
The shocks mount front and rear on the brass ball studs already installed on the shock towers. The front suspension arm mounting is a little different however. Here a brass bushing inserts into the rod end, which then pivots on a screw inserted into the arm.
This lower front suspension arm mounting is very sloppy and poorly thought out. The brass tube is a loose fit (to put it kindly) in the rod end, and introduces easily avoided play. So many great design features are apparent on this car, but things like this add up and detract from what is a great chassis.
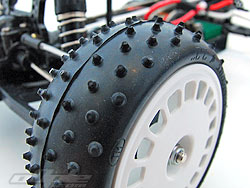
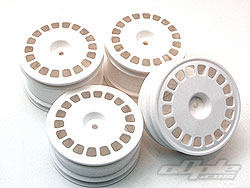
The Keen Hawk comes with the same wheels as seen on the Dark Impact - the only difference being the colour, white instead of black. The wheels are touring hex size, as used on many Tamiya vehicles for a long time - so finding replacements shouldn't be too hard.
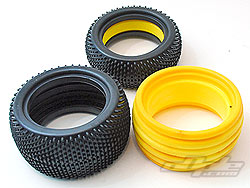
The Keen Hawk comes with tyres and inserts also - the inserts are unique in off-road circles, being moulded to fit the tyres and wheels prefectly! The tyres are fairly hard compound mini-block style tread and work fairly well indoors and should last a good while outdoors - though the hard compound might not work so well on dirt tracks. I chose to mount up Schumacher Mini Spikes as these are a good all-rounder and will give the Keen Hawk the best chance to show what it's capable of.
Schumacher 'mini spikes' were used
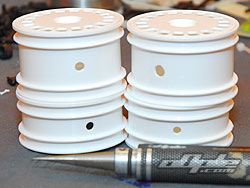
The kit wheels need holes to let air escape - you can do this with a drill or shell reamer.