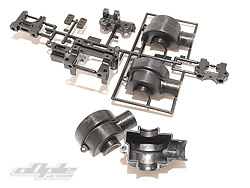
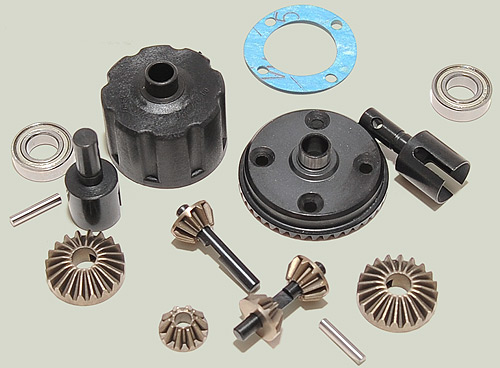
The first job in the build is the differentials. Most of the parts are contained in 'bag A' - but strangely the differential housings themselves are stuffed in a bag with the fuel tank seperately. With the bodies of the diff's located, you can start building things. Having only built a couple of 8th buggies before it's still very straight forward with little in the way of surprises here since the differentials are pretty much the same design as all other 1/8th buggies and trucks - just good quality well made parts.
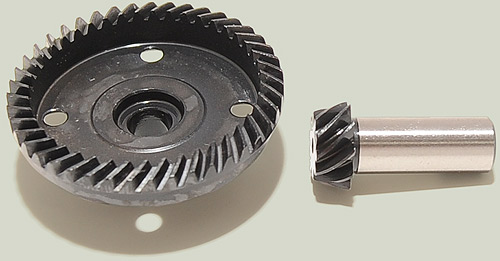
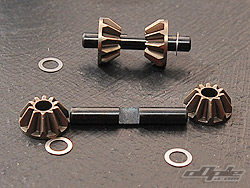
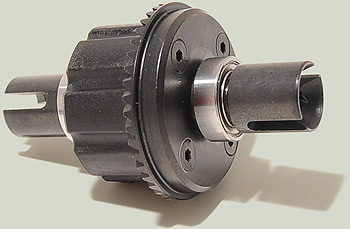
The main crown gear and gearbox pinion are cross cut for added strength.
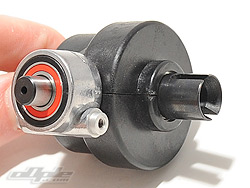
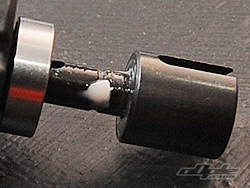
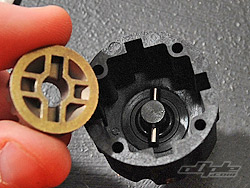
The manual suggests when and where to apply the supplied grease but didn't mention the outdrives which spin inside the steel outputs from the housing - there's a groove in the outdrives for grease so that's where I put it.
Above: The gearbox crown and pinion/input shaft with spiral cut teeth
The differentials use four spider gears - again, no big surprises if you've ever built an 8th buggy or truggy before. The manual says to use 4x0.2mm washers behind each spider gear - I got confused and quickly ran out of washers since it actually means one 4mm X 0.2mm.
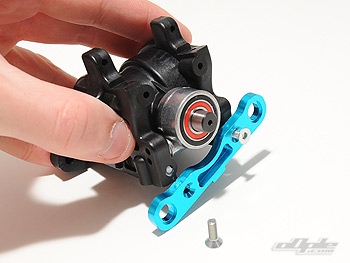
I got a couple of bits from Answer-RC to try out on the 801Xt - first up was their truggy bearing kit - this isn't labled specifically for the TRF car but contains all the bearings needed. Now there's nothing 'wrong' with the kit bearings, but especially when run in adverse conditions these things don't last long with the pounding they take from rigors of racing. I was going to keep these until bearings started needing to be replaced after a bit of winter racing - but in the end decided the shiney red rubber seals were too appealing and used them for the initial build anyway.
Above: The bearing set from Answer RC
Greased outdrives!
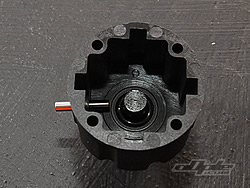
The steel pin inserts thru the body and the hole is capped with a grub screw
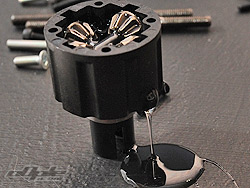
The main diff gears sit over the pins and the four spider gears are dropped down on top.
oops! I forgot to put the grub screw in on one of the diff's :)
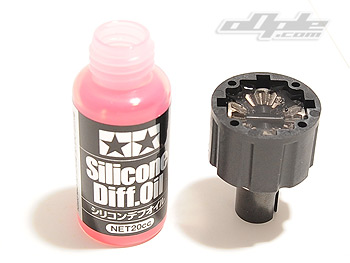
Just the one bottle of 10k oil is supplied for the differentials - but there's enough for all three diffs plus a little spillage! :)
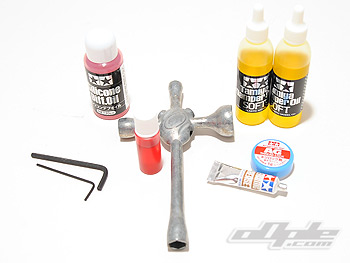
Tamiya supply a few items with the kit, a couple of little tools, along with oils and threadlock.
The front and rear differentials are identical - the 801XT being an 8th scale truggy of course uses a centre differential. This uses the same housing as the other differentials but is assembled later on in the build. Tamiya have kindly supplied some diff oil but only the one bottle of 10,000wt is supplied to cover all three diffs - not ideal. Of course you'd normally tune the differential oil to the track and personal preference but generally you'd find a heavy oil in the centre, with lighter in the front and even lighter in the rear as a very general rule. I'm not sure if Tamiya make a range of 'diff' oils but maybe it's worth buying a couple of extra weight oils with the 801XT.
I ended up going for the standard undiluted 10k oil in the front differential but thinned the rear diff' down with some left-over 3k oil I had laying around, making a very rough guess at 5k oil in the rear. I'd also go for 10k in the centre but that'd be later on.
Diff Oil: The differentials are filled with oil to slow down the 'action' - heavier oils slow the action more, softer oils less. Stiffening the action is needed to stop the diff's from 'diffing out' and spinning up the wheel with the least load - but the oils can be finely tuned between the three differentials to give the best handling characteristics for a particular track.
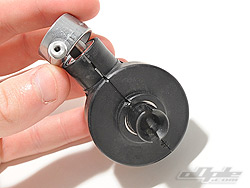
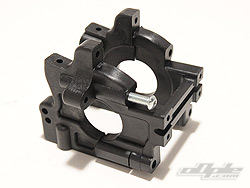
Above: The gearbox cases don't close too well but things change once the bulkhead is assembled around.
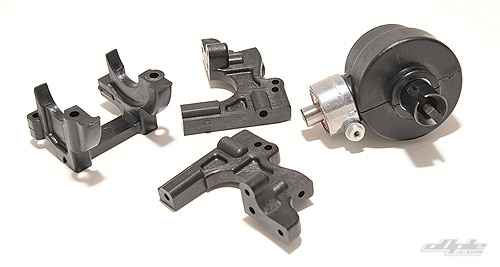
With the differentials assembled the gearboxes are next - and this is where it drifts away from 'the norm' - the differentials sitting inside what are essentially just covers.
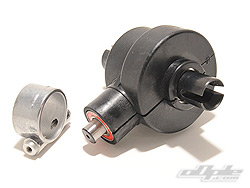
The covers themselves clamp at one end with a single screw, whilst an alloy 'ring' pushes over the gearbox input area - holding both the input shaft and gear mesh firmly in place. At this point the covers weren't properly closed around the gears, leaving gaps where dust and debris could enter.
The rest of the rear gearbox comes in three main parts which clamp around the cover to firmly close all the gaps - these are a little fiddly to attach but once it's all together things feel a lot more sturdy and secure.
The screws used to attach these parts are meaty 3.5mm things - but the relatively shallow hexes and stiff plastic mouldings make life a little difficult - so a spot of the supplied grease in the holes and on the screws before assembly really helps things go smoothly.
Most cars would normally use something along the lines of a top and bottom part for the same job as tamiya used around 6 parts - but that's just the way Tamiya have always been.
Rear shock tower and front suspension brace.
The front brace for the rear suspension screws directly onto the gearbox.


 The front and rear differentials are identical - the 801XT being an 8th scale truggy of course uses a centre differential. This uses the same housing as the other differentials but is assembled later on in the build. Tamiya have kindly supplied some diff oil but only the one bottle of 10,000wt is supplied to cover all three diffs - not ideal. Of course you'd normally tune the differential oil to the track and personal preference but generally you'd find a heavy oil in the centre, with lighter in the front and even lighter in the rear as a very general rule. I'm not sure if Tamiya make a range of 'diff' oils but maybe it's worth buying a couple of extra weight oils with the 801XT.