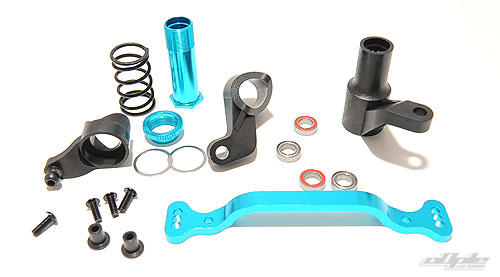
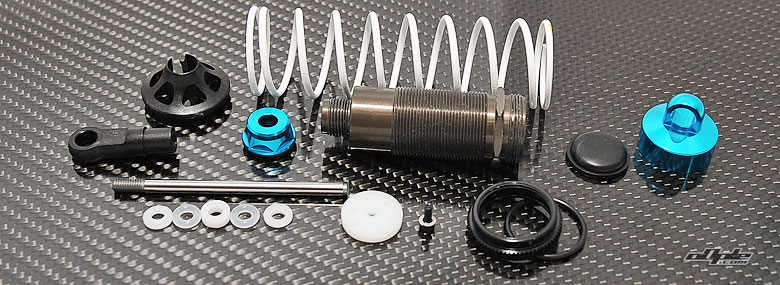
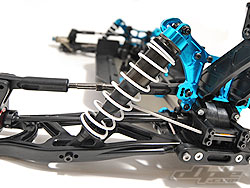
The 801XT dampers are 'big bore' as you'd expect - though not quite as large in diameter as some of the competitors at 15mm vs 16mm, but Tamiya are well known for the quality of their dampers and these certainly look up to the job of racing at the highest level.
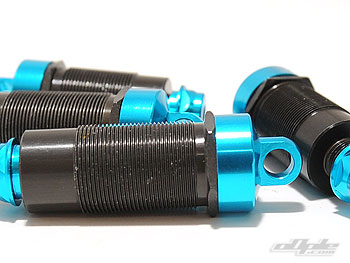 |
| The coated damper bodies look the business |
 |
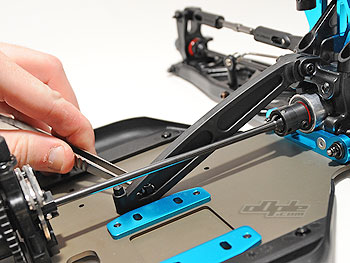
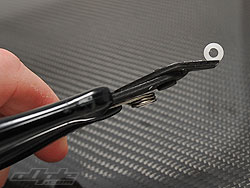
| A small 2mm screw and spring washer clamp the piston in place. |
|
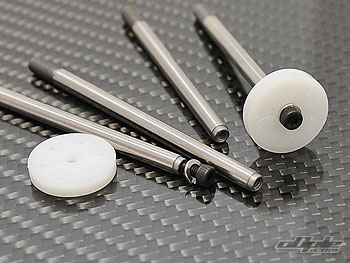
Three differemt pistons are supplied - 1.2mm, 1.3mm and 1.4mm. The manual suggests to use the smallest hole pistons - 1.2mm, with the supplied 'soft' oil. I didn't want to deviate too much from the manual so kept these settings until I'd had some track time.
The pistons attach to the shafts by means of a small 2x6mm screw - this screw is pretty much all that is keeping this entire shock together. The manual doesn't mention threadlock on this particular screw but I'd strongly advise it - more on this later in the review but trust me, you don't want this screw to come loose.
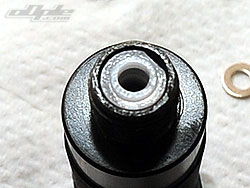
The dampers assemble easily and quickly with no real drama. The seals push into the bottom of the shock bodies from below - capped and secured with a blue anodised alloy bottom-cap.
|
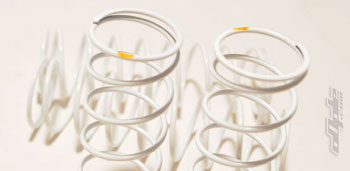
| All the TRF 801XT springs are white - even the optional items! - the small coloured dot gives away the designated spring colour. This isn't the best idea ever - since the coloured dot can easily be lost in the mud - but it looks cool - so maybe it can be forgiven.... |
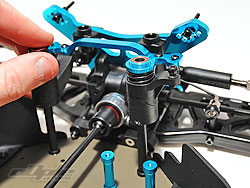
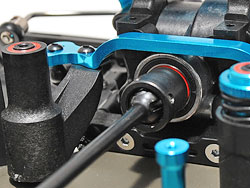
Pushing the piston through for the first time I was struck by the friction - the shaft moved smoothly but even with gease on the seals from the start the piston felt stiff. I finished the damper off and built a second - the same thing!. Hmmmm.
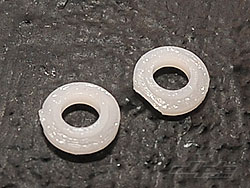
I decided this couldn't be right and took one of the dampers apart again - paying attention to the seals and rod guides (the white plastic spacers). I'd trimmed these rod guides from the parts tree but there was still the tiniest ammount of flashing on the edge. The spacers had no problem dropping into the damper body - but the tolerances are so fine that even the  smallest imperfection causes these small plastic guides to be misaligned very slightly from one another, causing excess friction on the shaft. smallest imperfection causes these small plastic guides to be misaligned very slightly from one another, causing excess friction on the shaft.
|