Previous - 1 - 2 - 3 - 4 - 5 - 6 - 7 - 8 - Next

THE CHASSIS


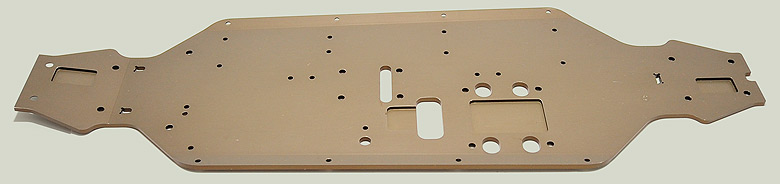
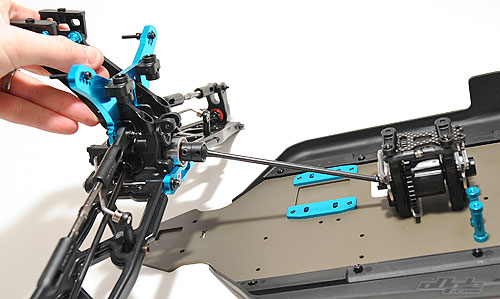
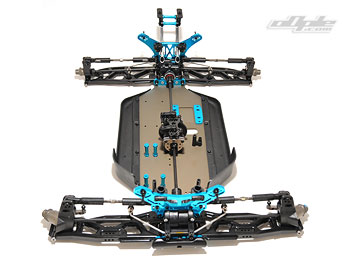
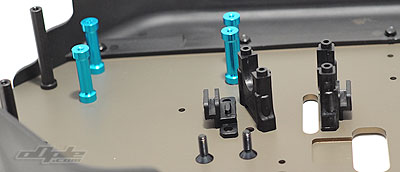
With the front and rear ends of the truck nearly finished it's time to take a look at the chassis for the first time. This is pressed from 3mm aluminium alloy and has milled areas to help lower the engine and differentials slightly and raised edges to add stiffness. Thankfully Tamiya chose a mid brown earthy tone for the anodising - blue would look hideous over such a large area, but this looks trick.

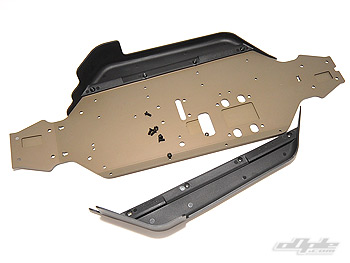
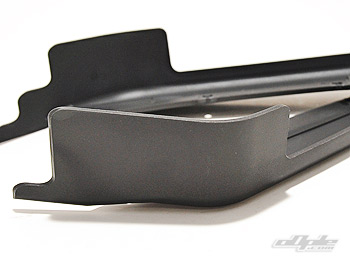
Large plastic side guards are included and these raise up high toward the front to help keep out the worst of the debris. The sides are actually a little on the low side but the body shell is a good close fit so it's no matter.

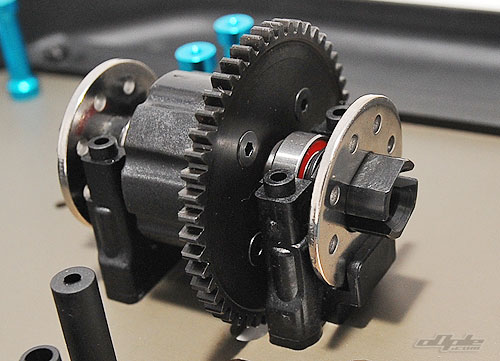
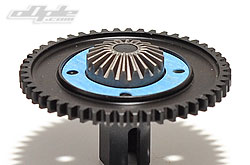
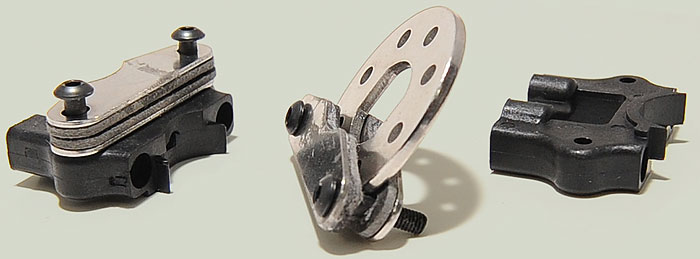
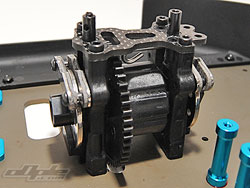
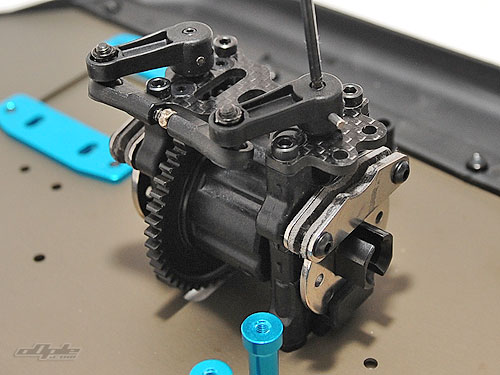
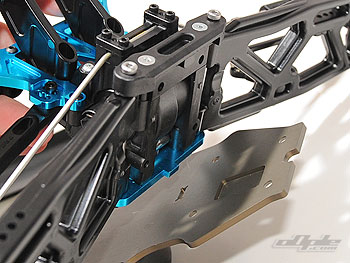
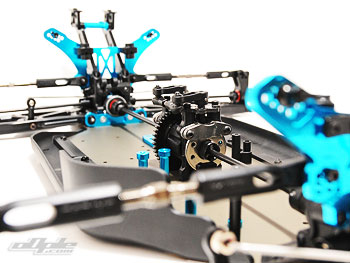
The centre differential needs a place to sit and this comes in the form of a multi-piece moulded mount - joined together at the top by a carbon fibre plate. The centre differential itself is assembled in exactly the same way as the other differentials - the only difference being the spur gear instead of crown gear.

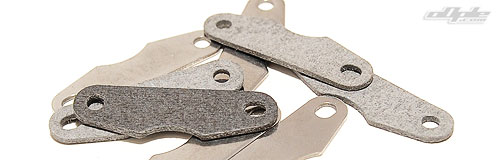
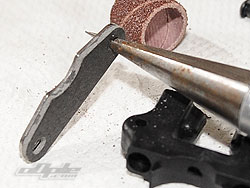
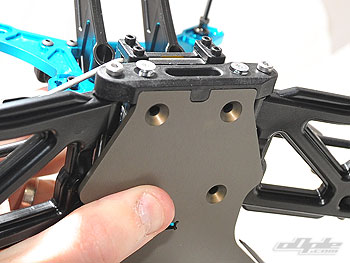
Stamped out ventilated steel brake discs slide over the centre differential outdrives and are held in situ by plastic guides once the differential is seated in the mounts.


The brake pads need glueing to metal calipers - two clamp each disc, making four in total. This isn't a hard job but needs attention to make half with the pad glued to one side of the caliper and half on the opposite side, as they aren't symetrical.

I used CA (superglue) to glue the pads - it's essential to make sure the pads are square on the caliper when gluing - if they aren't aligned properly (easily done) then they wont move freely and could cause friction on the drivetrain. Thankfully it's easy to fix by reaming out the pad a little after it's attached and only takes a few seconds.

The calipers mount onto the two top halves of the centre diff mount and slide over the diff to clamp it in place.

I roughed up the surfaces a little just to make sure the pads stuck well Only a small dab of glue is needed but it needs spreading across the whole plate Reaming out the holes to make sure the pads move as freely as possible is a good idea.

The carbon fibre top plate finishes off the centre diff mount itself and creates a stiff and sturdy assembly. The 801XT features a unique brake bias adjustment - twin cranks transmit the brake force from the front to the rear. Adjusting the length of the turnbuckle link between these two cranks adjusts the rear brake - a shorter link gives more front braking / a longer link gives more rear braking.

I adjusted the brake to give a little more front brake than rear - this should be a pretty safe setting but it's quick and easy to change - a good thing too, my lack of nitro experience meant I'd be wanting to try some of these setup changes track side.

With the centre diff mount assembled - the front and rear ends can then be attached. Four 4mm countersunk screws attach each end - various lugs from the suspension mounts lock into corresponding holes in the chassis to help bolster the mounting.

The rear end wouldn't line up properly with the chassis holes and caused a brief panic - but a quick loosening of the screws on the rear plastic block allowed the lugs to locate properly before being re-tightened after installation.

A small lug on the front and rear suspension mount sits inside corresponding holes on the chassis plate. Loosening the screws on the rear plastic block allowed the rear end to sit flat on the chassis.
Previous - 1 - 2 - 3 - 4 - 5 - 6 - 7 - 8 - Next