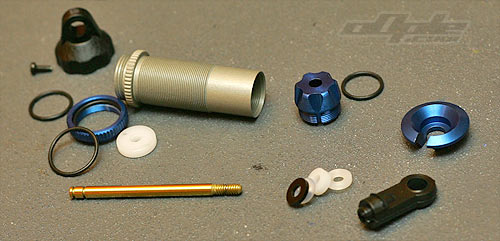
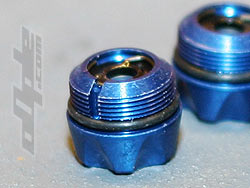
The shocks are next and these are separated into various bags which all need opening together. The shocks consist of threaded alloy bodies with some form of coating like the AE Teflon shocks. The seals at the bottom are assembled in a blue alloy cartridge similar to that on the Kyosho ZX-5, and the tops are plastic with bleed screws.
Gold coloured Ti Nitride shock shafts are included and the shocks even include alloy lower spring holders.
To my surprise only 4 pistons are included in the kit, 4 !!!, so there is no possibility of really changing these at the outset.
|
 |
There are 2 white and 2 black pistons but looking at the manual it isn’t clear which goes front and which rear. I could not tell any real difference in hole size by looking at them so just decided on black front and white rear. The pistons look to be machined rather than moulded.
3 Different sizes of large black O-rings are used on each shock, the largest in the threaded ride height adjuster, the smallest around the lower cartridge and the medium on the top of the shock body.
First job is to put the pistons on the shock shafts, this is just like any other shock with an E clip either side of the piston, the piston is a snug fit over the shaft.
The cartridge then needs assembly, this is fairly straight forward and very similar again to the kyosho shocks, 2 O rings are used along with various spacers and lastly all is held in with a C clip which is more than eager to fly off into your eye whilst installing.
With the cartridge complete and the shaft and piston pushed through the assembly is screwed into the main shock body. |
 |
 |
 |
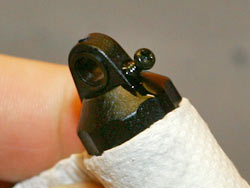
Using the bleed screw |
Seals assembled on the shaft |
Completed cartridge with bleed gap |
Small bottles of 35wt and 25wt oils come in the kit, 35wt for the front and 25wt for the rear, these are probably a little light for the tracks I’ll be racing on in the UK but I’ll stick with the kit setup for now and go from there.
The shocks are filled from above, as much as you can squeeze in, then with the top cap securely fastened the shock shaft is pushed slowly all the way in, which should push all the air and excess oil out of the bleed hole in the top cap. A small phillips head screw fills the bleed hole and seals the shock up.
A neat feature of the BX Shocks is that they can be bled from the bottom also by unscrewing the cartridge slightly. This means that you can change the seals without changing the oil, or change the piston without changing the oil. Though the oil might need topping up of course.
The shocks are completed with black springs front and rear, these seem fairly stiff and a slightly larger diameter than Associated springs. The Associated springs fit, just, and seem to be what the team have been using, blue front and green or silver rear (in the UK). |
 |

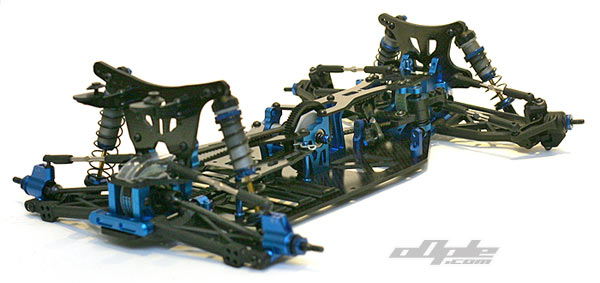
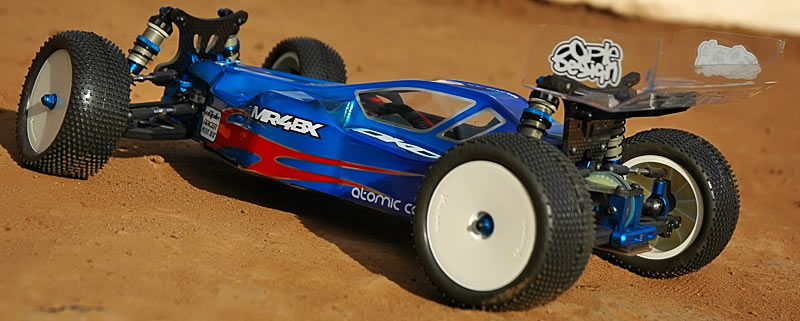
Above: Finished Chassis
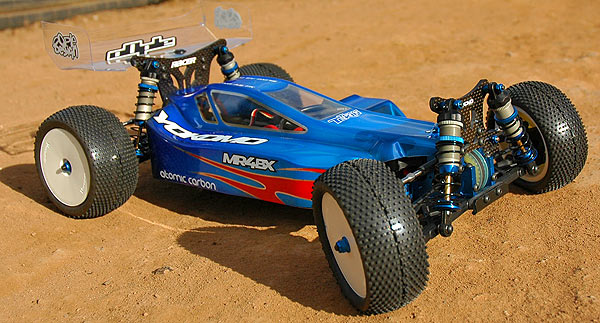
The bodyshell on the BX is super sleek in some areas but you can't but help notice the huge motor cooling pod on the side, a la XFactory X-5. It's a bit of an eye sore since the rest of the shell looks quite nice.
The sides swoop up towards the back, giving a little downforce, again, similar to the X-5 but not as dramatic.
The shell comes with NO WINDOW MASKS, and NO STICKERS, yes you heard me right. What they were thinking of goodness knows. It's not a complete kit without at least the window masks, theres no excuse for it! *rant*
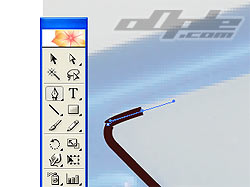
Out came the digital camera, adobe illustrator and a plotter cutter, after a couple of hours I had some perfect masks. The stickers were again done in Adobe Illustrator and printed just for the review car. |
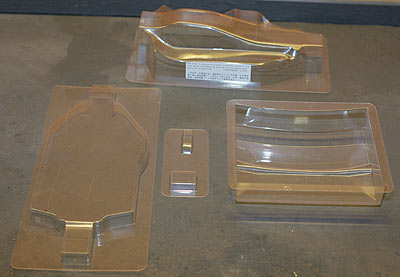 |
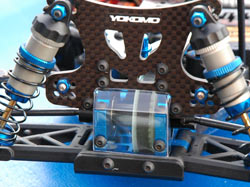
The BX comes with a clear undertray which tucks nearly under the front bumper and is secured front and rear by double sided tape and 2 screws in the middle. Combined with the shell the two make a pretty good seal to the worst dirt and debris.
2 wings are included of similar dimensions, one straight and another curved (as seen from above). Aparently the curved has less downforce. |
 |
 |
 |
Adobe Illustrator! makin them masks! |
Front diff cover |
Rear diff covers |
|
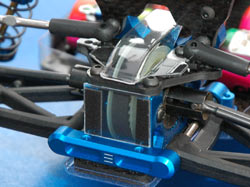
Front and rear belt covers are also included in the form of a cheap simple polycarbonate moulding which needs carefully cutting to form two covers for front and rear. Care needs taking with the rear cover especially to make sure you cut it in such a way that it extends through the shock tower and into the body shell for maximum protection. The rear cover looks like it is supposed to screw down but the manual suggests double sided tape which leaves a small gap.
The rear of the rear gearbox is left exposed in the manual, but all the team drivers I saw running the car had a square of polycarbonate stuch over the hole for added protection.. |
|