I'd spent such a hardcore night (until 4am!) getting the electrics done, I had the whole of saturday to paint the bodyshell and get ready for racing the next day - so maybe I would be able to get it done in time afterall!
Bodyshell
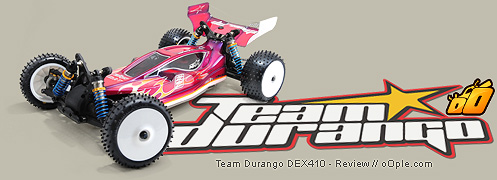
There are good R/C car bodies and there are some pretty naff R/C car bodies, the Durango falls into neither camp - because it's just plain gorgeous!
The narrow profile is a tricky one to design for - it's unusual, and you could forgive this pure-bred race company to merely go for a purposeful and functional design, devoid of 'looks'.
The original Durango prototype bodies weren't what you'd ever describe as beautiful - possibly interesting and unique yes, but not really a pretty design, they did a job. No, instead - Team Durango have outdone the best to produce not only a unique and outrageous design, but also a pretty darn beautiful one. The wing is similarly good looking and functional - it's wide enough, with raised sides to clear the tyres and mounted onto the sturdy mount it's very solid and should work well.
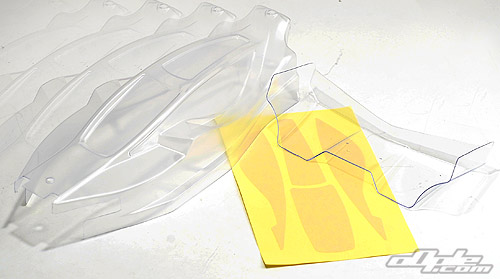
The bodyshell comes with a large set of decals and excellent window masks which follow the window lines perfectly - so many don't, you wonder why. We like to do things differently so we copied the window masks and plotter-cut some new  ones with 'borders' for doing the neat chrome line around the edge. The rest ones with 'borders' for doing the neat chrome line around the edge. The rest  of the masking is again computer drawn and plotter-cut - only the small chrome line around the edges is hand-cut (whilst on the shell). The narrow shell makes it a little tricky to mask and even harder to cut neat lines into the masking tape with a knife. The airbrush is similarly in a fairly tight space as you try to follow the complex contours. I used a combination of Spazstix and Faskolor to paint the shell - with Createx (Faskolor) irridescent purple and irridescent red making up the main colours. I backed it all with Faskoat to help stop any skuffs. of the masking is again computer drawn and plotter-cut - only the small chrome line around the edges is hand-cut (whilst on the shell). The narrow shell makes it a little tricky to mask and even harder to cut neat lines into the masking tape with a knife. The airbrush is similarly in a fairly tight space as you try to follow the complex contours. I used a combination of Spazstix and Faskolor to paint the shell - with Createx (Faskolor) irridescent purple and irridescent red making up the main colours. I backed it all with Faskoat to help stop any skuffs. |
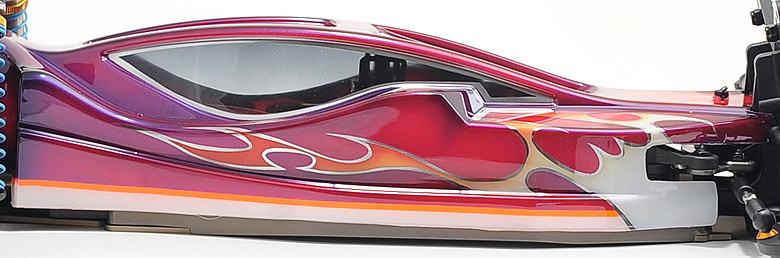
For the decals, I used my printer to create some nice chrome decals to complement the chrome I'd used when painting - I printed a whole heap of different designs but in the end I decided the body just looked too-damn-nice to plaster in stickers and kept things to a bare minimum.
 |
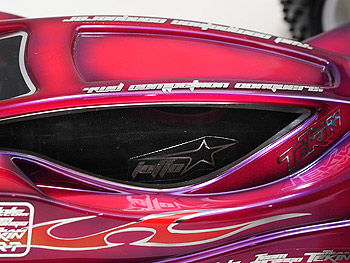
The finished shell with stickers applied. I want to have its babies. |
The body hugs the sides of the metal chassis snugly - to avoid having the paint rub off in this vulnerable area I lined the inside with some Team Azarashi chassis-protection sheet - a thick hard-wearing clear self-adhesive plastic.
The body has some excellent-looking air scoops above both the ESC and motor - and these can be cut out to air cooling but I chose to leave them shut for now. The body doesn't have a pre-determined point for the aerial tube to exit - I really didn't have time to measure a perfect hole and didn't want to wreck my lovely new shell - so I cable-tied the short aerial tube alongside the battery wires within the car, which I've done before (for the sake of looks) and never had a problem with the Sanwa 2.4ghz system.
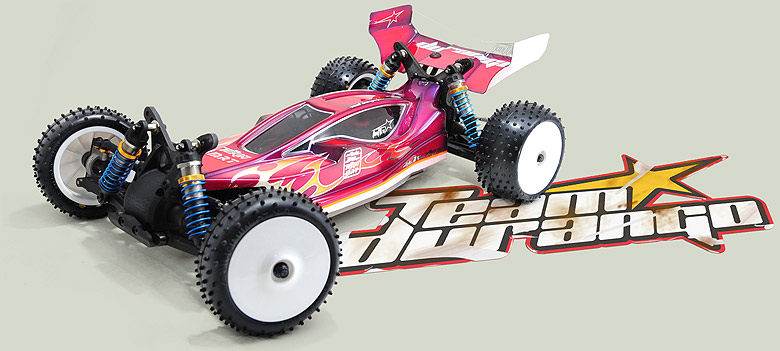
I've yet to hear any negative words said about the DEX410 bodyshell - so I can't be too far wrong in my  undying love for its shape - can I?. It's like nothing else, and once fitted to the car - it really begs not to be driven! Don't scratch me it screams as you set off to the race track the first time - to give it what it really deserves. undying love for its shape - can I?. It's like nothing else, and once fitted to the car - it really begs not to be driven! Don't scratch me it screams as you set off to the race track the first time - to give it what it really deserves. |