|
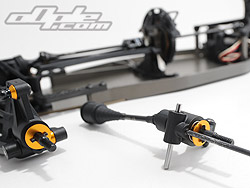
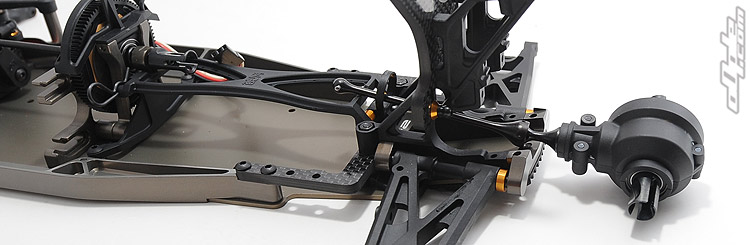
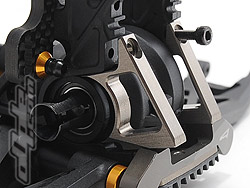
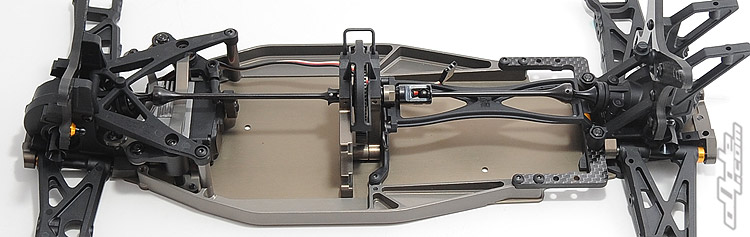
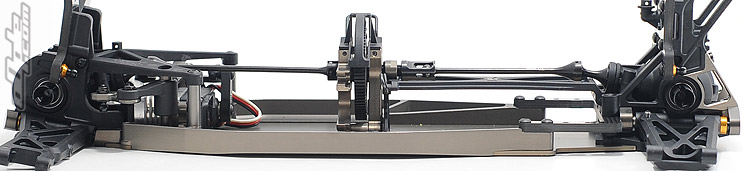
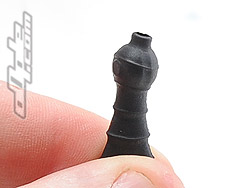
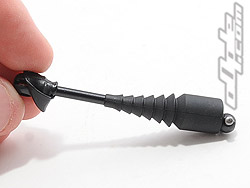
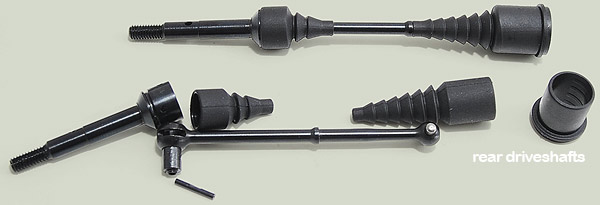
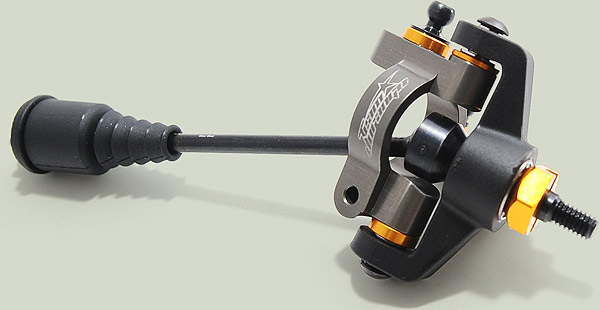
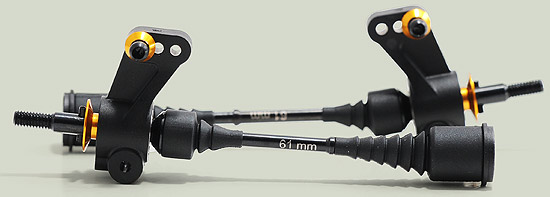
The front and rear drive shafts and axles are again CVD-style, although inverted from those that transmit the power down the centre of the car. The really unique feature that sets the DEX410 apart from its competitors here are the rubber boots that entirely cover the rear drive shaft's workings, and partially so on the front. These rubber covers should virtually eliminate dust and debris from penetrating the workings and make maintenance vastly less crucial.
The outer CVD joint on the front shafts is the only bit thats 'naked' - you can fit a boot if required we're told, but the reason it's not part of the build is the slight 'drag' that is introduced to the joint by the extreme angles involved in steering.
Still - it's the rear end that gets the worst of it, with dirt propelled from the front wheels now happily deflected off the rubber booties.
The rear driveshafts have an extra set of holes further out on the axle for assembling the CVD joint in a shorter length / narrowing the track of the rear wheels. We didn't try it out - we don't actually know why you'd want it but maybe someone will know.
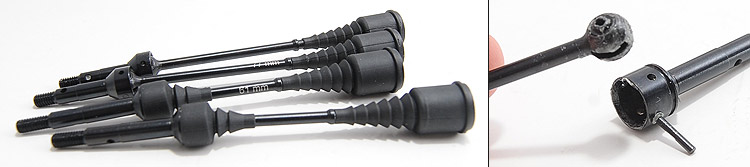
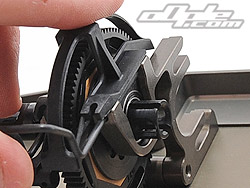
Fitting the rubber covers really needs to be done before assembling the joint - the manual only has vague arrows as an explanation of how to fit the covers but I found it was best to pull everything over the CVD-end of the shaft (rather than the 'dog bone' end). On the rear shafts the outer cover needs to go on small-end first which seems pretty impossible until I realised I could just turn the boot inside out and then pull it back forward once on the shaft - sorted. Diff end of the drive-shaft rubber covers all sit on plastic sleeves which will push over the out-drives on the diff - keeping the covers in place and sealing everything very nicely indeed.
There's a small but noticeable tension in the joints with the rubber covers in place - so there's surely a small efficiency loss, if it's a concern you can always leave them off. |


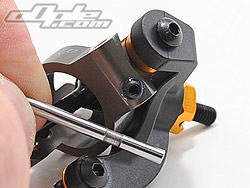
 The front hubs are a vaguely similar layout to that seen on some other cars, like the Losi XX4, Tamiya 501, B44, ZX5 FS, etc. The caster blocks here are anodised alloy with laser etched logos, nice. The hubs mount in a more complex way than most cars, with spacers top and bottom (for height changes) and steel top hat sleeves.
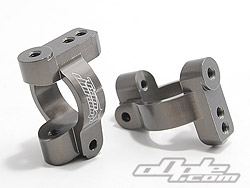
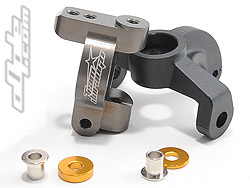
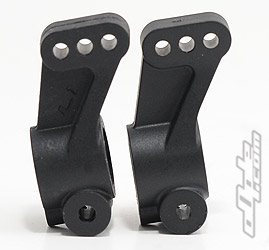
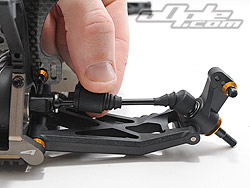
 The rear hubs are similarly non-sided, so can be used either side of the car, again a good thing for spares. The kit also includes some 1-degree rear hubs which can be used to add or reduce rear toe-angles (the kit setting is 3 degrees inboard)- these are of course 'sided' and have moulded-in L1 and R1.