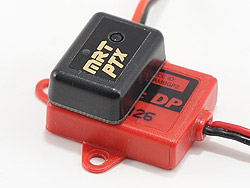
MRT PTX
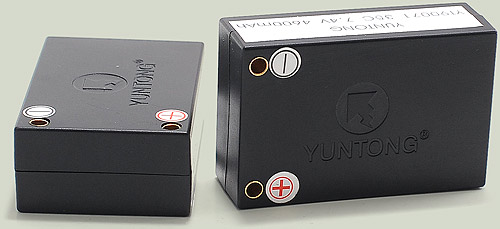
I've had an AMB Personal Transponder for a while now and with cut-off tabs it's a fairly small unit but quite pricey to buy. The DEX410 deserves the best so we fitted one of the very latest personal transponders from Team MRT in the UK. The MRT PTX comes in various flavours, both a waterproof cased version like we have here and heatshrunk super-lightweight option. Since the MRT transponders are designed to work with the AMB system then all the transponders use the usual 7-digit numbers like AMB. MRT can't just go make up their own numbers and dominate the market it seems (shame)- so the next best thing is to include several pre-set stored numbers (which MRT own the original AMB transponders for) which the user can choose from using a button on the transponder itself. Any conflict with a fellow PTX user using the same number can quickly be resolved by just adjusting the setup and choosing another number.
 |
 |
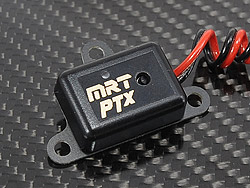 |
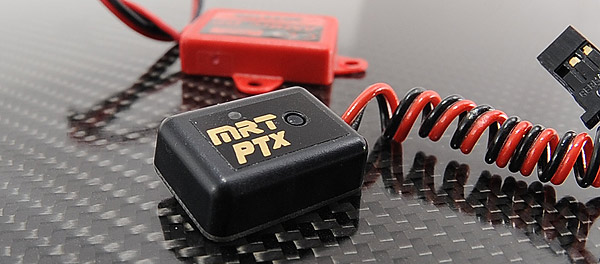
Half the size of the AMB - perfect |
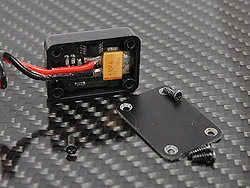
The PT can be serviced by the user if needed - to change wires for instance. |
With the optional 3-hole bottom plate attached. |
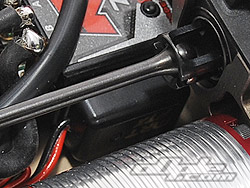 |
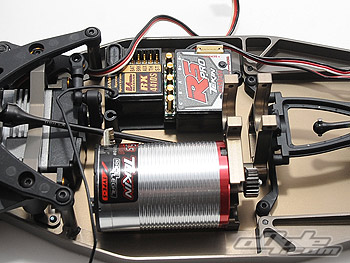
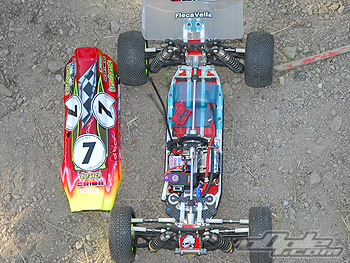
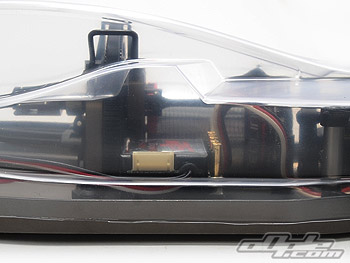
MRT recommend laying the PTX flat on the chassis for the best signal. It would fit no problem but we chose to mount it sideways onto the ESC. It worked flawlessly. |
|
If you already own an AMB PT like I do then things get even better because not only will you already have your own unique number but MRT can clone it onto as many PTX's as you desire - so you can get additional PT's for all your various vehiciles without the need to buy the pricey AMB's, and with the bonus that they'll all have the same number.
The PTX we chose had the full works with 20 pre-set selectable numbers & our cloned PT number (21 numbers total). The cloned ID number was the default setting from the factory so apart from a brief look at how to setup a different number we put it back to the cloned number and left it which I suspect many will do if they've opted to get their AMB's cloned, it makes sense.
The PTX comes without any fancy packaging, just the unit itself and a sheet of instructions. MRT also included an optional bottom plate which when attached gives the PTX the AMB style 3-hole mounting, which is most often used on nitro vehicles to give a secure mounting, but increases its footprint so I didn't use it here.
Various options are available since every PTX is custom made for the end user - lead length, type of base plate and even LED colour can be selected (I'm not kidding!).
Despite mounting the PTX vertically (against the advice of MRT) and sandwiching it between lumps of machined aluminium, motors and various electrical components and wires - the unit never missed a lap, can't say better than that. Hey to cut a long story short - the main thing is it's small, it works, it's cheaper than AMB, and you can get your existing PT cloned into multiple copies for all your cars! Bargain. |


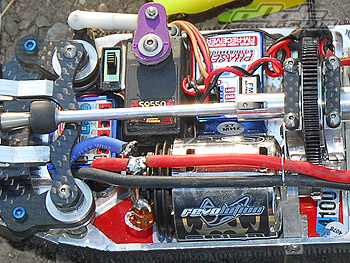
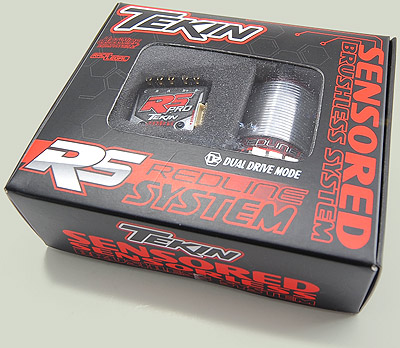
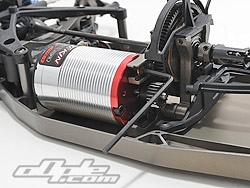
 We planned to use the Tekin in a different review a while back but the post being what it is - it missed out by one day. Still, we knew some bright not-too-distant day there would be the perfect home for the svelte champion that is the Tekin RS Pro.
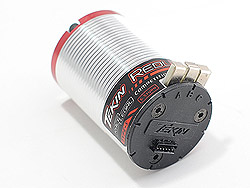
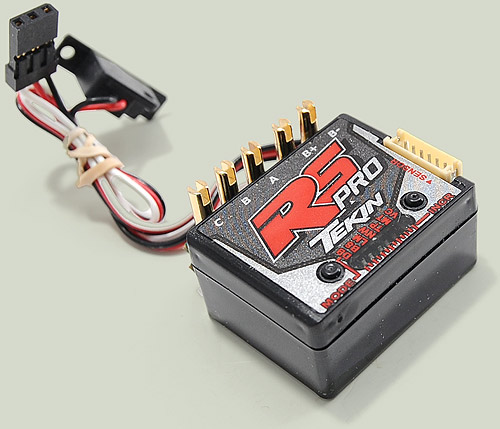 We wired things up with very short motor wires and used a 3rd party short sensor lead to help with the neat install. Since we were goin to use various different types of batteries we kept the battery leads long.