One of the many interesting features on the DEX410 are the oil-filled gear differentials - a totally unique feature among race-level 10th off road buggies right now. Of course, the Kyosho Optima Mid which is sitting on my shelf overlooking me as I type had similarly self-contained gear differentials (belt driven) but not built to this standard and lacking the oil-filled aspect.
The differentials mimic those seen on all 1/8th nitro (and now Electric) buggies and trucks - there's no doubt that these weigh significantly more than the traditional ball-type differential, but where there's very little scope for tuning with a Ball differential, here you are free to go as tight or loose an action as you desire with no reliability issues.
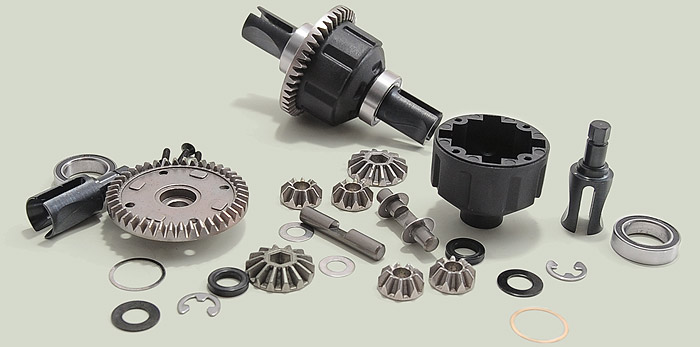
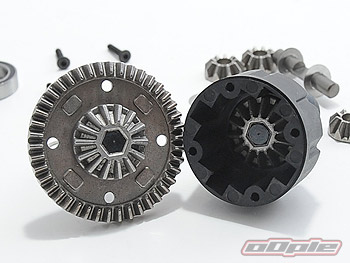
Front and rear differentials are identical and really do look like 8th scale diffs I've built in the past - only a bit smaller. A moulded plastic housing takes all the internals and is capped off with the steel crown gear. The input shafts enter the housing halves through 'X-rings' - o-rings but with a groove down the middle to you and me, giving a dual seal effect.
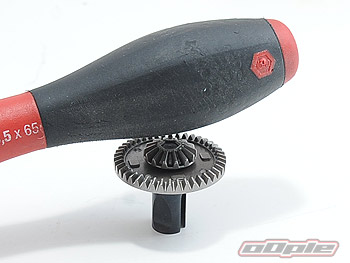
The main diff gears press onto the input shafts but take quite a bit of force to seat properly - if you don't get it right then the diff action feels like there are nails in there along with the oil! I used the end of a nut driver and a screw driver to 'tap' the gear until it was properly seated. Getting these things fully apart again might not be the easiest thing but then I can't really imagine you'd need to do that in a hurry.
A few gentle taps are needed to seat the diff gears properly on the input shafts.
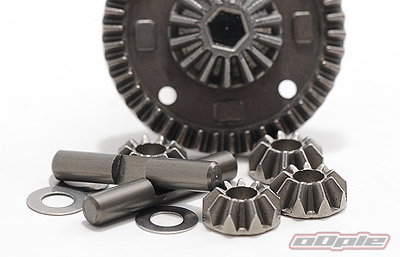
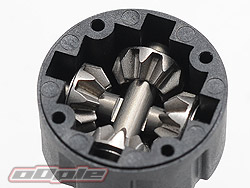
Main diff gear and casing with internal gears - waiting for the spider gears.
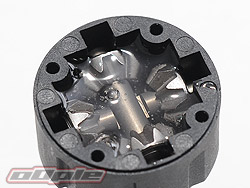
Getting the spider gears into the diff housing is a tad tricky but a little oil on the shafts tends to keep the little gears from falling off during assembly. I filled the diffs to just above the spider gear shafts - but short of covering the tops of the spider gears themselves, which is what the manual suggested.
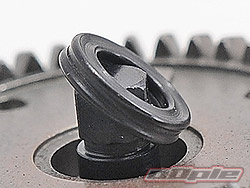
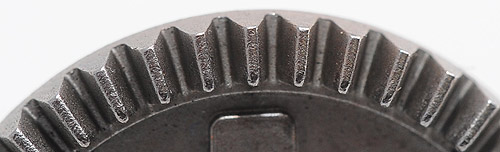
Close up view of the diff crown gear - one of the locating lugs can be seen
Team Durango supply a large bottle of 2000wt oil - a fairly soft oil which will give a fairly free differential action. I didn't use this - mainly because the bag was still covered in thread lock - and I had a couple of bottles of oil already that I wanted to use. I went for 10k in the front and 1k in the rear, the latter being what the team drivers are using - the front is a bit stiff but it shouldn't be a big problem to change later on and I really wanted to see what effect the different oils will have.
Team Tips
To get the best from the gear differentials - the main gears need seating properly on the outdrives.
It's a tight fit - and is supposed to be. If they aren't seated correctly they can feel rough and/or leak.
Adam Skelding of TD suggests tapping the gears on fully - check how free the outdrive moves and tap out the outdrive slightly if too tight. The end result you're looking for is to press the washer against the X-ring for a better seal.
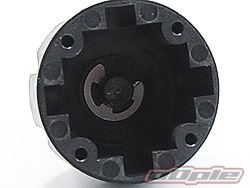
Closing the differentials up is quite a pleasure with the keyed top halves - spin it round until the lugs lock into the spider-gear slots and the screw holes are perfectly lined up. The screws use a 0.05" imperial driver (1.3mm) which most drivers will have in their tool box already - four screws clamp it all together. After assembling the first differential I can honestly say despite the complex initial 'look' of the diffs, they are probably quicker and easier to assemble (correctly) than ball differentials - there's nothing much you can screw up.
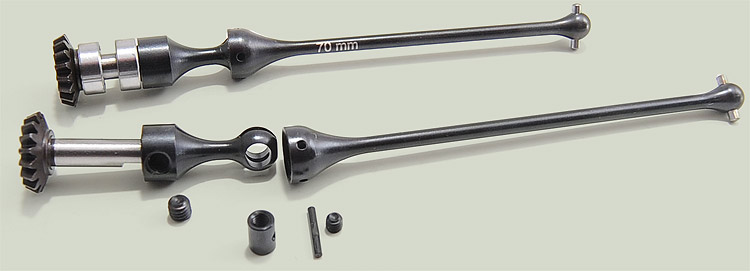
Steel CVD style drive shafts take the power from the centre to either end of the car and apart from the length of the actual dog-bone ends, these are identical.
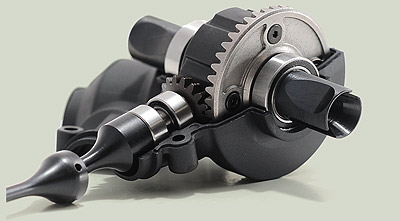
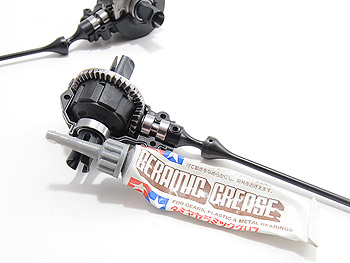
The differentials and input shafts sit inside moulded gearboxes which once again are the same front and rear. The metal-on-metal gears make a bit of a racket but there's not much you can do about that - I used some Tamiya ceramic grease to lube things. Three screws clamp the gearbox casings tight and seal everything nicely.
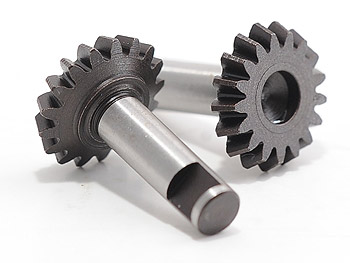
Geabox input shafts with integrated pinion
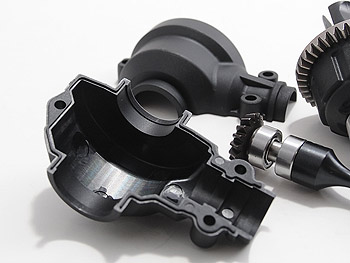
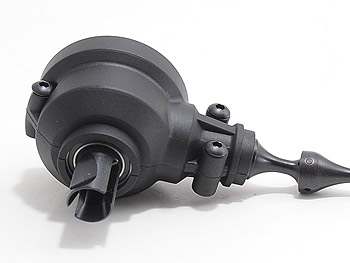
Gearbox cases
Tamiya ceramic grease - made for gears apparently!