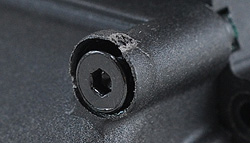
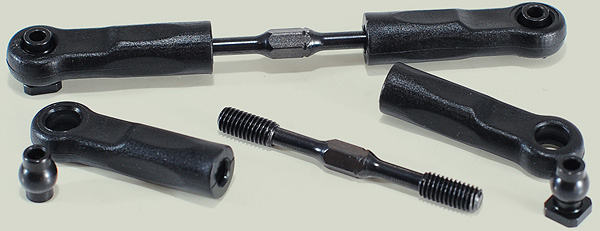
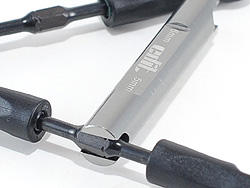
THEcar comes with black steel turnbuckles with 5mm hexagonal areas for adjustment - marked with a small notch to identify the thread direction. There's no turnbuckle tool included in THEkit but I found an 'Adam Skelding' EDIT one in my box which was an ideal match.
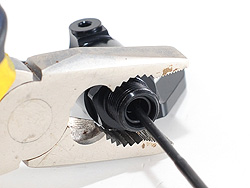
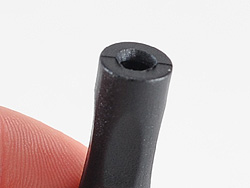
Getting the turnbuckles into the plastic rod ends is close to being a nightmare - or maybe I'm a bit weak? Getting the thread started in the rod ends I found to be harder than on other cars I've built, so I opened up the end of the plastic rod-ends slightly with a scalpel to help get the turnbuckle started.
I opened up the rod ends slightly
...but only slightly! Don't go mad.
EDIT tool
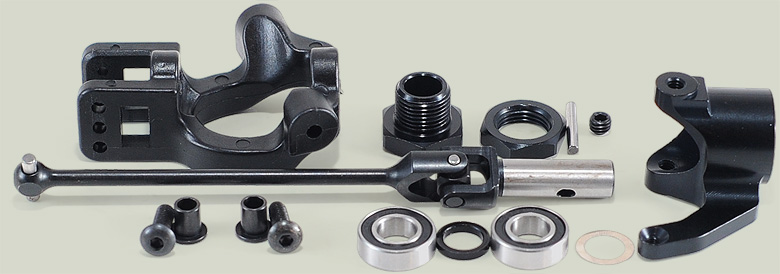
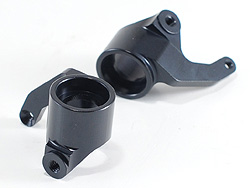
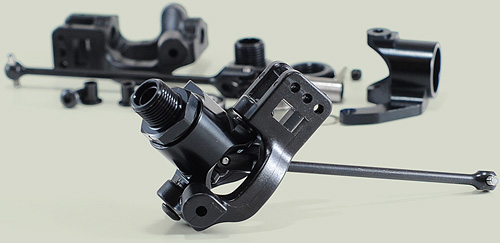
The front suspension uses a traditional ‘C-Hub’ arrangement with an oversized chunky moulded steering hub and CNC machined alloy steering knuckle, anodised black of course.
The knuckles pivot on beefy 4mm screws which ride inside steel top-hat washers which are inserted into the hubs. The holes in the hubs look to be drilled after moulding so there’s virtually no play and zero friction. I threadlocked these screws well.
The 'hex' is pinned to the driveshaft and the pin is held in place with a grub screw. I wanted to crank down on this grub screw but the wheels will capture the pin anyway so it's not going anywhere.
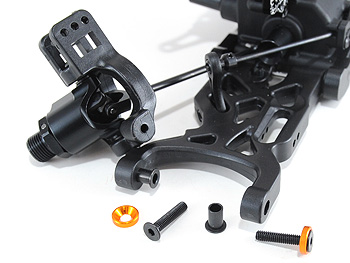
The hubs themselves mount onto the suspension arms with a 3mm countersunk screw from either side of the suspension arm and into the hub itself. The screws ride inside more top-hat washers and I found the half a turn from fully tight was about right.
The front hub carriers ride on steel top-hat washers.
Front suspension complete!
The CNC machined steering knuckles
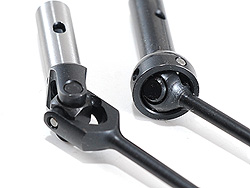
The Universal Joint on the JQ - vs a CVA-style from Tamiya
Screwing down the grub screw probably isn't neccesary.
THEcar uses UJ's - universal joints unlike the more common (these days) CVA/CVD-style joints. The drawback of these UJ's are that they aren't rebuildable - but on the upside they don't really need to be and should outlast other types according to JQ. I like them because they remind me of my Optima Mid.
The front end complete, minus dampers.
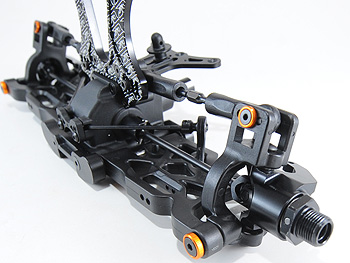
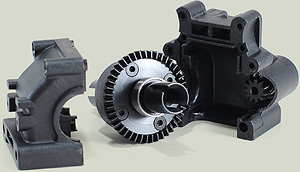
Assembling the rear end of THEcar is pretty straight forward after completing the front. The gearbox has, as already mentioned, an off-set input shaft and outside-facing crown gear - to shift the drivetrain over and allow for the centrally mounted engine.
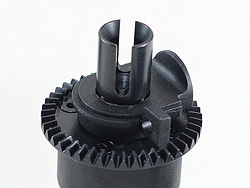
The gearbox is consequently a bit more complex, with an extra moulding that sits around the diff before it’s inserted - which seals up the side ‘bulge’ where the input shaft lives quite nicely.
Rear differential with plastic insert to cover up the hole in the side casing.
Hmmm, maybe these screws shouldn't have been countersunk. But - then again I wasn't paying attention :(
The rear gearbox clamps together with a pair of long countersunk screws at the top and eventually the long bolts that secure the suspension in place at the bottom.
The aforementioned long countersunk screws are really easy to over tigthen if you don’t pay attention as there’s no real ‘stop’ to them, they just begin spreading the moulding and tearing stuff up. As you can tell, that’s exactly what I did since I was looking at the computer and not really paying attention to my hands. oops. My error did make it hard to install the rear tower - which needs to slip around where the plastic had spread out.


 THEcar comes with black steel turnbuckles with 5mm hexagonal areas for adjustment - marked with a small notch to identify the thread direction. There's no turnbuckle tool included in THEkit but I found an 'Adam Skelding' EDIT one in my box which was an ideal match.
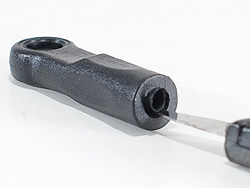

 The front suspension uses a traditional ‘C-Hub’ arrangement with an oversized chunky moulded steering hub and CNC machined alloy steering knuckle, anodised black of course.