THEcar used stand-up servos for both steering and throttle - there’s simply not enough room in the narrow chassis for anything else. This carries on through to the battery and receiver box which I felt were also a bit tight on space.
The JQ car uses a long receiver pack instead of the hump-pack style I was used to, and had in my pitbox. Instead I had to solder together a new pack from one of my micro-buggy race packs. With the connectors I was using and the extra wires I chose to keep on for charging purposes it was a squeeze to fit the battery in the box.
There’s no switch or switch cover supplied so if you want to keep things reasonably waterproof then you’ll have to provide your own.
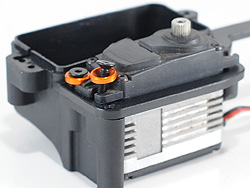
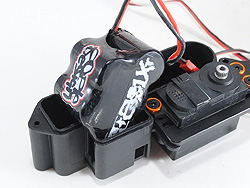
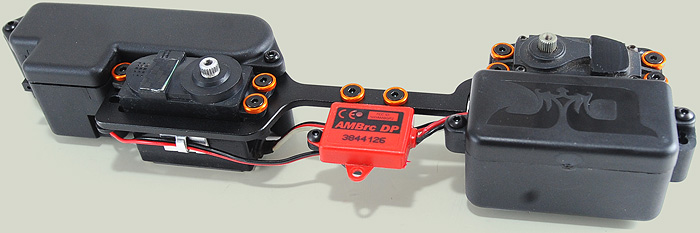
Receiver and battery box are at either end of the car so long wires are needed to go between the two. A neat little transponder mount sits in the middle with the transponder happily sitting proud so you can read your number for booking-in purposes. Something I always need.
The receiver box is long enough to gather up all your excess wires and maybe some spare parts if you desire but its dimensions make it a bit of a squeeze in terms of the actual receiver. I could only install my receiver in one orientation since even on its side it was too tall for the box - I envy those Spektrum lads. The receiver was still a snug fit.
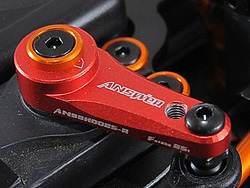
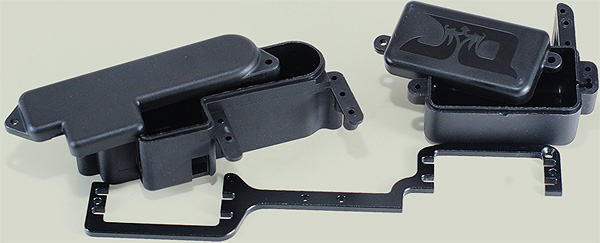
A minimalist black anodised alloy radio plate connects it all together and the servos attach through this into the receiver and battery box to connect everything together without an excess of screws and weight.
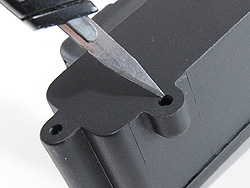
 The lids for the boxes both screw down which I guess makes them more secure and uses the least possibly space in the already tight chassis - but the forward screw on the battery box sits under the throttle linkage and removal is probably a bit trickier than it could be. I’ve got a high capacity lipo on the way so hopefully it wont be too much of an issue track side. The lids for the boxes both screw down which I guess makes them more secure and uses the least possibly space in the already tight chassis - but the forward screw on the battery box sits under the throttle linkage and removal is probably a bit trickier than it could be. I’ve got a high capacity lipo on the way so hopefully it wont be too much of an issue track side.
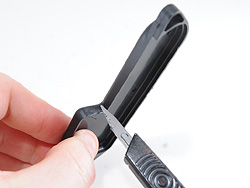
With the electrics all installed, the whole unit drops into the chassis and is secured by five screws. By this point I’d somehow lost track of screws - whether I’d used the wrong ones at some point I’m not sure, but I ended up using shorter screws than the ones it suggested in the manual. Below: The completed radio tray
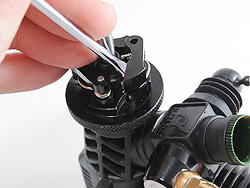
I didn’t have an engine to use in the JQ buggy. Well - actually I did - but dropped it. The result was a bent carb and an engine that wasn’t going anywhere fast.

 |
Thanks to Pete Edern at Answer-RC I got hold of one of his sexy Alpha engines to use in the JQ |
|
Luckily, Pete from Answer RC stepped up and offered one of his Alpha engines to use in the review.
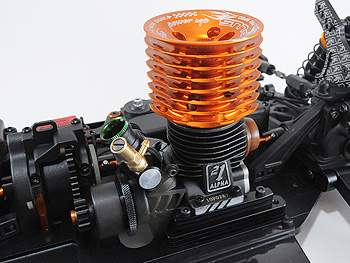
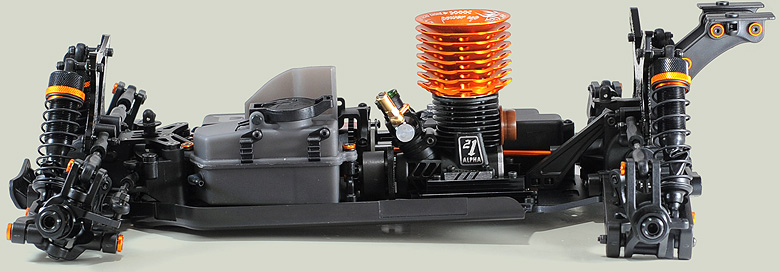
The best thing was that it perfectly matched the JQ car with the matt-black and orange head. I know, I know - I’m a sucker for some good looking parts. Check pete out at answer-rc.com
I went with the kit suggestions of engine forward. I think the manual could have been a bit more informative with the various settings and how to achieve them - using the engine mounts with arrows pointing forward or pointing backwards and mounting the upper engine mounts in different holes allows various positions to be set.
 |
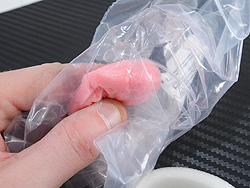
Easy does it. Installing the shoes |
 |
|
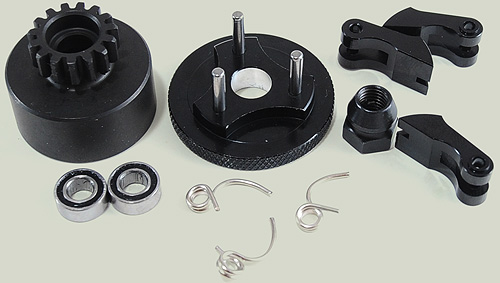 |
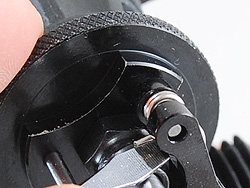
Above: Clutch components ready for assembly |
The clutch provided in the kit confused me at first - I'm not a big Nitro-head, and thus a bit inexperienced. So when it comes to things like the brass collet that fits on the engine, I'm not entirely sure if these things are unique between manufacturers. The manual with THEcar has a diagram showing a brass collet with a part number and everything but I'm told that this isn't actually included - so you can see why I'm confused. |
 |
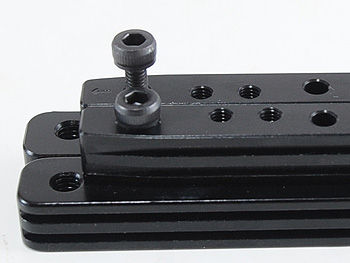 |
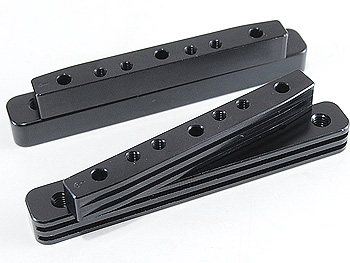
Engine mount is in 4 pieces. |
The moulds have small arrows to show direction - rotating them 180 degrees allows different engine positions |
|
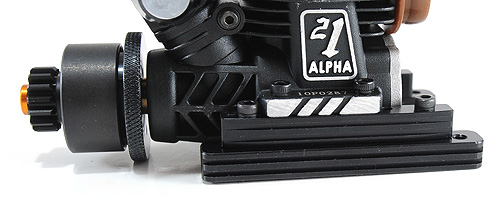 |
| The Alpha .21 with clutch and engine mounts in place - forward position of course. |
|
I used the collet that came with the Alpha engine and with the clutch nut fully tightened there was no slippage and things felt sorted.
The clutch is a three shoe type and comes supplied with three alloy shoes with some silver springs. A 15-tooth clutch bell (or pinion gear, if you're an electric dude like me) is supplied in the kit.
It took me a few minutes to remember how to install the clutch shoes but once I'd remembered the process it's an easy and fairly standard clutch to build. The one thing I did get completely wrong at first was not fully tightening the clutch nut which allowed things to come loose and jam up the clutch. |
 |
 |
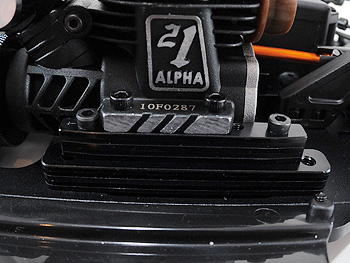
This better shows the engine position |
Orange and black - NICE |

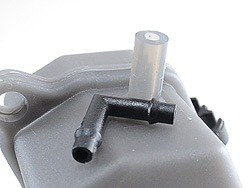
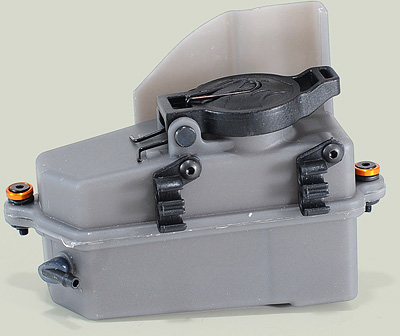 The fuel tank in the JQ kit has an integrated splash guard for those moments when you're a bit too generous with the fuel and features a 'clunk' - or filter on the end of a bit of fuel tubing that can 'wave about' in the tank to suck up precious fuel even when the buggy is on its roof, which for me is quite often. The fuel tank in the JQ kit has an integrated splash guard for those moments when you're a bit too generous with the fuel and features a 'clunk' - or filter on the end of a bit of fuel tubing that can 'wave about' in the tank to suck up precious fuel even when the buggy is on its roof, which for me is quite often.
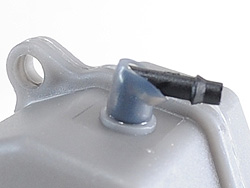
The JQ website advises how to prepare the tank properly because the manual is, as usual, low on words and a little unclear. A small right-angle plastic tube needs to be inserted into the fuel line exiting the tank, which in turn will connect to another length of tubint to go to the engine carb. Even with THEadvice it wasn't entirely clear but the right-angle tube needs to be inserted right into the tank so you get a good seal.
The tank mounts on some flexible plastic mouldings and rubber bungs to minimise vibrations. JQ suggests boiling the mounts as they’ve had reports of cracking in extreme cold (this is winter after all - at least, in the northern hemisphere). I didn’t bother with this of course since I’m lazy.
|
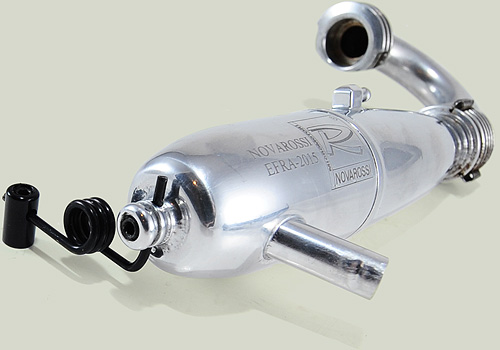 I used a novarossi exhaust I had kicking about from a previous review in the JQ buggy. I used a novarossi exhaust I had kicking about from a previous review in the JQ buggy.
JQ supply a springy mount but I found it a little on the short side - so it really was on the limits to get the exhaust far enough away from the fuel tank.
|
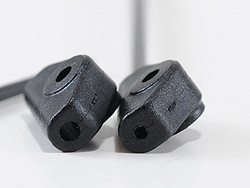
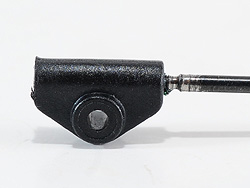
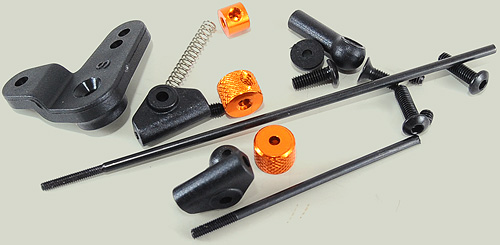 Throttle duties are handled by a pretty simple linkage setup. There are a couple of near-identical mouldings supplied which pull the throttle and brakes. The throttle rod slides through its moulding whilst the brake rod threads into its - I didn't realise the mouldings had different diameter holes at first so became quickly confused, as usual. Throttle duties are handled by a pretty simple linkage setup. There are a couple of near-identical mouldings supplied which pull the throttle and brakes. The throttle rod slides through its moulding whilst the brake rod threads into its - I didn't realise the mouldings had different diameter holes at first so became quickly confused, as usual.
The brake rod is HARD to thread into its moulding - I got some side-cutters to hold the rod and chewed it up nicely whilst attempting to fully thread it into the moulding - I almost got fully in before giving up, but it works so who cares.
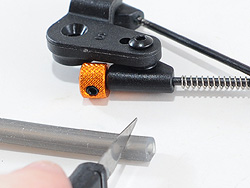
JQ advises cutting off around 5mm of the supplied fuel-tubing to give a softer feel to the brakes. Adjusting the brake bias comes from simply sliding the collars and tightening down the grub screws. |
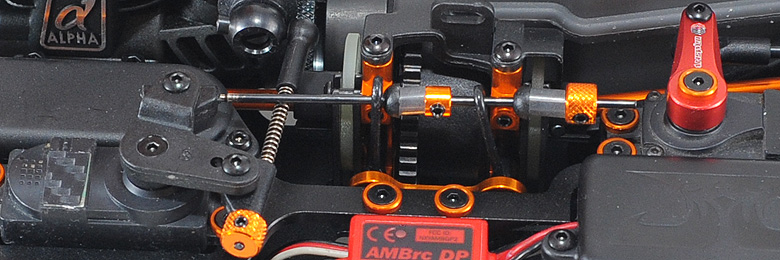 |
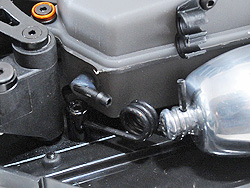
| The throttle needs to run under the brake rod - the setting above still isn't right and was rubbing slightly so I lowered the carb link by rotating the ball joint on the card further around. |

|
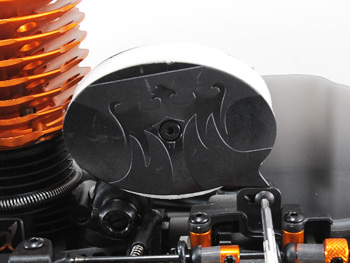
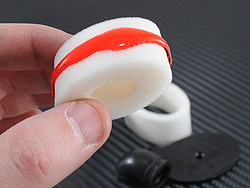
The JQ buggy comes with an oval air filter to fit under the snug body shell. An outer and inner core and sandwiched between the plastic mouldings that hold it all together.
Much like the rest of the kit, there's no air-filter oil supplied but luckily despite my lack of nitro experience I had some laying about.

The filter secures to the carb in the usual way, with a supplied zip-tie - but also screws onto the centre diff mount to keep it securely mounted despite the best you can throw at it. |
|