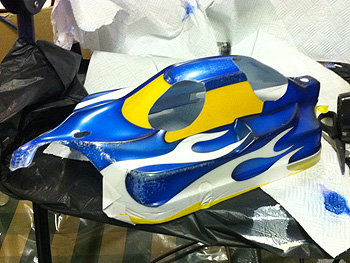
Mid-painting. Ah, the glamour of a freezing cold garage.
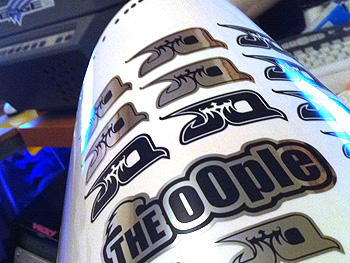
I made my own stickers - naturally. But the JQ offerings are nice enough.
The body shell on the JQ car is classic old-skool buggy all the way. None of this cab-forward nonsense for JQ - thank goodness. There’s really nothing too stand-out about the shell - but it boasts some nice sharp lines and corners to stay well away from the jelly-mould offerings that some are cursed with.
Of course, when you start chopping the hell out of it for exhaust, fuel and engine - there’s really not much left to look at anyway, but still.
Its worth mentioning that the shell has what looks like two cut lines. I didn’t investigate this too much but it’s the upper/more defined line that you need to follow - sort of. JQ has a tip on their site that the upper line on the side of the shell is a bit high for some people - and so I kept this lower line on the sides for my shell when I cut it out - which pretty much matches up with the bottom of the side pods. Using the ‘proper’ (upper) cut line will leave very little overlap with the side pods and could lead to some dirty business entering.
Hmm, maybe it should have been green?
I cut my shells with a scalpel for a nice clean line (we’ll ignore the mess I made of the exhaust hole though - don't look at that). Cutting the refill and engine holes takes a bit of patience. I scored around the lines and used a reamer to weaken the left-over material in the centre until I could bend it and crack the polycarbonate along the cut lines.
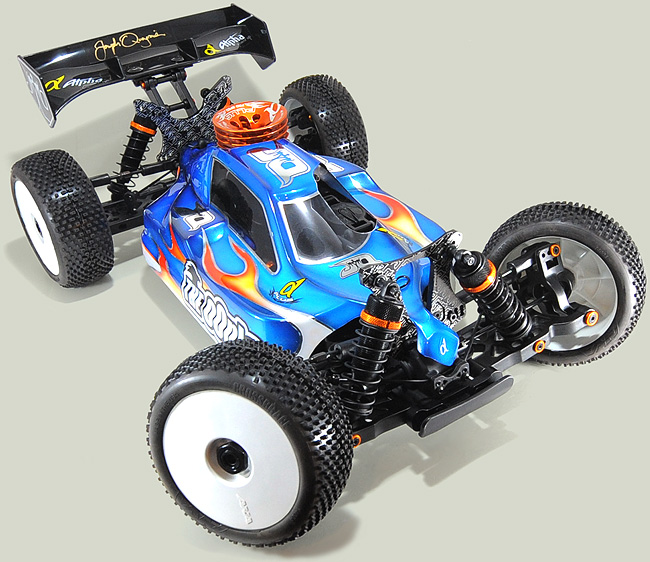
Oh yes, that looks nice.
I painted the shell in my blue colour scheme, using spaz-stix solvent paint for the shadows. I followed this by painting the main blue colours first in faskolor water-based metallic blue, createx iridescent blue and iridescent purple.
I backed these colours with plastikote white from a spray can before hand-cutting the chrome around the computer-cut flame pattern I made. The window masks and window outline are both computer designed (following the supplied window masks but altering them slightly) and painted with spaz chrome.
The flames are white-yellow-red faskolor and I finished things off with a slight tint on the windows. But - after one days running it will look decidedly second hand so is it all worth it?
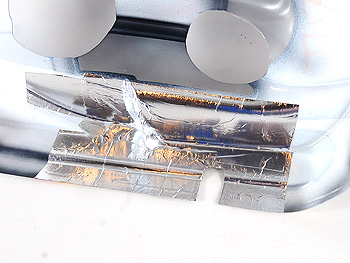
I backed the body around the exhaust with aluminium tape in an attempt to help protect it from the heat and rubbing..
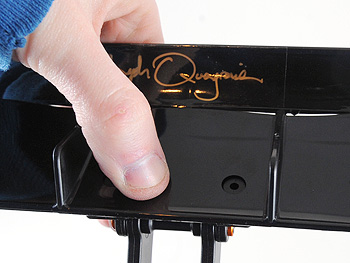
JQ supply some nice high quality (thick) decals in the kit - I used the wing-end ones but wanted to create the rest myself like I usually try to do. The green on the rest of the decals wouldn’t really fit with my paint scheme so I created some black and white ‘THE oOple’ decals for the sides along with some chrome JQ logos to plaster around.
A bit of aluminium tape in an attempt to keep my shell looking nice.


 Its worth mentioning that the shell has what looks like two cut lines. I didn’t investigate this too much but it’s the upper/more defined line that you need to follow - sort of. JQ has a tip on their site that the upper line on the side of the shell is a bit high for some people - and so I kept this lower line on the sides for my shell when I cut it out - which pretty much matches up with the bottom of the side pods. Using the ‘proper’ (upper) cut line will leave very little overlap with the side pods and could lead to some dirty business entering.

 JQ supply some nice high quality (thick) decals in the kit - I used the wing-end ones but wanted to create the rest myself like I usually try to do. The green on the rest of the decals wouldn’t really fit with my paint scheme so I created some black and white ‘THE oOple’ decals for the sides along with some chrome JQ logos to plaster around.