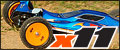
  I first saw the ‘big pulley’ conversion on Marc Rheinards car at the 2007 10th off road European Championships. Indeed the eventual winner of the event, Hupo Honigl also had a new car built with the larger drivetrain, though he decided to run his regular car since he knew it well. I first saw the ‘big pulley’ conversion on Marc Rheinards car at the 2007 10th off road European Championships. Indeed the eventual winner of the event, Hupo Honigl also had a new car built with the larger drivetrain, though he decided to run his regular car since he knew it well. |
 |
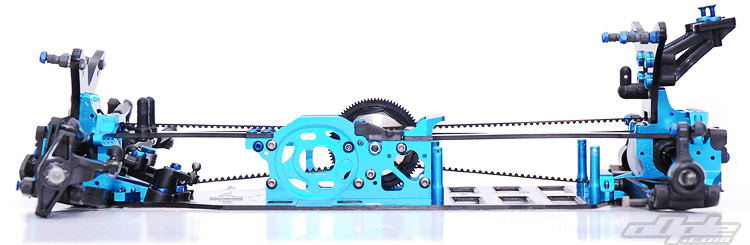
The ‘Big Pulley’ drive train parts are designed to spread the load over a great surface area to better handle the power of modern electrics. The belt’s can be run slightly looser without slipping and the belts don’t turn such a tight radius which all helps with the efficiency.

There is no ‘conversion’ as such (as of writing) and I’ve yet to see an announcement or ‘write up’ on the parts and what they do. Each and every part of the big belt setup comes with the same single instruction sheet, which tells the user what other parts are needed and how to set the belts.
Being that there’s not currently a neatly packaged conversion set, you have to purchase all the parts separately and there are a few things to consider. Running the BIG parts only on the rear is one option – leaving the front as-is. But if you want to do the conversion properly, going 'big all over' is the way to go. |
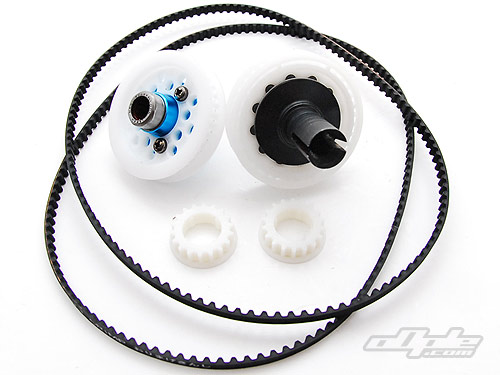
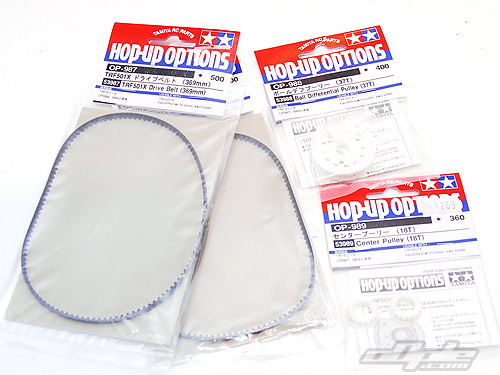
The Main ingredients are:
| 18t Centre Pulleys (2 in a pack) |
|
| 2 X 369mm Belt |
|
| 37t pulley (for the rear differential) |
|
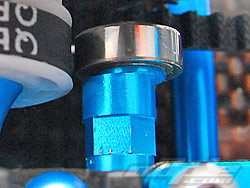
| Adjustable belt tensioners |
|
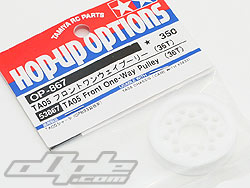
To keep the front overdrive which the original car had as standard, you would use the (white) 36t pulley (that was previously on the rear) for the front differential – replacing the kit (black) 35t pulley up front. If you want to use the one-way diff then there are a couple more things to purchase.
| 36t front one way pulley |
|
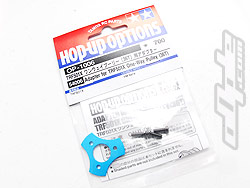
| 36t One way adapator plate |
|
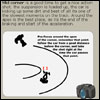
The 36t one way pulley will fit straight on to the one way body but since the internal diameter is bigger, centering the  pulley could be an issue. Using the screws alone, you would be relying on the screws to do the centering. The best option is to buy the optional one-way adaptor plate. This is a simple piece of alloy that sits inside the 36t one-way pulley and helps to centre it properly on the one-way body. pulley could be an issue. Using the screws alone, you would be relying on the screws to do the centering. The best option is to buy the optional one-way adaptor plate. This is a simple piece of alloy that sits inside the 36t one-way pulley and helps to centre it properly on the one-way body.
 |
 |
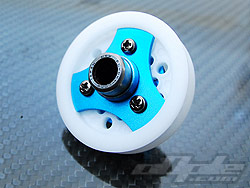 |
36t one-way pulley - part no. 53867 |
36t one way adaptor - part no. 54006 |
The assembled front 36t one-way |
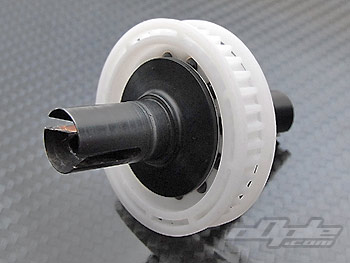 |
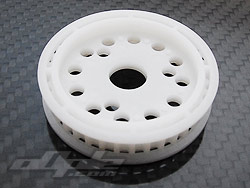
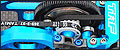
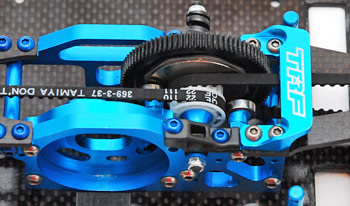
Changing over is fairly straight forward since the parts are a direct replacement for the kit parts – but a few issues are thrown up. Firstly the centre pulleys are bigger than the kit originals so the belt rollers in the centre bulkhead are positioned wrongly. This can be sorted with the adjustable belt tensioners – these offset the bearings to allow them to swing closer / further from the pulleys. In the case of the BIG BELT conversion these adjustable belt tensioners need moving to there extremes just to allow for the room taken up by the bigger pulleys.The larger rear pulleys are a slightly different design from the original kit pulleys and have holes at either side of the teeth. This could be just a fancy design or an attempt by Tamiya to create an 'exit point' for dust and debris which could get caught between the belt and pulley.
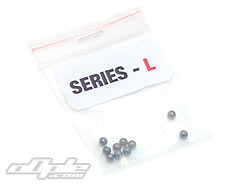
More balls! the larger diameter pulleys have 12 outer holes instead of the previous 8, so unless you want to be semi-balled, you need to obtain some extras. |
|
| I used the excellent ceramic balls from KANZEN RACING - Kanzen supplied these in packs of 10, which worked out great for this car since the front differential uses 8, and the rear now 12. I can't stress how much better the differentials have been since fitting these balls - the kit Tamiya balls gave a lot of problems with slippage and quickly destroyed the rings. |
|
Each and every part of the big-pulley conversion comes with the same instruction sheet, which gives a diagram and explanation of how to set the diffs.
The eccentric bearing housings normally see the differentials sitting as low as possible but this throws up some problems with the larger differential pulleys rubbing. Instead, the eccentric bearing holders are turned 180degrees to lift the differentials as high as possible. Raising the differentials enough to clear the chassis. |
 |
Each and every part of the big-pulley conversion comes with the same instruction sheet, which gives a diagram and explanation of how to set the diffs.
So, did I notice a difference? on the table it's hard to compare with the memory of what it was like previously - is the drivetrain more free-running? hard to say, and the belts will surely loosen over the course of the first few meetings with the car as they stretch very slightly.
I did notice that under heavy braking on high grip surfaces, that there was no longer a 'clicking' noise which I'd sometimes heard - I assume from the rear belt slipping on the pulley (I use a front one-way, so it couldn't be that).
|
|
I ran the car at several meetings and there was a marked improvement in belt life - again, possibly this setup is slipping less, or not at all.
The larger pulleys all feature these small holes which appear to be for dust to exit - having suffered from dirty pulleys before, where dirt has been compressed into the teeth, I was keen to see if this made any difference. Maybe I didn't race enough on the sort of surfaces that debris is 'hoovered' into the car (Batley, my local track, springs to mind) but I didn't have any dirt on the actual teeth after three meetings.
|
 |
These semi-open sides to the 37t rear pulley do mean that the adhesive seals that you can buy to keep the inner workings clean aren't a great fit.
The big belt conversion is, in my opinion (for what that's worth!) not really worth the upgrade alone on a new car. It really offers little performance advantage for the money - UNLESS you are replacing worn parts, in which case this is surely the path to head down. Wear your current stuff out is my reccomendation - the original cars 'small stuff' was good enough to win the European Championships after all. |
|